Adjust 1969 Camaro door glass
The short answer
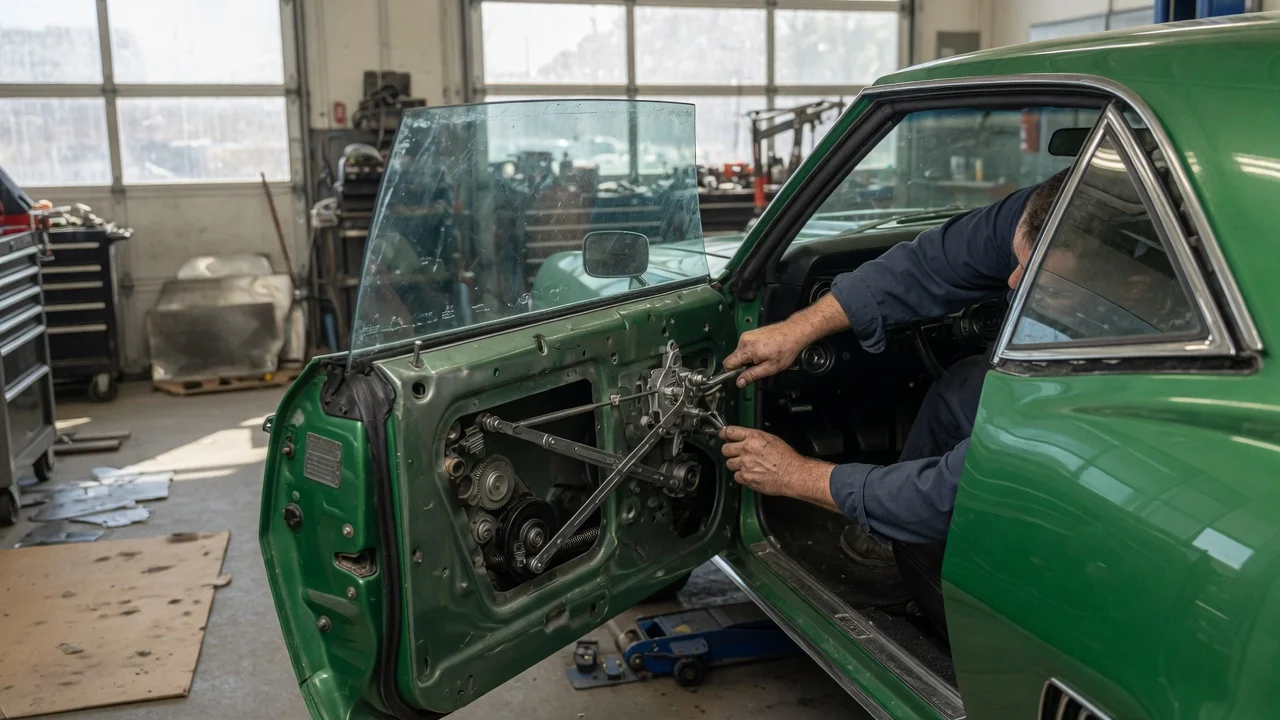
Adjusting the door glass on a 1969 Camaro means setting the glass in three directions: tilt (in and out at the top edge), fore and aft, and height. You do this with the adjustable front and rear glass guide channels and the stops inside the door. Do it only after the door itself hangs correctly on its hinges and latches properly at the striker. On 1968 and 1969 Camaros the door glass is ventless and frameless. The glass therefore seals directly against the roof rail weatherstrip on coupes, or the top side rail weatherstrip on convertibles, and small changes at the guides show up clearly at the top edge.
Scope: this guide covers 1969 first-generation Camaro coupes and convertibles. The 1967 Camaro uses vent windows and different front door glass hardware, so its procedure differs and is not covered here. This article does not give torque values, clearances or gap measurements, because no verified figures were available for it. Get those from the factory Chevrolet assembly manual or Fisher Body service manual for your car.
Why door alignment comes first
The glass is positioned relative to the door, and the door is positioned relative to the body. If the door sags, sits too far in or out at the rear, or is pulled into place by the striker, any glass adjustment you make will be wrong once the door is corrected. Check the door gaps, how flush the door sits with the fender and quarter panel, and how the door closes before you touch the glass. A door that has to be slammed, or that lifts noticeably as it latches, needs hinge or striker attention first.
What each adjustment controls
Adjustment | What it changes | Typical symptom when wrong; Guide channel tilt (upper and lower mounting points) | How far the top of the glass leans in toward the weatherstrip or out from it | Wind noise or leaks if too far out; hard door closing or torn weatherstrip if too far in; Guide channel fore and aft position | Where the glass sits front to rear in the door opening | Uneven gap at the front of the glass or poor alignment with the rear quarter glass; Up-stops | How high the glass travels when fully raised | Glass not reaching the weatherstrip, or pushing too hard into it; Lower stop and regulator travel | How far the glass drops when lowered | Glass not fully retracting, or contacting parts inside the door
The exact location and number of adjustment points depend on body style and on any hardware that has been replaced. Confirm the layout on your car against the factory manual.
A practical adjustment sequence
Remove the door panel and water shield so you can reach the guide channel and stop fasteners. Confirm the door is aligned and latches without force. Inspect the weatherstrip, guide channels, rollers and regulator before adjusting, so worn parts are not hidden by adjustment. Loosen the guide channel fasteners just enough to let the channels move, keeping the glass supported. Set the fore and aft position first, so the glass sits evenly in the opening. Set the tilt so the top edge meets the weatherstrip with light, even contact along its length. Set the up-stops so the fully raised glass seals without crushing the weatherstrip. Snug the fasteners, then cycle the window several times and close the door gently to check the fit. Repeat in small steps. Large single moves usually overshoot.
Check the fit with the door closed and the weatherstrip installed. Contact that looks right with the door open often changes once the door is shut.
Convertible considerations
On a 1969 convertible there is no roof rail. The door glass has to line up with both the rear quarter window and the weatherstrip on the convertible top's side rail. Top frame adjustment and quarter window position therefore affect how the door glass appears to fit. If the door glass looks right on its own but the seal is poor, the top or quarter glass may be the part that is out of position.
When adjustment is not the real problem
Some fit problems cannot be fixed at the guides. Common examples are: • Worn or incorrect weatherstrip. • Glass that has slipped in its lower sash channel. • Worn rollers or a bent regulator arm. • Damaged or incorrect guide channels. • Reproduction parts that differ slightly from the originals. If the glass binds, tips as it travels, or will not hold an adjustment, inspect and replace the worn parts before readjusting.
Gaps in this guide
This guide explains the general approach but does not include: • Factory torque specifications. • Measured glass-to-weatherstrip contact. • Diagrams of the fastener locations. • Differences that may exist between specific assembly plants or production dates. Use the factory assembly manual or body service manual for your exact car for those details.