ABS Wheel Speed Sensor Spacers: Fitment and Selection
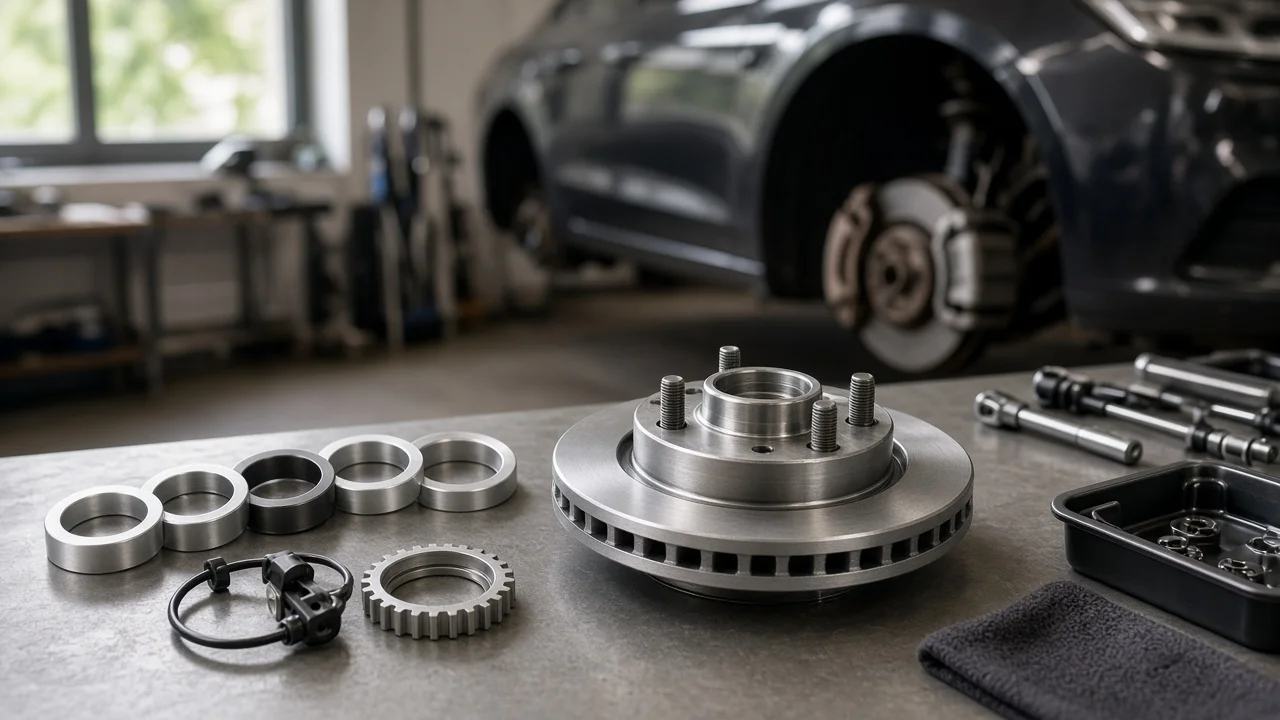
An ABS wheel speed sensor spacer, often called a shim, sets or restores the distance between the sensor tip and the tone ring or encoder it reads. The right part can cure a weak or intermittent signal after a sensor, hub or knuckle change. The wrong one can create a new fault. This guide explains how to confirm a spacer is actually needed, match it to your vehicle and compare options without relying on marketing claims.
Define the job the product must do
Each wheel speed sensor reads a toothed tone ring or a magnetic encoder as the wheel turns, and the anti-lock, traction control and stability control systems depend on that signal. The gap between sensor and ring matters. If it is too wide, the signal can become weak or erratic, especially at low speed, which may trigger the ABS warning lamp, wheel speed fault codes or unexpected ABS activation near a stop. If it is too tight, the sensor tip can contact the ring and be damaged. A spacer exists to bring that gap back within the manufacturer's range, not to mask a different problem.
Typical reasons owners look for one include a replacement sensor whose mounting flange or body length differs from the original, an aftermarket hub or knuckle, a sensor seat that sits lower after heavy rust was cleaned away, or a service procedure that specifies shims for adjustment. Before buying anything, confirm the symptom points to signal quality. A scan tool that shows live wheel speeds lets you compare all four wheels while driving slowly. If the stored code describes an open or shorted circuit rather than an implausible or erratic signal, a spacer will not fix it.
Check compatibility
Fitment starts with the service information for your exact vehicle: year, model, drivetrain, axle and side, and whether the sensor gap is adjustable at all. Many modern vehicles bolt the sensor into a fixed bore and read an encoder built into the wheel bearing hub, so the gap is set by the parts themselves and a spacer is not part of the design. Other designs specify an adjustable gap measured with a non-magnetic feeler gauge, and some replacement sensors are supplied with a paper or plastic spacer on the tip that sets the initial position. Knowing which design you have decides whether a separate spacer is appropriate.
When a spacer does apply, match its interfaces to the sensor and mount: bolt hole size and spacing, flange outline, inner diameter if it surrounds the sensor body, and any locating tab that keeps the sensor from rotating. Thickness is the critical dimension. Measure the old and new sensors with a digital measuring caliper, or measure the actual gap where the procedure allows, and choose a spacer that corrects the difference rather than guessing. Also confirm the sensor type matches the original; swapping between passive and active sensor designs is a wiring and module question, not something a spacer can solve. On hubs with magnetic encoders, the bearing must also be installed facing the correct direction.
Features that affect the choice
Material affects durability more than most listings admit. Aluminum and stainless steel resist crushing under bolt torque, while plastic or nylon spacers can be easy to trim but may deform with heat or clamping force over time. The area near the brake rotors gets hot during hard braking as the friction material works, and it is exposed to water and road salt, so corrosion resistance matters. Where the service procedure specifies a material or a factory shim part, follow it. Non-magnetic tools are specified for gap measurement because a passive sensor's magnet pulls on steel, which is also why metal debris collects on sensor tips.
Look at how thickness is offered. A single spacer of the correct thickness sits flatter than a stack of thin shims, and every added layer is another place for rust or tilt to develop. Graduated shim sets are useful when the exact correction is unknown, but use the fewest pieces that reach the specification. Edges should be flat and burr-free so the sensor seats square. Check whether longer bolts are included, because added thickness reduces thread engagement. Treat labels such as universal, fits all or OEM quality as unproven. Useful evidence is a stated thickness and tolerance, a named material, a dimensioned drawing and a vehicle fitment list tied to part numbers.
Limitations and ownership costs
Correct setup takes more than dropping in a spacer. Clean the sensor seat and bore of rust and scale, since corrosion can push a sensor out of position or crack its housing. Inspect the tone ring for cracked or missing teeth and packed debris. Check wheel bearing play against the specified wear limits, because a loose bearing lets the gap change as the wheel turns. Where an adjustable gap is specified, measure it at several points around the ring. Torque the fastener to specification, route the harness clear of the rotor, caliper and moving suspension parts, then clear codes and verify wheel speeds on a road test. Some systems keep the warning lamp on until a drive cycle completes or the code is cleared with a scan tool.
A spacer cannot repair a damaged tone ring, a cracked sensor, chafed wiring, corroded connectors, a faulty control module or mismatched tire sizes that produce different wheel speeds. It also has no effect on hydraulic or friction problems such as low brake fluid, a sticking caliper, or brake pads and rotors worn past their limits. An ABS warning usually means the anti-lock function may be disabled, which changes how the vehicle stops on slippery surfaces. A red brake warning lamp, a low or soft pedal, or a pull under braking is a reason to stop driving and have the brakes inspected professionally.
The spacer is usually the cheapest part of the job. Real ownership costs come from longer fasteners, a replacement sensor if the old one was damaged during removal, diagnostic time and possible bearing or hub work uncovered during inspection. Recheck the sensor seat whenever the sensor is disturbed during later brake service, and inspect for returning corrosion in regions that use road salt.
Build a practical shortlist
Before comparing products, confirm four things: the service information shows an adjustable or shimmed sensor design, the fault code and live data point to signal quality rather than a circuit fault, the tone ring and wheel bearing are in serviceable condition, and you know the thickness correction required. If any of these is uncertain, resolve it first; buying a spacer to test a theory often adds a variable instead of removing one.
Then compare candidates on a short checklist. Does the listed vehicle fitment cover your exact model, axle and side? Is the thickness stated with a tolerance, and does it match your measured correction without stacking? Is the material suited to heat, salt and clamping force? Do the bolt holes, flange shape and locating features match your sensor? Are suitable longer fasteners included or easy to source? Is there a dimensioned drawing or part number cross-reference rather than a generic universal label? A spacer that passes every point is a reasonable choice; one that fails any of them is better left off the list.