6.6 Duramax Serpentine Belt Diagram and Replacement
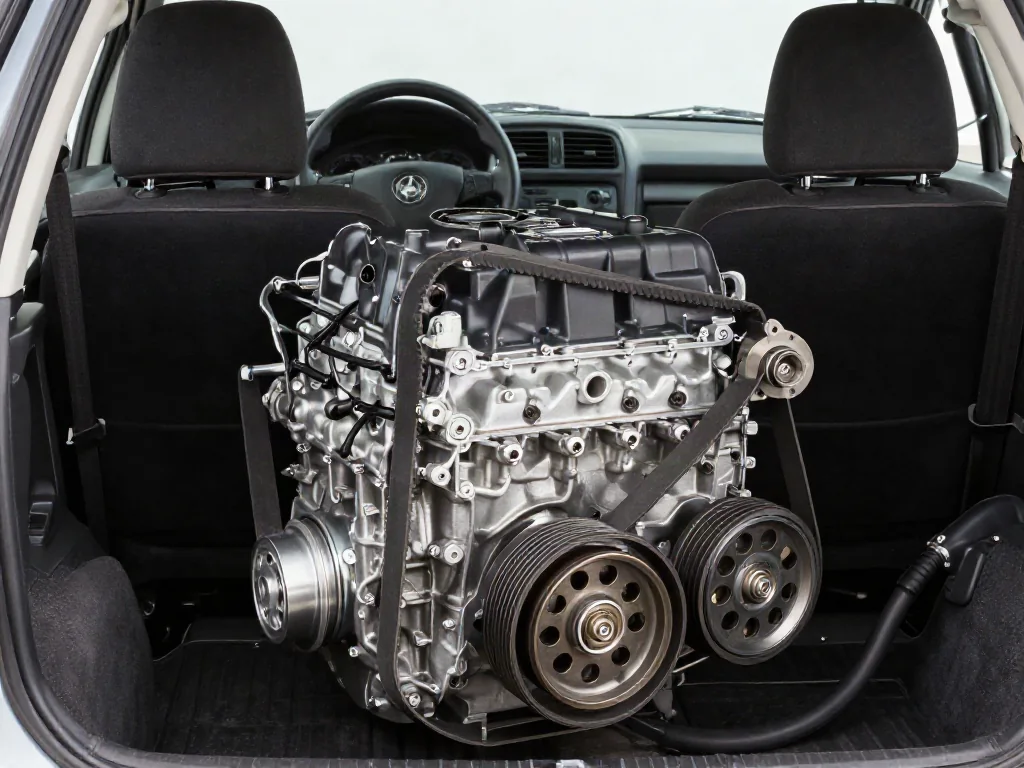
A 6.6 Duramax serpentine belt diagram shows how the accessory drive belt wraps around the pulleys on that GM diesel. Because accessory layouts vary, a serpentine belt diagram for 6.6 Duramax work is only useful when it matches the vehicle, engine identification, and installed accessories. Confirm routing with the underhood belt routing decal or vehicle-specific service information before belt removal.
Identify the Correct Routing Diagram for Your 6.6 Duramax
Engine displacement alone does not identify a unique accessory drive belt path on a GM 6.6 Duramax diesel. Trucks and commercial chassis from different model years can locate the generator, air-conditioning compressor, and other driven accessories in different positions, and some packages add an extra idler pulley or a relocated belt tensioner. A serpentine belt diagram for 6.6 Duramax service is only valid when it matches that accessory configuration. Confirm the model year, vehicle model, engine identification, and installed options before you treat any printed or digital routing as the correct one.
The most reliable local reference is the belt routing decal in the engine compartment, which is drawn for the accessory layout that left the factory. If that decal is missing, faded, or does not match what you see on the engine, do not remove the belt until routing is verified through vehicle-specific service information. When year, engine code, or accessory details remain unclear, VIN-based confirmation prevents applying a diagram from a similar 6.6 Duramax that uses a different belt alignment. An uncertain accessory layout is a reason to stop and verify.
Read the Belt Path and Identify Each Pulley
Once the diagram is verified, trace the accessory drive belt as a continuous loop so every pulley appears in order. Start at a known driven accessory, follow the wrap to the next pulley, and continue until you return to the starting point without skipping a station. The 6.6 Duramax serpentine belt diagram should show each contact in sequence, including idler pulleys that only redirect the belt. If a pulley on the engine is not represented, or the diagram shows a pulley the engine does not have, reconfirm accessory configuration before treating the path as complete.
Diagrams distinguish driven accessories from idler pulleys and the belt tensioner so you can see which wheels do work and which only guide or load the belt. The ribbed face of the belt belongs on the matching ribbed pulley grooves of driven accessories, while the smooth back typically contacts a smooth pulley or the tensioner face as the applicable diagram specifies. That rib-to-groove and smooth-to-smooth relationship is part of belt alignment, not a universal rule you can assume. A reference photo of the existing installation documents what is there now, but it cannot prove the routing was correct.
Recognize Belt Wear and Symptoms That Need Diagnosis
Look for fraying at the edges, missing rib material, a shiny glazed surface, oil or coolant contamination, and a belt sitting outside its pulley grooves. Those conditions can reduce grip, allow the belt to walk, or leave an accessory underdriven. A belt that has climbed a pulley wall is already out of alignment and should not be forced back into place as a fix. Inspection belongs to accessible visual checks with the engine off and cool; do not reach into the accessory drive while it can still move, and do not probe pulleys with your hands.
Squealing, chirping, or a displaced belt can involve belt alignment, tension from the tensioner, a worn idler pulley, a glazed ribbed pulley, or contamination on a contact surface. Sound alone cannot identify the failed component, so the noise is a reason for diagnosis rather than a cue to replace only the belt. If the belt is damaged or off the pulleys, if the temperature gauge or warning indicates overheating, or if a charging warning appears, stop the vehicle safely and arrange assistance. Continuing to drive can leave the cooling or charging circuit without drive.
Confirm the Replacement Belt and Prepare Safely
Order the replacement accessory drive belt from vehicle identification and the installed accessory configuration, not from the 6.6 Duramax displacement figure by itself. Belt length, rib count, and application listings must be checked in the applicable parts information for that VIN-matched layout. A belt that looks similar can still be too short for an extra idler, too long for a simpler drive, or cut with a different rib profile. Do not assume compatibility with another 6.6 diesel that shares the same engine family if the accessory package or routing differs.
Prepare the vehicle before any belt work. Park on a level surface, set the parking brake, switch the engine off, and allow it to cool so hot components and a still-spinning fan are not a hazard. Keep the key away from the vehicle so the engine cannot be cranked while hands or tools are near the drive. If access to the tensioner is cramped, the belt routing decal is missing, or you are not familiar with a spring-loaded tensioner, a qualified technician should complete the job rather than improvising around an unknown load path.
Understand the Replacement Work and Inspection Scope
Replacement stays at a high level: establish the correct route from the verified diagram, remove the old belt using the applicable service procedure, inspect the drive, and fit the confirmed replacement. The spring-loaded tensioner stores force, so it requires the specified tool and the published method for that application. Improvised bars, sockets used as levers, or hands-on attempts to collapse the tensioner are not substitutes for the service procedure. Without the correct tool path, the tensioner arm can slip and the belt can leave a pulley.
A new belt does not correct a worn tensioner, a seized idler pulley, a misaligned ribbed pulley, or an oil leak that soaked the old belt. Inspect the tensioner, idlers, pulley alignment, and contamination sources so replacement addresses any confirmed underlying problem rather than covering it. Rough rotation, side-to-side pulley wobble, or a tensioner that does not return smoothly are signs for professional assessment. Suspected pulley bearing, tensioner, or accessory faults should be evaluated before the vehicle returns to service, because a fresh belt on a damaged drive can walk off or fail quickly.
Check Routing and Seating Before Returning to Service
With the engine still off, compare the installed belt to the verified vehicle-specific routing diagram, pulley by pulley, until the entire wrap matches. Every rib must sit in its intended groove on each ribbed pulley, and the belt must stay centered on the designated smooth pulley surfaces rather than riding a flange or hanging off an edge. A belt that is twisted, one rib off, or contacting a bracket will not track correctly once the engine runs. This check is the last confirmation that the 6.6 Duramax serpentine belt diagram was actually followed.
Clear tools from the engine bay and restore any guards or access components that were removed, following the service procedure so nothing can fall into the drive. After the engine is started from a safe distance, listen and watch for warning lights; do not lean in to inspect a moving belt. Persistent noise, a charging or temperature warning, or suspected belt tracking problems mean shut the engine down safely and seek professional testing. A belt that walks after installation is evidence of alignment, tension, or routing trouble.