4L80E Transmission Shift Solenoid Replacement
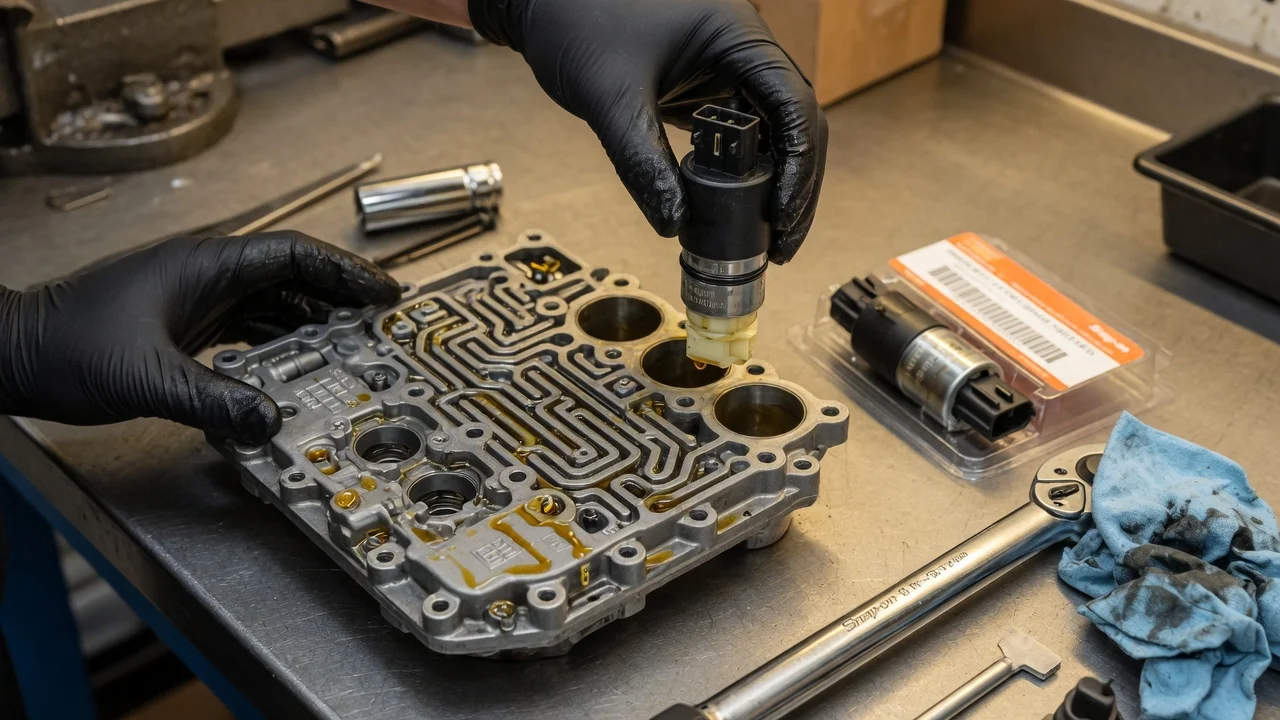
On the 4L80E, the shift solenoids sit on the valve body under the oil pan. That makes replacing one of the more approachable internal repairs on this heavy-duty GM four-speed automatic. Easy access does not make the diagnosis certain, though. A stuck gear, a missed shift or a stored code can come from wiring, fluid condition, the control module or worn hard parts, so confirm the cause before buying anything.
Confirm the part and repair scope
Start by confirming the transmission type. The 4L80E was used in heavy-duty GM pickups, vans and SUVs from the early 1990s through the late 2000s, and also appears in some motorhome chassis and other heavy applications. Check the service parts identification label for the transmission RPO code (MT1 for the 4L80E) and read the identification plate on the case. Solenoid design and connectors changed over the production run, so match the replacement part by vehicle year, VIN and transmission identification rather than by appearance alone.
The valve body carries several electrical components besides the two shift solenoids, commonly called shift solenoid A (1-2) and shift solenoid B (2-3). These include the torque converter clutch solenoids and the pressure control solenoid. Use the wiring diagram for your year to confirm which part the fault actually involves. Diagnostic codes describe a circuit or performance condition, not a confirmed failed part. On OBD-II trucks, for example, codes for the solenoid A or B electrical circuit can also be set by a damaged harness, a corroded or leaking case pass-through connector, or a module problem. Before ordering parts, check the fluid level and condition, read the service history, and measure solenoid resistance at the external connector against the manual's specification.
Pay attention to shift behavior. A transmission that starts in the wrong gear, skips a gear or stays in one gear can point to a shift solenoid, but it can also mean the controller has entered a failsafe mode. Slipping, flare between gears, burnt fluid or heavy debris usually means wear that a solenoid cannot fix. In that case, compare repair options such as an overhaul or a replacement unit before doing a partial repair.
Prepare tools and safe access
Get the factory service information for your exact model year. It gives the pan bolt torque, the solenoid locations, the wiring colors and the fluid specification. You will need: • a scan tool that can read transmission codes, and ideally command the solenoids; • a digital multimeter; • sockets and a torque wrench; • a large drain pan; • a new pan gasket, plus a filter with its seal; • the correct transmission fluid; The fluid specification is a Dexron-type ATF, and GM updated the requirement over the years, so use what the service information calls for rather than a generic multi-vehicle fluid.
These trucks are heavy, and the pan holds several quarts of fluid that can be scalding after a drive. Work on level ground, chock the wheels and support the vehicle on rated jack stands or a lift, never on a jack alone. Let the fluid cool and disconnect the battery before unplugging any transmission connectors. Leave the job to a transmission shop if you cannot support the vehicle safely or are not comfortable diagnosing circuits with a meter. The same applies if the repair turns out to need the valve body removed, because loose check balls and mixed-up bolts are easy mistakes to make.
Remove without avoidable damage
Most 4L80E pans have no drain plug, so place the drain pan under the transmission first. Loosen the pan bolts gradually, leaving a few snug on one side so the pan tips and drains in a controlled way. Then support the pan and remove the rest. Look at the magnet and the residue. A light gray film is typical. Clutch friction material, brass particles or sizable metal pieces point to internal wear that should be diagnosed before you finish the solenoid job.
Pull the filter straight down and check that its seal came out with it. If the seal stays in the case bore, remove it carefully without scratching the bore. Identify the target solenoid using the manual's diagram and wire colors. Release the connector by its locking tab instead of pulling on the wires. Remove the retaining clip and draw the solenoid straight out of the valve body without prying against the aluminum. Do not loosen valve body bolts unless the service procedure requires it. Compare the old solenoid with the new one before going further.
Install and restore the system
Check that the new solenoid's O-rings are intact, then lubricate them with clean transmission fluid. Insert the solenoid in the same orientation as the original, seat it fully by hand and reinstall the retaining clip so it is completely engaged. Reconnect the electrical connector until it locks. Make sure the internal harness is routed as it was and stays clear of the filter and pan.
Install the new filter and seal. Clean the pan, the magnet and both sealing surfaces, then fit the new gasket. Tighten the pan bolts evenly to the specification and sequence in your service information. Refill with the specified fluid through the dipstick tube, start the engine and check the level using the procedure for your vehicle. That procedure is normally done at operating temperature on level ground with the engine running, after cycling through the gears. Reconnect the battery if you have not already, then clear stored codes with the scan tool. Some controllers keep adaptive shift data. If your service information includes resetting the transmission adapts after a repair, do it now.
Check the completed work
Before driving, look for leaks around the pan and the case connector, and recheck the fluid level. If your scan tool supports output controls, command the replaced solenoid on and off and watch for a clean response with no new circuit fault. Then road test from cold to fully warm. Confirm: • smooth upshifts and downshifts through all four gears; • converter clutch engagement and release; • correct operation in each manual range; Afterward, scan again for pending codes, check the level once more and record the work in the service history.
Some results mean the solenoid was not the whole story and you need further diagnosis: • The same code returns quickly. Suspect wiring, the case pass-through connector or the controller. • Shifts are delayed, flare or slip. • The fluid smells burnt or turns dark soon after the change. • New debris collects on the pan magnet. At that point, use pressure testing or a professional transmission evaluation to decide the next step before driving the truck hard or towing.