4L80E Transmission Cooler Line Routing Diagram: How the Lines Run
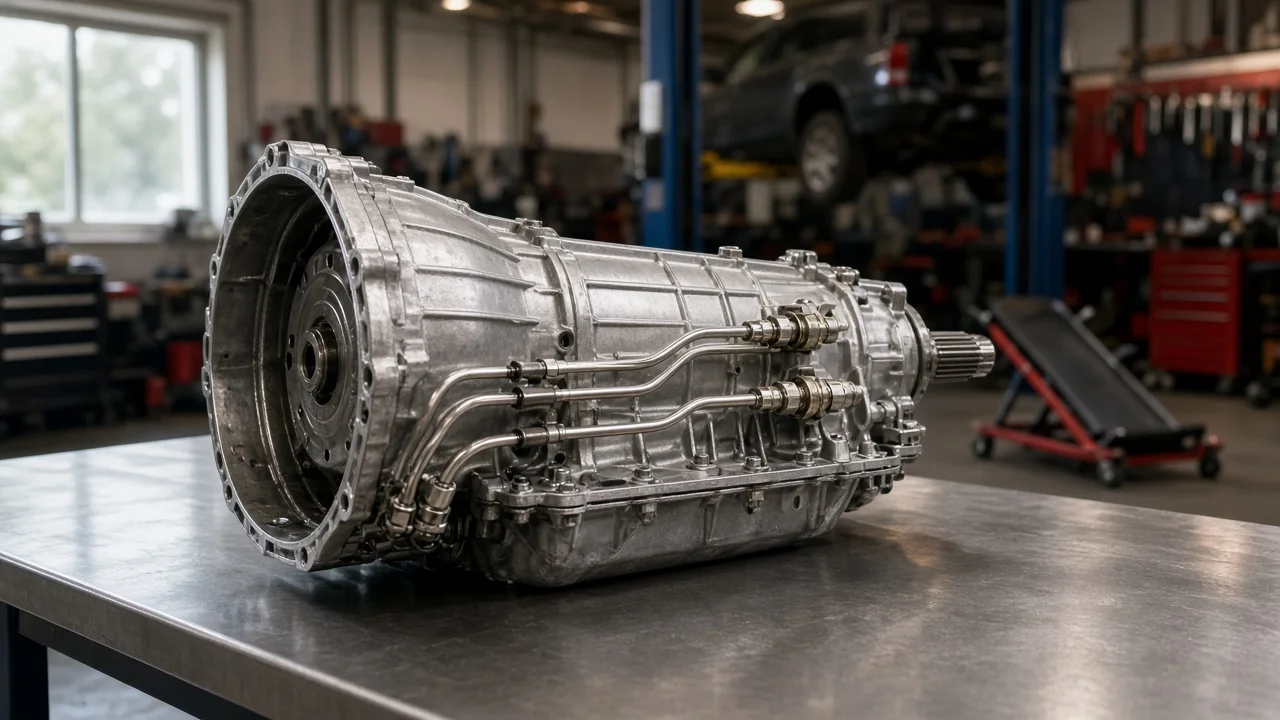
If you are replacing a leaking cooler line, installing a rebuilt unit or finishing an engine swap, you need to know where the 4L80E cooler lines go and which one carries fluid out to the cooler. This guide describes the typical routing, explains how the circuit works, and shows how to confirm the layout on your own vehicle. It does not replace the factory service information for your specific truck or van.
The short answer
On a typical factory GM installation, two steel cooler lines leave fittings on the passenger side of the 4L80E case. They run forward along the right side of the engine and oil pan, held by brackets, to the transmission cooler built into the radiator tank. Many heavy-duty trucks and vans also have an auxiliary air-to-oil cooler mounted ahead of the radiator. One line carries hot fluid from the transmission to the cooler, and the other returns it. Don't rely on a generic picture to decide which case fitting is the outlet. Lines are often swapped during rebuilds, radiator replacements and swaps, and published drawings don't always match a particular chassis, so confirm it on the vehicle.
A useful routing diagram shows a simple loop. Fluid leaves the transmission outlet fitting, travels through the feed line to the radiator cooler inlet, and exits the radiator cooler. If an auxiliary cooler is fitted, fluid passes through it next. The return line then carries it back to the transmission return fitting. The order of the radiator and auxiliary coolers is a common factory arrangement, not a rule. Aftermarket setups may reverse it or bypass the radiator cooler entirely.
How fluid moves through the cooler circuit
The transmission pump pressurizes fluid, part of which charges the torque converter. The converter generates much of the heat in an automatic transmission, especially when slipping during towing, climbing or stop-and-go driving. Fluid leaving the converter is sent out to the cooler. In GM's design, fluid coming back from the cooler typically feeds the lubrication circuit that supplies bushings, gears and clutches. So a restricted or misrouted cooler circuit affects internal lubrication as well as fluid temperature.
The cooler inside the radiator tank exchanges heat with engine coolant. It sheds heat under load and helps bring the fluid up to temperature in cold weather. An auxiliary cooler uses airflow to remove additional heat and matters most under sustained heavy work. Kinks, crushed lines, collapsed hose sections or debris in the cooler reduce flow. Higher fluid temperature speeds up fluid breakdown.
What changes the routing on your vehicle
Start by confirming the transmission type. The 4L80E is a large, electronically controlled four-speed used in heavy-duty GM trucks, vans and some other applications, and it is easy to confuse with other GM automatics when working from photos. Check the identification tag on the case and any service history or rebuild paperwork. A later 4L85E or a non-original replacement unit may change what you should expect.
Vehicle configuration changes the routing more than the transmission does. Line length, bend shape and bracket locations differ between pickups, full-size SUVs, vans and motorhome chassis. They also differ between gasoline and diesel engines and between two-wheel and four-wheel drive, because the transfer case and front axle change the available path. Engine swaps, aftermarket radiators without an internal cooler, remote filters, thermostatic bypass valves and add-on coolers all change the circuit. When buying replacement lines, match fitment to the exact year, chassis, engine and drivetrain rather than to the transmission alone.
Confirming feed and return yourself
Before disconnecting anything, photograph both lines along their full length and label them at the case and at the radiator. Trace each line by hand from the transmission fitting to the cooler connection and note which radiator port it reaches. If the original lines are intact and the vehicle has not been modified, this tracing is usually the most reliable diagram you can get.
If the routing is uncertain, a flow check identifies the feed side. With the fluid at the correct level, disconnect one line at the cooler and place its open end in a clean container. Start the engine in park and let it run only a few seconds. A strong discharge from the transmission-side line shows that line is the feed. Keep clear of fans and belts, expect hot fluid on a warm vehicle, and recheck the fluid level afterward. A technician can compare the flow volume against the specification in the service information. Weak flow can point to a restriction, but it doesn't identify the cause on its own.
When reinstalling, use the correct fittings and avoid overtightening threaded connections. Secure the lines in their brackets so they cannot rub or vibrate. Keep them clear of the exhaust, steering components and moving suspension parts. Any rubber section should be hose rated for transmission fluid, with suitable clamps and no kinks. After an internal failure, the cooler and lines are commonly flushed or replaced so debris does not return to a rebuilt unit. Fill with fluid that meets the fluid specification listed for your vehicle, and check the level using the procedure in the owner's or service manual.
Reading symptoms without jumping to conclusions
Wet fittings, drips at the radiator, a burnt fluid smell or dark fluid can all relate to the cooler circuit, but none of them confirms a failed part. Milky fluid or transmission fluid in the coolant may indicate a breach in the radiator cooler, yet it needs testing before you replace parts. Changes in shift behavior, such as delayed engagement or slipping, can result from low fluid caused by a leak, and they also have many unrelated causes. Diagnostic codes related to fluid temperature can reflect real overheating or a sensor or wiring fault. Compare scan tool temperature readings with driving conditions before deciding what to repair.
Limitations and next step
This guide describes the general layout. Exact fitting types, line lengths, bracket positions and the order of coolers depend on model year, chassis, engine and prior modifications, so use factory service information or a parts catalog matched to your vehicle. Get professional help if coolant and transmission fluid have mixed, if temperatures stay high after you have verified flow, if you find metal or friction debris, or if codes and shift problems persist. A transmission specialist can measure cooler flow and pressures and recommend repair options. These may include replacing lines, repairing or replacing the radiator, adding an auxiliary cooler, or internal transmission work.