How to Replace the 4L80E TCC Solenoid
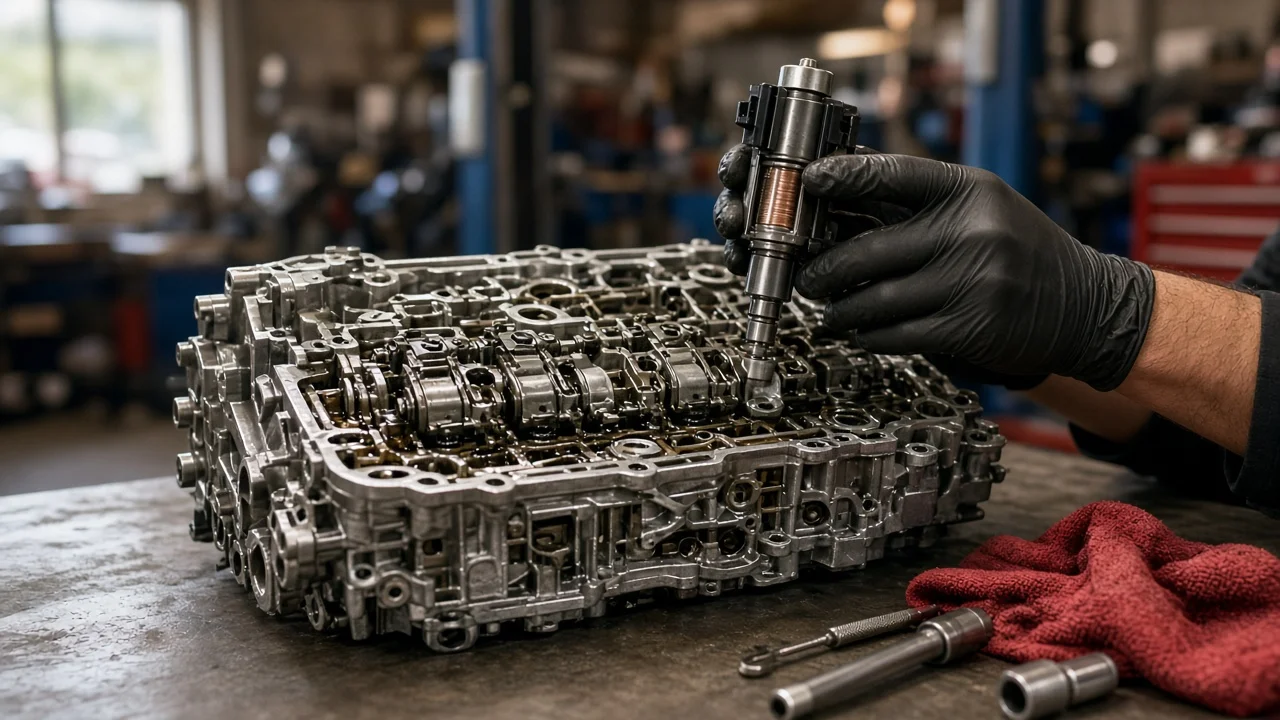
The 4L80E is GM's heavy-duty, electronically controlled four-speed automatic, used in many full-size trucks, vans and SUVs. A solenoid on the valve body controls its torque converter clutch (TCC). Replacing that solenoid is a pan-off job that an experienced home mechanic can usually handle. Before you buy parts, confirm that the solenoid is actually the cause and that you have the right version for your model year. Lockup complaints have several possible sources.
Confirm the part and repair scope
First, confirm the transmission type. Check the service parts identification label and the ID plate on the transmission case, because similar-looking GM automatics were used in the same vehicle lines. Within the 4L80E family, the converter clutch controls changed over the production run. Depending on the year and application, the unit may use an on/off TCC solenoid, a pulse-width-modulated (PWM) TCC solenoid, or a combination. These parts are not always interchangeable. Confirm fitment by VIN or transmission identification instead of by appearance, and check the connector style and O-ring arrangement before installing anything.
A failed TCC solenoid can cause the converter to never lock up. Signs include higher engine RPM at steady highway speed, rising fluid temperature and worse fuel economy. A solenoid or circuit stuck on can make the engine stumble or stall as the vehicle comes to a stop. Shudder during lockup is more often linked to fluid condition or the converter itself, though. On OBD-II vehicles, look for diagnostic codes in the TCC circuit and performance family, plus any manufacturer-specific transmission codes. Early OBD-I trucks use a different code system.
Before you condemn the solenoid, check the following: the fuse, the brake switch input (TCC releases when the brakes are applied), the external transmission connector and the internal harness. Also review the fluid condition and the service history. Measuring solenoid resistance at the case connector against the specification in the service information helps separate a failed coil from a wiring fault. If the problem lies in the converter clutch valve, the valve body or the converter itself, a new solenoid will not fix it.
Prepare tools and safe access
Gather these before you start: • A scan tool that can display transmission data; • A socket set and a torque wrench; • A large drain pan; • A new pan gasket and a filter kit that includes the filter seal; • The correct replacement solenoid with its O-rings; • Enough of the correct ATF to refill what drains from the pan; Take the fluid specification from the owner's manual or current GM service information for that vehicle, not from a general assumption. Also have the vehicle-specific service information on hand for pan bolt and solenoid fastener torque values and for the fluid level check procedure. These figures vary, and guessing risks leaks or stripped threads in the aluminum case.
Work on level ground with the wheels chocked. Support the vehicle on rated jack stands, never on a jack alone. Let the transmission cool, because fluid at operating temperature can cause burns. Disconnect the negative battery cable before unplugging any electrical connectors, and wear eye protection when you drop the pan. If you cannot lift the vehicle safely, or if your diagnosis points toward the valve body or converter, consider professional repair instead.
Remove without avoidable damage
If your pan has no drain plug, loosen the bolts gradually and leave a few snug on one side. This lets the pan tilt and drain in a controlled way instead of dumping its contents. Once the pan is off, inspect the pan and its magnet. A fine gray film is common. Large metal pieces, heavy friction material or a burnt smell point to internal wear that a solenoid replacement will not address, so stop and diagnose before going further. Pull the filter straight down, and make sure the old filter seal comes out of the case bore with it. A leftover seal can cause leaks or pressure problems.
Use the service information to locate the TCC solenoid on the valve body. Several solenoids sit close together and can look similar. Photograph the harness routing and connector positions before you touch anything. Release the connector by pressing its lock rather than pulling on the wires. Then remove the retaining fastener or clip and draw the solenoid straight out of its bore. Confirm the old O-rings came out with it. Do not pry against the valve body or loosen its bolts unless the service procedure requires it. Disturbing the valve body risks misalignment and lost check balls.
Install and restore the system
Compare the new solenoid with the old one: connector, body shape and O-ring arrangement. Lubricate the O-rings with clean ATF. Insert the solenoid straight into its bore in the same orientation as the original, with the connector facing the same way. Install the retaining fastener and tighten it to the specified torque. Overtightening can crack the solenoid housing or damage the valve body threads. Reconnect the harness, and route it as shown in your photos, clear of the pan rail and any moving parts.
Clean the pan, the magnet and both gasket surfaces. Push the new filter seal fully into the case bore, then install the filter so it seats completely. Fit the new gasket and tighten the pan bolts in a crisscross pattern to the specified torque. Reconnect the battery. Refill with the specified fluid. Only the pan was drained, so the required amount is well below total system capacity. Set the final level using the documented procedure, which normally calls for the engine running and the fluid at the stated temperature. Clear the stored codes. If the service information calls for an adaptive value reset after transmission work on your vehicle, perform it.
Check the completed work
With the engine running, look for leaks around the pan and confirm there are no new warning lights. On a road test, monitor TCC commanded state and TCC slip speed on the scan tool. Cruise steadily in top gear with light throttle. When lockup is commanded, engine RPM should drop slightly and slip speed should settle near zero. A light touch of the brake pedal should release the clutch. Lockup should be smooth, with no shudder or surging. Recheck the fluid level afterward using the specified procedure.
The following signs mean more diagnosis is needed: a returning code, high slip speed while lockup is commanded, shudder, stalling at stops, or fluid overheating. Likely areas to check are the wiring, the PCM output, the brake switch, the valve body and the torque converter. Record the repair, the parts used and the fluid used in the vehicle's service history. That record helps whoever works on the transmission next.