4L60E Transmission Limp Mode: Symptoms and Diagnosis
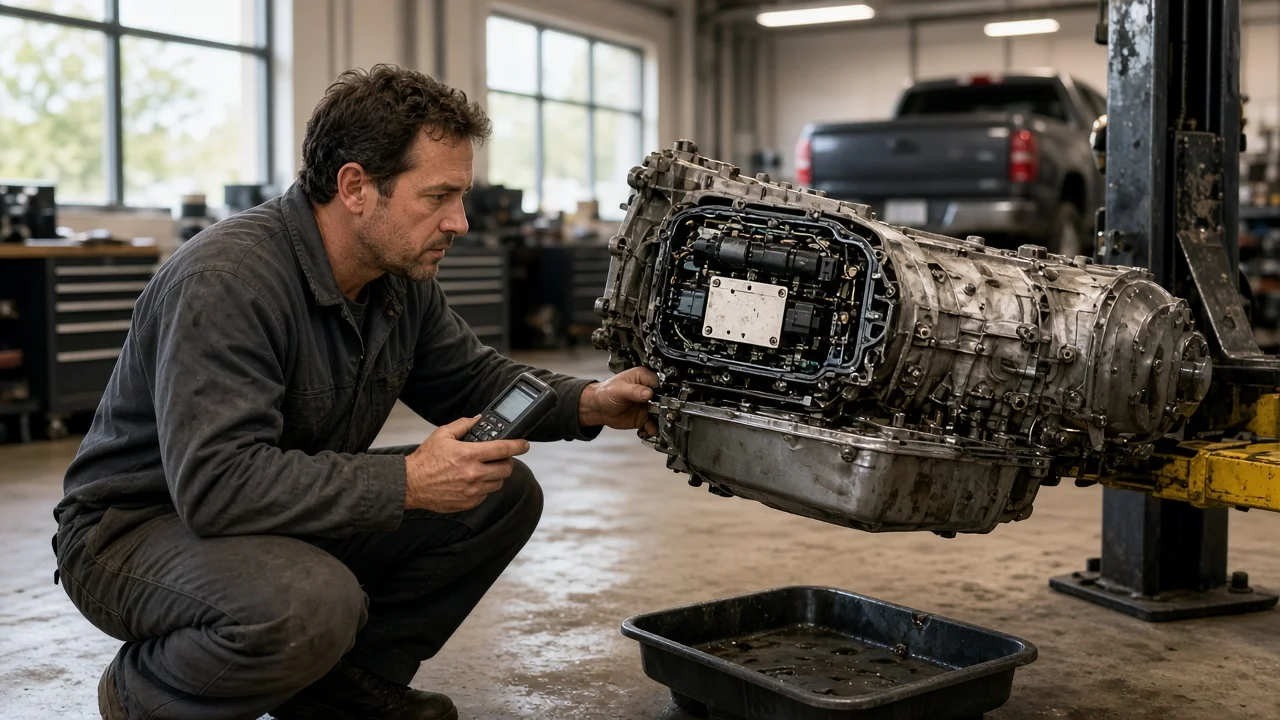
When a 4L60E goes into limp mode, the truck or SUV usually still moves, but it stops shifting normally and feels flat from a stop. Limp mode is a protective strategy: the control module detects a fault it cannot manage and lets the transmission fall back to a fixed hydraulic state. The symptoms are distinctive, but they point to a category of fault rather than a specific failed part, so careful diagnosis matters before anything is replaced.
Confirm the transmission first
The 4L60E is a GM four-speed automatic used in many rear-wheel-drive and four-wheel-drive trucks, SUVs and cars. It looks similar to the earlier 4L60, which has no electronic shift control and therefore no limp mode in the same sense, and to the heavier-duty 4L65E and 4L70E, which share much of the electronic design but differ in parts. The service parts sticker, often in the glove box or on a door jamb, lists RPO codes; M30 is commonly the code for a 4L60E. Confirm the model year and engine as well, because wiring, sensors, fluid specification and the module that controls the transmission changed over the production run. Diagnostic steps, connector layouts and repair parts all depend on that fitment.
Establish the symptoms
Typical signs of 4L60E limp mode include starting from a stop in a higher gear, so acceleration feels sluggish, and no upshift or downshift no matter how road speed changes. In Drive the unit most often holds third gear, because that is the gear produced when both shift solenoids are off, although many owners describe it as being stuck in second because the launch is so weak. Engagements into Drive and Reverse may feel harsh, since line pressure defaults to maximum when the pressure control solenoid is not being commanded. The torque converter clutch usually stays released, so engine speed at highway pace runs higher than normal. A check engine light is common but not guaranteed, and a speedometer that drops out at the same moment is a useful clue.
Write down when it happens: on a cold start or only once fully warm, after a bump or hard turn, in rain or after a car wash, during heavy towing, or right after starting. Note whether restarting the engine restores normal shifting for a while, whether the fault followed a gradual change in shift behavior or arrived suddenly, and any recent work such as a fluid service, battery replacement, exhaust repair, engine tuning or a change in tire size. These details help separate electrical faults from hydraulic and mechanical ones.
Distinguish plausible causes
Electrical faults are the most frequent trigger, because limp mode is the module's reaction to a signal it cannot trust or a circuit it cannot control. Candidates include the case connector and its seal, harness chafing near the exhaust or crossmember, a blown fuse or weak ignition feed to the solenoids, shift solenoid A or B, the pressure control solenoid, the transmission range switch, the fluid temperature sensor and the vehicle speed sensor. Low battery or charging voltage can also set codes on its own. Symptoms that come and go with bumps, moisture or temperature support a wiring or connector problem. A fault that is present every time and unaffected by moving the harness points more toward a failed component or a hard open or short circuit.
Hydraulic and mechanical problems can also produce failsafe behavior or mimic it. Low or degraded fluid, a worn valve body, a sticking pressure regulator or internal clutch wear may cause slipping that the module detects as an incorrect gear ratio or converter slip, after which it locks out normal shifting. Burnt-smelling fluid, slipping or flare between gears before the fault appeared, and ratio-related codes support an internal cause. Clean fluid at the correct level, crisp shifts right up to the moment of failure and purely electrical codes weaken it. The control module itself is a less common cause and should be considered only after power, ground and circuit checks.
Checks in a useful order
Start with observations that need little more than care and a basic code reader. Read stored, pending and history diagnostic codes before clearing anything, and record freeze-frame data if the tool provides it; some generic readers do not show every transmission code. Check battery voltage with the engine off and running. Inspect fluid level and condition following the procedure in the owner's manual, which on most 4L60E applications means checking at operating temperature with the engine running, and use only the fluid specification the manual calls for. Look at the harness and the connector on the transmission case, usually on the driver side above the pan, for damage, corrosion, oil intrusion or a loose lock.
Deeper tests need a scan tool with transmission data, a meter, wiring diagrams and specifications. A technician can compare commanded gear with actual gear ratio, watch fluid temperature, speed sensor and range switch data while driving, measure solenoid circuit resistance and voltage at the case connector, and perform a line pressure test with a gauge. Dropping the pan to inspect for debris and to reach the solenoids on the valve body is a reasonable step once the electrical evidence points inside the case, and it is easier to interpret if fluid condition and codes were recorded first.
Interpret the findings
A solenoid circuit code establishes that the module saw an electrical problem in that circuit, not that the solenoid itself has failed; the harness, connector, internal pass-through, feed fuse or module driver all remain possible. Several solenoid codes at once often point toward a shared power feed or the connector rather than multiple failed parts. A speed, temperature or range sensor code calls for checking that signal in live data before replacing the sensor. Low voltage codes alongside transmission codes make the charging system the first repair.
Ratio, slip or converter clutch performance codes combined with dark, burnt fluid or friction material in the pan suggest internal wear, and replacing a solenoid alone is unlikely to restore normal operation in that case. No codes at all, with a transmission that slips rather than holding a fixed gear, usually means the problem is not true limp mode and needs a hydraulic or mechanical diagnosis. Before buying parts, confirm the fault with a measurement that isolates the component, then verify the repair by clearing codes and driving through the same conditions that triggered it.
Urgency and next action
Limp mode is designed to let the vehicle be moved, not to serve as a normal driving state. Stop driving and arrange transport if the transmission slips, flares, will not engage Drive or Reverse, smells burnt, leaks fluid, shows an overheating warning or makes grinding or banging noises. Even without those signs, the higher starting gear and released converter clutch add heat and load, so avoid towing, steep grades and hard acceleration. No remaining distance can be considered safe until the cause is diagnosed.
For an efficient repair visit, bring the vehicle year, model, engine and RPO code, every diagnostic code with freeze-frame details, a description of when the fault appears, the fluid condition, the service history and any tuning or aftermarket changes. Repair options range from a harness or connector repair and a solenoid or sensor replacement to valve body work, a rebuild or a replacement transmission, and the right choice depends on what the tests confirm.