Toyota 4Runner Rear Axle Bearing Tools: Checking Third-Generation Fitment
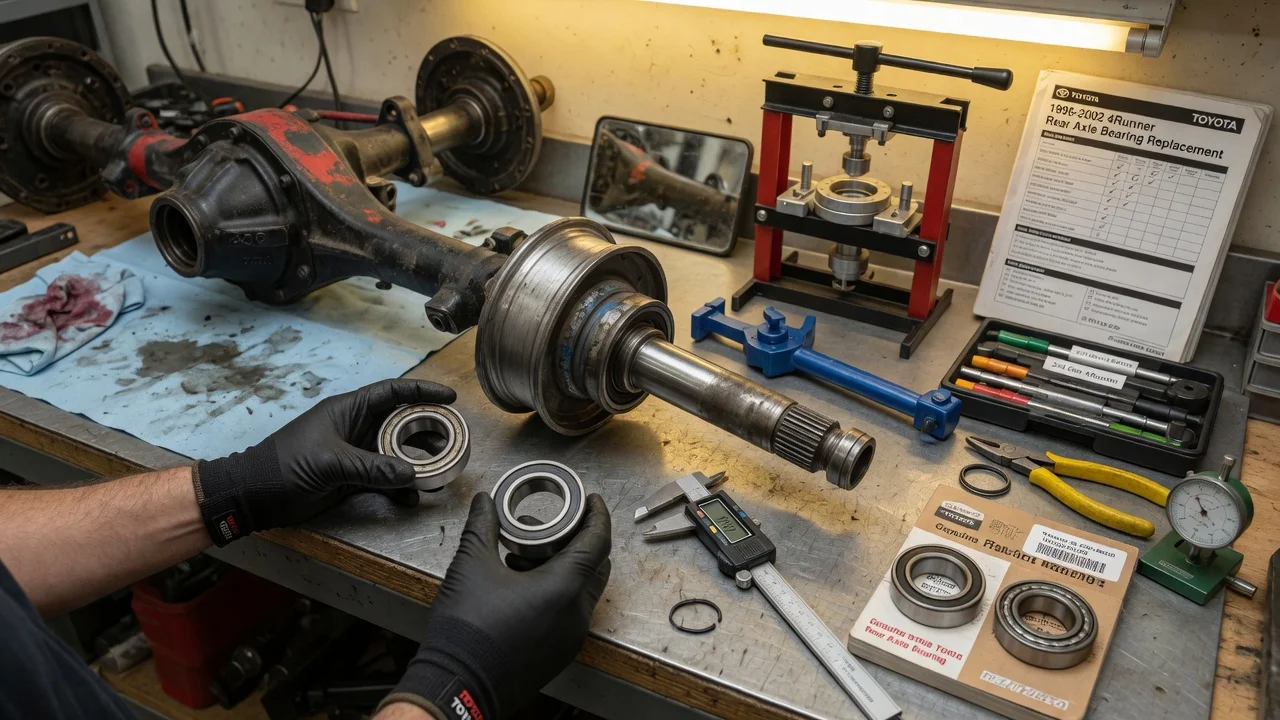
Replacing a rear axle bearing on a third-generation 4Runner is mostly a pressing job, but buying the right tools only makes sense once the bearing is confirmed as the problem. Before spending money on a slide hammer, bearing separator or press adapters, pin down the symptoms, rule out look-alike causes and match every tool to your exact vehicle configuration. This guide covers that order so the purchase goes toward the repair the truck actually needs.
Establish the symptoms
Start with a written record of when the problem shows up. A worn rear wheel bearing typically produces a hum, growl or rumble that rises with road speed rather than engine speed. Note whether the sound changes when the truck sweeps left or right, because shifting weight onto or off a failing bearing often makes the noise louder or quieter. Record whether it is present cold and warm, on smooth and rough pavement, and with the transmission coasting versus under throttle.
Write down associated signs as well: vibration felt through the floor or seat, a clunk when taking off, gear oil on the inside of a rear wheel or tire, oily brake components, a parking brake that behaves differently from side to side, or an ABS warning light. Finally, list recent changes from the service history, such as new tires, brake work, a differential fluid change, a lift, a heavy towing trip or deep water crossings. Water entry and recent axle work both change which cause is most likely.
Distinguish plausible causes
Several faults sound like a bad rear bearing. Tires with cupping, feathering or uneven tread wear produce a speed-related drone that can mimic a bearing almost exactly; a noise that moves after a tire rotation points strongly at the tires. Differential gear or pinion bearing wear tends to change with throttle load, getting louder on acceleration or on deceleration, while a wheel bearing responds more to cornering load than to the gas pedal.
A leaking axle seal is a separate failure but often travels with a worn bearing, since bearing play lets the seal lip wear unevenly. Gear oil on the backing plate or brake parts supports a seal or bearing problem at that corner, but by itself it does not prove the bearing is rough. Dragging brakes, a worn driveshaft universal joint and loose wheel hardware can also create noise or vibration. Treat each cause as a candidate and look for observations that strengthen or weaken it rather than settling on the bearing first.
Checks in a useful order
Begin with safe observations that need no tools. Inspect all four tires for irregular wear and confirm pressures match the placard. Look behind each rear wheel for gear oil on the tire sidewall, backing plate or brake hardware. Check that the lug nuts are tight. If the noise is clearly tied to cornering in one direction, note which side was carrying the load at the time, because that often points to the side with the failing bearing.
The next stage needs basic equipment and proper support. With the rear raised on rated jack stands on firm ground and the front wheels chocked, rotate each rear wheel by hand and listen and feel for roughness or grinding, then grip the tire at top and bottom and rock it to check for play. Check the differential fluid level and condition against the manufacturer specifications for your axle; metallic debris or water contamination matters. A mechanic's stethoscope on the axle housing near each end helps separate a wheel bearing from differential noise.
Confirming the bearing, and replacing it, means pulling the axle shaft. On this semi-floating rear axle the bearing is pressed onto the shaft and held by a press-fit retainer ring, and the shaft is retained through the backing plate at the housing end. Removing the shaft involves the brake components, parking brake cable and, where equipped, the ABS sensor. A slide hammer with a flange adapter may be needed if the shaft is stuck. Removing and installing the bearing and retainer calls for a hydraulic press, a bearing separator that fits the shaft, and press adapters that bear only on the correct race. If you do not own a press, a qualified technician or machine shop can press the bearing once the shaft is out.
Interpret the findings
Speed-related noise that changes with cornering load, plus roughness or play at one rear wheel with healthy tires, makes the bearing the strongest candidate. Noise that follows the tires after rotation weakens the bearing theory. Noise that tracks throttle load, especially with debris in the differential fluid, shifts attention toward the differential. Oil at the backing plate without roughness or play suggests a seal problem first, though the bearing should still be inspected while the shaft is out.
Even a convincing roadside diagnosis needs confirmation on the bench. With the shaft removed, spin the bearing and check for roughness, look at the seal surface and housing seal, inspect the splines and confirm the brake parts are not contaminated. Before ordering tools or parts, confirm fitment against your exact vehicle configuration: model year, two-wheel or four-wheel drive, ABS, factory rear differential lock if equipped, and the brake setup. Match the slide hammer adapter to your hub's lug count and spacing, confirm the bearing separator opens wide enough for the shaft and bearing, and check press capacity and adapter sizes before assuming a kit described as fitting the 4Runner suits your truck. Do not assume parts from similar Toyota trucks interchange without verifying them by part number.
Urgency and next action
Stop driving and arrange towing if you notice grinding that gets worse quickly, wheel wobble, smoke or a hot smell from one rear wheel, a wheel that visibly moves on its axle, or gear oil soaking the brakes. A badly failed bearing can let the shaft shift or overheat, and oil-contaminated brake linings reduce stopping ability. Short of those signs, there is no reliable figure for how far a noisy bearing will last, so plan the repair promptly rather than relying on a mileage estimate.
Whether you buy the tools or hand the job to a shop, gather the details that make the repair go smoothly: VIN, model year, drivetrain, whether the truck has ABS and a rear locker, which side is affected, your notes on symptoms, recent service history and normal operating conditions such as towing or off-road use. Include results from the inspection, including play, roughness and fluid condition. Plan on new seals and a new retainer ring with the bearing, and follow the factory service procedure and maintenance schedule for fluid refill and any torque values instead of generic figures.