2019–2020 Ram 1500 4WD Actuator Replacement: Diagnosis, Removal and Installation
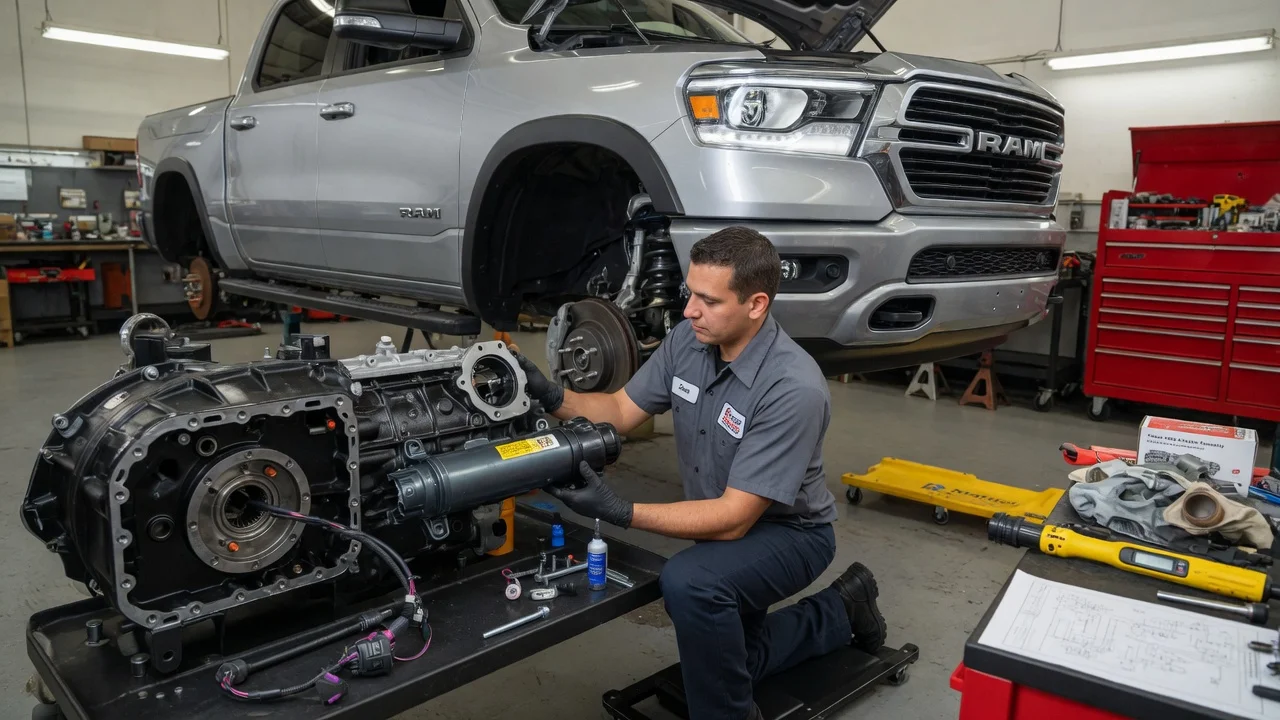
A flashing 4WD indicator, a Service 4WD message, or front wheels that never pick up drive can all point to a failed front axle actuator on a 2019 or 2020 Ram 1500. An experienced owner can handle the replacement as an underbody job. Two things come first: confirm the fault, and match the correct part to your vehicle configuration. This guide covers confirmation, preparation, removal, installation and the checks that prove the repair worked.
Confirm the part and repair scope
Two different trucks were sold as a 2019–2020 Ram 1500: the redesigned fifth-generation model and the carryover Ram 1500 Classic. Their 4WD hardware is not interchangeable. Confirm which truck you have from the VIN, then order the actuator by VIN or by the part number printed on your existing unit. Also be clear about which actuator you mean. Most owners mean the front axle disconnect actuator mounted on the front differential housing, which connects and disconnects the front axle shafts. The transfer case shift motor is a separate component with its own symptoms and procedure.
Before you buy anything, scan for stored codes with a tool that can read the 4WD or transfer case module and the body modules, not just generic engine codes. Inspect the actuator connector and harness for corrosion, water intrusion and chafing, and check the related fuses. A damaged connector or broken wire can look exactly like a dead actuator. A new actuator will not cure a fault in the selector switch, transfer case, control module or wiring. Review the service history for earlier 4WD repairs and think about operating conditions such as road salt, deep water or mud, all of which are hard on underbody connectors.
Prepare tools and safe access
Get the factory service information or a reputable repair database for your exact truck. It provides the fastener torque values, connector release method, front axle fluid specification and any initialization required after replacement. Do not substitute generic numbers. Typical tools include a floor jack rated for the truck, jack stands, wheel chocks, a metric socket set with extensions, a torque wrench, and a small pick or trim tool for connector locks. You will also need a drain pan, shop towels, parts cleaner, the specified front axle lubricant and a scan tool that reads 4WD codes.
Park on level ground with the transmission in Park and the transfer case in 2WD, unless the service information calls for something else. Chock the rear wheels and support the truck on jack stands at the proper lift points. Never work under a truck held up only by a jack. Disconnecting the negative battery cable is a sensible precaution before unplugging electrical components, unless your service information says otherwise. Some situations call for a shop instead: you lack stands, a torque wrench or a capable scan tool, or the fault is intermittent and still undiagnosed. Guesswork here often means buying a part that does not fix the problem.
Remove without avoidable damage
Locate the actuator on the front axle housing. On some trucks a skid plate or splash shield has to come off first. Clean the area around the actuator and its connector before opening anything, so dirt cannot fall into the axle. Release the connector lock and unplug it without prying against the housing or pulling on the wires. Aged plastic locks become brittle and snap easily. Unclip the harness from its retainers so it is not stretched while the actuator comes out.
Set the drain pan underneath, remove the mounting fasteners, and pull the actuator straight out along its axis. Twisting it or levering against the housing can damage the sealing surface or the shift fork that engages the collar inside the axle. Expect some gear oil to escape. Before setting the old unit aside, note its orientation, its seal and how the fork sits. Compare it side by side with the new part, checking the mounting pattern, connector and fork shape. Heavy corrosion, metal debris or a broken fork suggest internal axle damage that needs inspection beyond the actuator swap.
Install and restore the system
Clean the sealing surface without scratching it and keep debris out of the opening. Fit the seal supplied with the new actuator, or the one the service information specifies, and lubricate it only if the instructions call for it. Insert the actuator in the same orientation as the original so the fork engages the collar. It should sit flush without force. If it will not seat, do not use the bolts to pull it down. Remove it, check the fork position and try again. A slight turn of the front wheel or driveshaft can help align the internal parts where the procedure allows it.
Tighten the fasteners evenly to the manufacturer specifications with a torque wrench. Push the connector on until the lock fully engages, then route the harness back into its clips, away from heat and moving parts. Check the front axle fluid level and top up with the specified lubricant to replace any oil lost during removal. Reinstall any shields and reconnect the battery. After replacement, some trucks need codes cleared or a scan tool procedure completed. Follow the service information or the instructions supplied with the part rather than assuming no initialization is needed.
Check the completed work
Lower the truck, clear any stored codes, start the engine and confirm that no 4WD warning remains. Then drive at low speed on a loose or low-traction surface such as gravel. Cycle through the available 4WD modes as described in the owner's manual. The indicator should stop flashing and show the selected mode, the front wheels should pull, and shifting back to 2WD should release without lingering bind. Do not test part-time 4WD on dry pavement, where driveline binding can cause damage.
After the drive, scan for codes again, inspect the actuator for leaks, and recheck the axle fluid level. Further diagnosis is needed if codes return, the indicator keeps flashing, engagement grinds or clunks, or the front wheels do not drive even though the actuator responds. Those signs point toward wiring, the control module, the transfer case or internal axle parts. Record the repair in your service history with the date, mileage and part number, and continue front axle fluid service according to the maintenance schedule for your truck.