2018 Honda Accord Wastegate Actuator Replacement
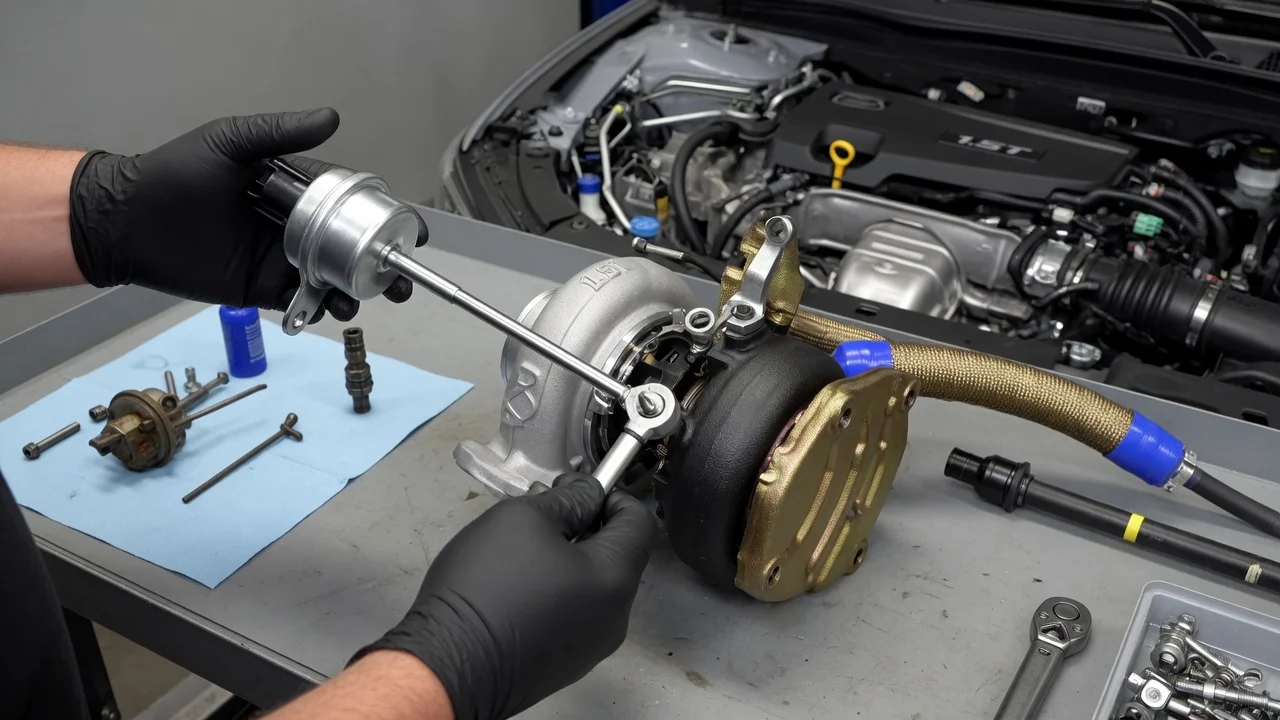
On a turbocharged 2018 Honda Accord, the wastegate actuator controls how much exhaust bypasses the turbine, which sets boost pressure. When it fails, owners usually notice reduced power, a check engine light or boost-related trouble codes. This guide covers how to confirm the actuator is actually at fault, prepare for the job, remove and install the part, and verify the repair. Torque values and detailed procedures should come from Honda's service information for your exact engine.
Confirm the part and repair scope
The 2018 Accord was offered with a 1.5-liter turbocharged four-cylinder, a 2.0-liter turbocharged four-cylinder and a hybrid powertrain. The hybrid has no turbocharger, so this job applies only to the turbo models. Don't assume parts for the two turbo engines are interchangeable. Use the VIN to match the part to your exact vehicle configuration, and read the parts listing carefully. On some turbocharged Honda engines, the actuator is supplied only as part of the turbocharger assembly, which changes the cost, the labor and the access required.
Confirm the diagnosis before ordering anything. Low power, an underboost code such as P0299 or an overboost condition can have several other causes: boost leaks in the intercooler piping, a faulty boost or manifold pressure sensor, wiring and connector faults, exhaust restrictions, or a sticking wastegate valve inside the turbine housing. A scan tool that shows commanded and actual wastegate position, along with any actuator circuit codes, helps separate an actuator failure from the rest of the system. Check the service history as well, because earlier repairs, recalls or technical service bulletins may point to a known issue or an updated part.
Prepare tools and safe access
Get the factory service information for your engine before you start. It gives the removal procedure, fastener torque values, any one-time-use fasteners or gaskets, and whether a scan tool initialization is required after replacement. Without it, you are guessing at details that matter on a hot, high-vibration component.
Work only on a fully cooled engine, because the turbocharger and exhaust parts stay hot long after shutdown. Disconnect the negative battery terminal before unplugging the actuator connector. If you need underside access, support the car on stands on level ground. Wear eye protection when working near rusty exhaust hardware. You will typically need metric sockets and extensions, a torque wrench, penetrating oil for corroded fasteners, and a scan tool that can read Honda-specific data.
This is not a beginner job. Access around the turbocharger is tight, and exhaust fasteners can seize or snap. If the actuator is part of the turbo assembly, the work extends to coolant lines, oil lines and exhaust connections. If you lack the service information, a compatible scan tool or experience with exhaust-side work, have a professional do the inspection and repair.
Remove without avoidable damage
Follow the removal sequence in the service information for your engine. In general, you first clear access around the turbocharger, which may mean removing heat shields, intake ducting or other components depending on the engine. You then disconnect the actuator's electrical connector and release the linkage between the actuator and the wastegate arm before unbolting the actuator itself.
Handle the connector gently. Heat makes plastic locking tabs brittle, and a broken tab can cause intermittent faults later. Soak exhaust-side fasteners with penetrating oil and give it time to work rather than forcing them. A snapped stud in the turbine housing turns a part swap into a much larger repair. Before removal, note the orientation of the actuator, the linkage, any clips and the harness routing, and take photos if that helps. Do not bend the wastegate arm or pry against the turbine housing.
With the actuator out, inspect the wastegate arm and valve. Move the arm by hand and check that it travels smoothly without binding or excessive play. If the valve itself is seized or worn, a new actuator will not fix the problem, and the turbocharger may need attention.
Install and restore the system
Install the new actuator in the same orientation as the original and connect the linkage exactly as specified. Use any new clips or fasteners the service information calls for. Tighten bolts to the manufacturer specifications with a torque wrench rather than by feel. Route the harness along its original path and clips, away from hot surfaces and moving parts, and make sure the connector locks fully.
Reinstall the heat shields and any other components removed for access, then reconnect the battery. Some electronic wastegate actuators require a position learn or initialization with a scan tool after replacement. If the service information specifies one for your engine, complete it before road testing. Skipping a required procedure can leave boost control inaccurate or set new codes, even with a good part. Record any stored codes before clearing them so you can compare results before and after the repair.
Check the completed work
Start the engine and let it idle while you check for warning lights and listen for exhaust leaks or rattles around the turbocharger. With the scan tool connected, confirm that the actuator responds and, if your tool shows these values, that commanded and actual positions track each other. Then road test under normal operating conditions, including moderate acceleration. Power delivery should be smooth, without surging, hesitation or limp-mode behavior.
After the drive, check again for pending or stored codes, and look for leaks around disturbed joints once everything cools. Further diagnosis is needed if a boost or actuator code returns, power stays low, the engine overboosts, or a fault appears only when the engine is hot. That usually means boost leak testing and wiring checks. Record the repair in the vehicle's service history and keep following the maintenance schedule in the owner's manual, since oil condition directly affects turbocharger health.