2016 Ford F-150 Rear Brake Replacement With Electronic Parking Brake
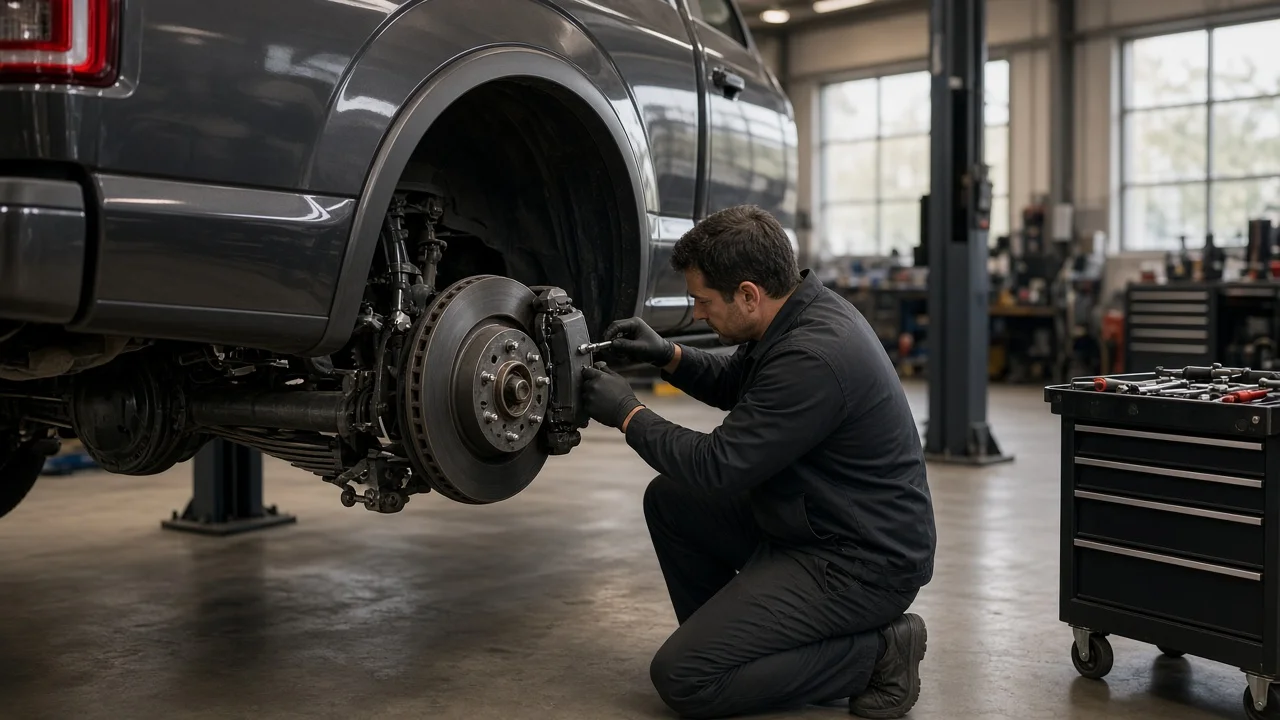
Rear brake work on a 2016 Ford F-150 is a common owner job, but the parking brake design changes how the caliper piston is retracted and how the system is restored afterward. This guide walks through confirming parts and repair scope, preparing safely, removing and installing pads and rotors without damaging the caliper, and checking the finished work. It assumes you will follow the service information for your exact truck and use its torque values and wear limits rather than generic numbers.
Confirm the part and repair scope
Start by checking which parking brake your truck actually has. A 2016 F-150 is normally equipped with a foot-operated parking brake pedal; Ford's switch-operated electronic parking brake is associated with later F-150 generations. Look at the driver's footwell and dash: a pedal means a mechanical, cable-actuated system, while a switch means an electrically actuated caliper that needs a service procedure. Many owners search for the electronic procedure when their truck uses the mechanical design, and the two require different steps at the caliper.
Vehicle fitment also varies with brake package, payload rating and wheel size, so order brake pads and brake rotors by VIN instead of by model year alone. Then confirm that replacement addresses the real problem. Measure remaining friction material and rotor thickness, and compare them with the wear limits in the service information or the minimum thickness cast into the rotor. Grinding, pulsation or a squealing wear indicator usually point to pads and rotors. A pull to one side, a hot wheel after driving, a parking brake that will not release or a brake warning light suggest a sticking caliper, a seized slide pin, a cable fault or an electrical problem that new pads will not fix.
Prepare tools and safe access
Get the repair procedure for your exact truck before you begin, because it specifies caliper and bracket bolt torque, whether threadlocker is required, how the piston is retracted and any post-repair steps. You will need a floor jack rated for the truck, jack stands, wheel chocks, a torque wrench, sockets, a wire brush, brake cleaner, high-temperature caliper slide grease and a piston retraction tool of the correct type. If your truck does have an electronically actuated caliper, you also need a scan tool that supports its brake service mode, plus a stable battery or maintainer so voltage does not drop during the procedure.
Work on firm, level ground, chock the front wheels, loosen the lug nuts while the tire is on the ground, and support the axle on stands at the specified points. Never work under a truck held only by a jack. If you are unsure about supporting a full-size pickup, interpreting torque specifications, or working on hydraulic and electrical brake components, have a professional do the job. Any brake fault that leaves the pedal soft or the truck unable to hold on a slope means stopping use until it is repaired.
Remove without avoidable damage
Release the parking brake fully. On a cable-actuated rear caliper, follow the service information on whether the cable must be disconnected from the caliper lever and how the piston must be retracted, since some integrated parking brake pistons have to be rotated rather than pushed straight back. Forcing the wrong method can damage the internal mechanism. On an electronically actuated caliper, put the system into service mode with a scan tool so the motor retracts the mechanism, then disconnect the motor connector as the procedure directs. Never pry or press the piston back while the motor is engaged.
Remove the caliper bolts and support the caliper with a hook or wire so it does not hang from the brake hose or parking brake cable. Remove the pads, then the caliper bracket, and note how the anti-rattle clips and pads are oriented. A rotor that is rusted to the hub may need penetrating oil and careful tapping on the rotor itself; avoid striking the wheel studs, hub or speed sensor area. As the piston retracts, brake fluid rises in the reservoir, so check the level and remove excess if needed to prevent overflow. Keep fluid off paint and do not open the bleeder or hose unless the procedure calls for it.
Install and restore the system
Clean rust and scale from the hub face so the new rotor sits flat, because debris there causes runout and pedal pulsation. Remove any protective coating or oil from the new rotor as the manufacturer instructs. Clean the caliper bracket abutments, install new hardware clips if supplied, and lubricate the slide pins and pad contact points with the appropriate grease, keeping it off the friction surfaces. Check that slide pin boots are intact and the pins move freely; a seized pin will wear the new pads unevenly.
Install the bracket and torque its bolts to specification, applying threadlocker only if the service information requires it. Fit the pads in the correct position, paying attention to any wear indicator placement and any inner or outer marking, then install the caliper and torque its bolts. Reconnect the parking brake cable or motor connector. For an electronic system, exit service mode with the scan tool and complete any required calibration so the controller relearns the mechanism. For a mechanical system, follow any adjustment steps in the procedure. Reinstall the wheel and tighten the lug nuts in a star pattern to the specified torque.
Before moving the truck, pump the brake pedal until it is firm, because the retracted pistons need to return to the pads. Recheck brake fluid level with the reservoir cap clean and top up only with the fluid type listed for the vehicle. If the hydraulic system was opened, bleed it according to the service procedure. Bed in the new pads following the pad manufacturer's instructions.
Check the completed work
With the truck stationary, confirm the pedal is firm and consistent and that no warning lights or parking brake messages appear on the cluster. Apply and release the parking brake several times and confirm it engages fully and releases completely; then test that it holds the truck on a gentle slope. Inspect each caliper, hose and bleeder for leaks, and confirm the fluid level remains correct.
Road test at low speed in a safe area. The truck should stop straight without pulling, grinding or pulsation, and the rear wheels should not feel noticeably hotter than the fronts after a short drive, which would suggest drag. A soft or sinking pedal, a persistent brake or parking brake warning, a parking brake that will not release, a pull to one side or fluid loss requires further diagnosis before normal use. Recheck lug nut torque after the initial drive if your service information recommends it.