2015 Chevy Tahoe Air Suspension Compressor: Choosing the Correct Part
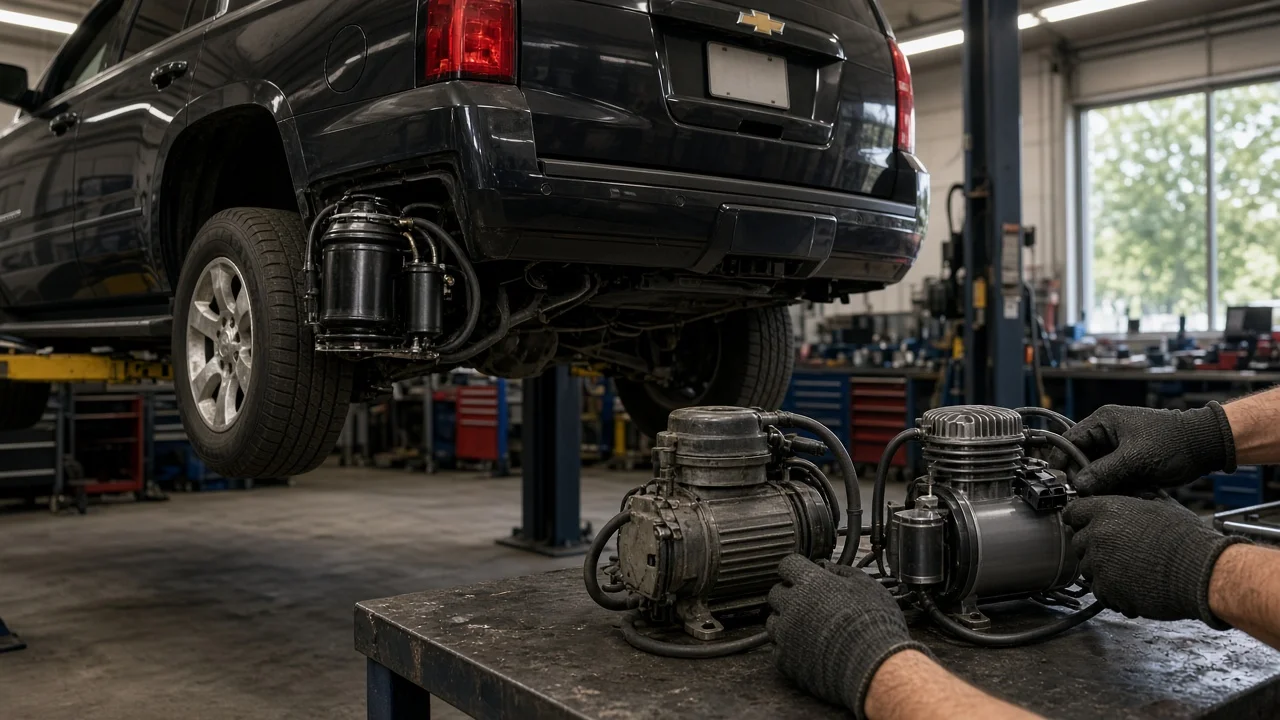
When the rear of a 2015 Chevy Tahoe sits low or a suspension warning appears, the air compressor is usually the first part owners shop for. Picking the right replacement takes more than matching the model year. You need to confirm the truck actually has an air-assisted system, identify the exact unit and its connections, and rule out the leaks and electrical faults that often kill compressors. This guide walks through those checks so you buy the correct part once.
Define the job the product must do
On trucks equipped with rear load leveling, the compressor supplies air to the rear air-assisted shocks or springs so the vehicle holds its ride height when carrying passengers, cargo or a trailer. Not every 2015 Tahoe has this system. Many use conventional coil springs, and Magnetic Ride Control relies on electronically controlled dampers rather than air, so a sagging rear on those trucks points to a different repair. Before ordering anything, look under the rear of the vehicle for a compressor unit and air lines running to the rear shocks, and check the option codes on the Service Parts Identification label, usually found in the glovebox. A dealer parts counter can also confirm the equipment from your VIN.
Next, match the purchase to how you use the truck. An owner who tows regularly or loads the cargo area heavily depends on leveling far more than someone who mostly commutes empty. Consider your budget, whether you will install the part yourself, and what symptoms you are seeing. A compressor that never runs, runs constantly, makes grinding noises or raises the rear very slowly behaves differently from a system that simply loses air overnight, and that difference shapes which part you actually need.
Check compatibility
The 2015 model year started a new Tahoe generation, so do not assume a compressor listed only for earlier trucks will fit. Look for listings that specifically cover the 2015 model year and your configuration, and cross-reference the part number printed on the label of your original unit or provided by a dealer from your VIN. Many listings also cover related full-size GM SUVs; that can be legitimate, but the part number cross-reference matters more than a long vehicle list.
Then compare the physical interfaces. The electrical connector must match in shape and pin count, and the air outlet fitting must accept your existing line without adapters. Check whether the replacement includes the mounting bracket and isolators or expects you to reuse yours, because bracket shape determines whether the unit lines up with the original mounting points. Finally, confirm whether the listing is a bare compressor or an assembly that includes the air dryer, bracket and relay, since that changes both price and the amount of transfer work.
Features that affect the choice
Replacement compressors generally fall into three groups: new original-equipment parts, remanufactured units and new aftermarket designs. Original equipment offers the most predictable fit. Remanufactured units can save money, but quality depends on what the rebuilder replaced, so look for a clear statement of the work performed. New aftermarket compressors vary widely, and the useful differences are concrete: an integrated or included dryer, thermal overload protection, a stated duty cycle, a sealed connector, an intake filter and a written warranty with defined terms.
Treat labels such as heavy duty, upgraded or extreme with caution unless the seller backs them with published specifications. Useful evidence includes a duty cycle rating, a part number cross-reference to the original, a description of included hardware and warranty conditions you can read before purchase. Customer reviews can reveal fitment complaints or early failures, but they rarely explain why a unit failed, so weigh them alongside the documented details rather than in place of them.
Limitations and ownership costs
A new compressor cannot fix a leaking air spring or shock, a cracked line, a failed height sensor, a bad relay or a control module fault. Leaks are a common reason compressors wear out, because the unit runs longer to compensate and overheats. Before buying, read stored trouble codes with a capable scan tool, check the fuse and relay, and spray soapy water on fittings and air components to look for bubbles. Installing a new compressor on a leaking system often leads to a repeat failure.
Installation requires proper vehicle support: lift at the manufacturer's designated points and place rated jack stands before working underneath, never relying on a jack or the air suspension itself. Follow the service information for battery disconnection, system depressurization and the fastener specification for the bracket hardware rather than guessing. After installation, confirm the system raises the rear and holds ride height, and check whether your service procedure calls for a height calibration with a scan tool. Replacing the compressor does not change wheel alignment, but alignment is only valid at the correct ride height, so if the truck ran low for a long time and shows uneven tire wear, an alignment check afterward is reasonable. While the rear is supported, it is also a good moment to inspect suspension joints for excessive joint play and worn bushings.
Budget for more than the compressor itself. A dryer, relay, air line sections or connector repair may be needed, and aging rear air shocks or springs can follow soon after. Factor in a scan tool or shop time for diagnosis and any calibration step if you do not own the equipment.
Build a practical shortlist
Start by confirming that your Tahoe has rear air leveling through the visible hardware, the option label or a VIN check at a dealer. Record the part number from your original compressor and note whether the dryer, bracket and relay are separate or integrated. Diagnose the system before ordering, so you know the compressor is the actual failure and not a leak, relay or sensor problem.
With those facts in hand, compare candidates on a few points: a part number cross-reference covering the 2015 model year, matching connector and air fitting, included bracket and hardware, the presence of a dryer and thermal protection, stated duty cycle and warranty terms, and the total cost including any parts you will need to transfer or replace. Narrow the list to two or three units that meet every fitment requirement, then choose based on documented features and warranty rather than marketing language. If you are not equipped to support the vehicle safely or perform post-installation checks, include professional installation in the comparison.