2014–2016 Jeep Compass and Patriot Serpentine Belt Diagrams
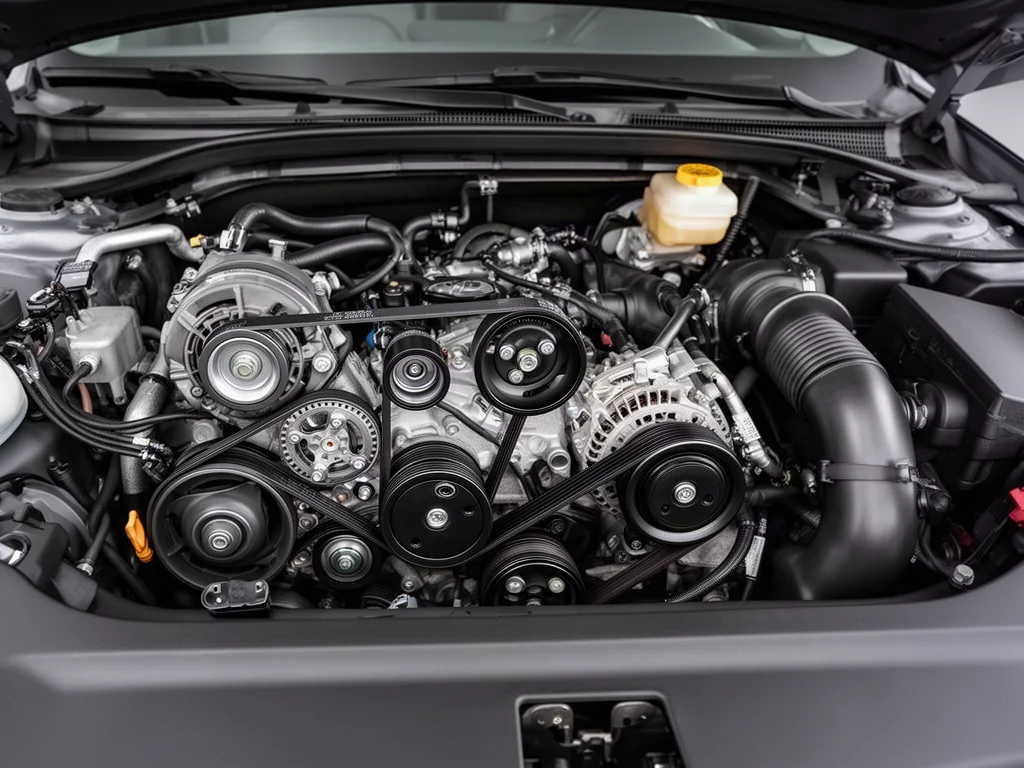
Belt routing on 2014-2016 Jeep Compass and Patriot models depends on the 2.0L or 2.4L engine and the accessory drive actually installed, not on the nameplate alone. A 2014 Jeep Patriot serpentine belt diagram can look similar to Compass layouts, yet pulley order, idler placement, and tensioner position still have to match the vehicle. Confirm the year, engine, and underhood routing label before following any accessory drive belt path.
Identify the Engine and Accessory Drive Before Choosing a Diagram
Before opening a 2014 Jeep Compass serpentine belt diagram or any Patriot layout, confirm the model year and whether the engine is the 2.0L or 2.4L. Vehicle records, underhood identification labels, and VIN-based service information are more reliable than memory of the trim or a previous repair. Compass and Patriot nameplates share these engines in this period, but accessory packages, pulley counts, and tensioner locations still vary. Selecting serpentine belt routing from the model name alone can send the accessory drive belt around the wrong idler pulley.
When an underhood routing label is still intact, compare its path to the visible pulleys before trusting a printed 2016 Jeep Compass serpentine belt diagram or a Patriot equivalent. That label is vehicle-specific and often shows the ribbed belt surface against grooved pulleys and the smooth back against smooth idlers or the tensioner. These diagrams apply to 2014-2016 Compass and Patriot vehicles with the 2.0L and 2.4L engines. Other engines, later refreshes, and unrelated Jeep platforms need their own service information because their accessory drives are not established by these years.
2014, 2015, and 2016 Jeep Patriot Belt Routing
A 2014 Jeep Patriot serpentine belt diagram applies only after the 2.0L or 2.4L configuration is verified in service information. Treat the 2015 Jeep Patriot serpentine belt diagram and the 2016 Jeep Patriot serpentine belt diagram the same way: each year is a separate lookup even when the accessory layout looks familiar. Follow the verified drawing from the crankshaft pulley through labeled accessories, any idler pulley, and the belt tensioner, keeping the viewing direction shown. Do not assume a shared path across 2014, 2015, and 2016 unless service information states that coverage.
If the visible pulley layout does not match the selected Patriot diagram, stop. A missing idler, a different tensioner arm, or an accessory that the drawing does not show means the configuration is not the one you looked up. Recheck the engine identification, air-conditioning or power-steering equipment, and the underhood routing label before moving the belt. Forcing a 2014, 2015, or 2016 Patriot belt onto the wrong set of pulleys can leave an accessory undriven or throw the belt off as soon as the engine turns.
2014 and 2016 Jeep Compass Belt Routing
Use a 2014 Jeep Compass serpentine belt diagram only for a confirmed 2014 Compass with the matching 2.0L or 2.4L accessory drive. Use a 2016 Jeep Compass serpentine belt diagram the same way for a confirmed 2016 vehicle; do not borrow the 2014 path because the years sit next to each other. Keep the viewing orientation stated on the drawing and trace each labeled pulley in order, including the belt tensioner and any idler pulley. Grooved pulleys take the ribbed belt surface, while smooth idlers and many tensioner faces take the backside.
Confirm 2015 Compass serpentine belt routing from that year's service information rather than from the 2014 or 2016 drawings. Adjacent model years do not prove an identical accessory drive. An existing belt is only a reference. If a previous installation wrapped the wrong idler or flipped the ribbed surface onto a smooth pulley, copying that path will repeat the error. Compare the installed belt to the verified Compass diagram and to pulley alignment across the faces, then correct the route before relying on it.
Read the Belt Diagram and Check Visible Belt Condition
Serpentine belt diagrams show which side of the accessory drive belt contacts each pulley. The ribbed belt surface seats in grooved pulleys such as the crankshaft and driven accessories so the ribs transmit torque without slipping across the grooves. The smooth back typically rides on a flat idler pulley or the matching face of the belt tensioner. If the drawing and the hardware disagree about a grooved versus smooth contact, the diagram is for a different drive. Recheck engine, options, and the underhood routing label before interpreting wear.
Inspect with the engine off and cool. Look for fraying, missing ribs, glazing, oil or coolant contamination, and a belt sitting off-center on a pulley. Squealing, chirping, or obvious damage can come from misrouting, pulley alignment, a weak tensioner, a seized accessory, or contamination, so the noise itself does not prove a failed tensioner or idler. Keep hands and tools away from moving components. When covers, splash shields, or tight packaging hide the pulleys, have the accessory drive inspected professionally rather than guessing from a partial view.
Confirm Replacement Requirements Before Removing the Belt
Confirm belt fitment from vehicle-specific parts information using the year, Compass or Patriot model, 2.0L or 2.4L engine, and the accessory equipment actually present. Do not size a replacement from the model year alone or from the old belt, which may already be the wrong length or rib count. At a high level, verify routing against the correct diagram, establish safe access with the engine off, remove the old belt, inspect the drive, install the correct belt, and confirm it is seated on every pulley before restoring covers.
The belt tensioner is spring-loaded, and access on these compact Compass and Patriot bays can be restricted. Use the tools and vehicle-specific procedure in service information; do not improvise a pry point or guess which way the arm must move. Stop and seek professional service if access is unsafe, the tensioner will not move, a pulley is damaged or seized, or oil or coolant on the belt points to a leak that still needs diagnosis. Replacing only the belt while a pulley still wobbles or weeps fluid leaves the new belt at risk.
Check Belt Seating and Recognize Problems After Replacement
With the engine still off, compare the installed belt to the verified diagram one pulley at a time. Every rib should sit fully in its groove, the belt should be centered on each idler and tensioner face, and the span should clear brackets, covers, and wiring. A belt that rides the pulley shoulder or twists between pulleys is not seated. Recheck routing and pulley alignment before any start. After a brief running check, shut the engine off again and confirm the belt has not walked off-center.
Persistent squeal, chirp, or tracking after replacement is a diagnostic problem, not a reason to keep tensioning by guesswork. Alignment, tensioner action, pulley condition, and accessory operation all have to be considered. If the belt is displaced, smoke appears, or a strong burning odor develops, shut the engine off safely and do not continue driving. After belt loss or new warning lights, avoid further driving and arrange professional inspection or towing so undriven accessories are not run until the drive is restored.