2014–2015 Jeep Cherokee Parking Brake Actuator: Fitment Guide
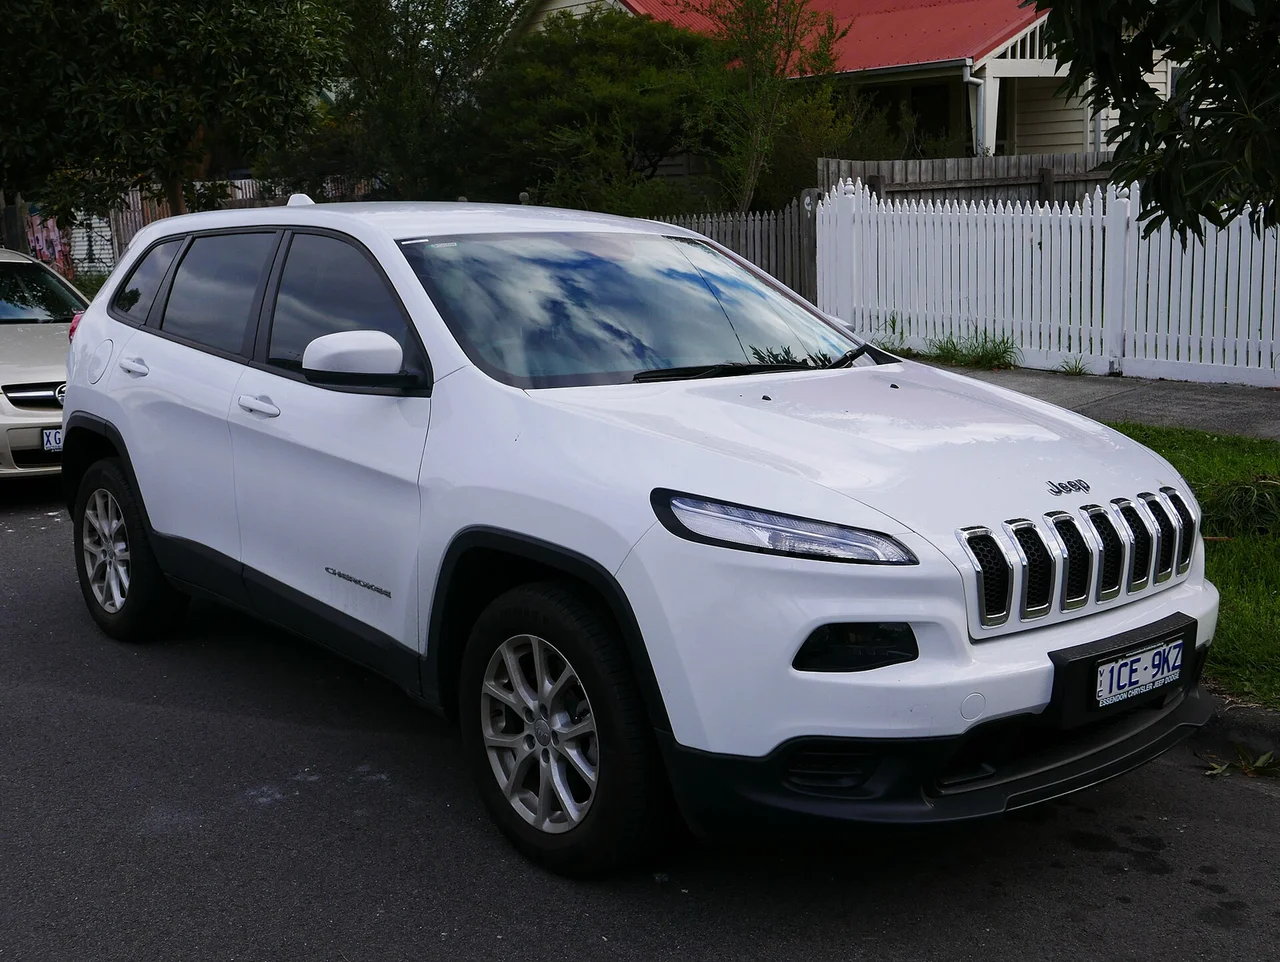
The 2014 and 2015 Jeep Cherokee uses an electric parking brake. The part most owners call the parking brake actuator is an electric motor and gearbox mounted on each rear brake caliper, not a cable mechanism or a pedal assembly. Model year alone does not decide which actuator fits. This guide covers how the unit works, what changes fitment, what you can check yourself, and when the job belongs in a shop.
Which actuator fits a 2014–2015 Cherokee
On this generation of Cherokee, the rear parking brake actuator bolts to the back of each rear caliper. Replacements are usually sold in one of two forms: the motor unit by itself, or a complete rear caliper assembly with the motor already installed. Many catalog listings cover both the 2014 and 2015 model years. Treat that as a starting point, not as proof of fit, because rear brake hardware and part numbers can differ between builds, and some listings are side-specific.
Confirm vehicle fitment three ways. Match the part to your VIN through a parts catalog or dealer parts counter. Compare the part number stamped or labeled on your existing unit. Confirm whether you need the left rear or the right rear. Parts listed only for other Jeep models, such as the Grand Cherokee or older Cherokee generations, should not be assumed to fit even when they look similar.
How the electric parking brake actuator works
When you pull the parking brake switch on the center console, a control module powers the motor on each rear caliper. The motor drives a gear reduction that turns a spindle inside the caliper piston. The spindle pushes the piston outward and clamps the brake pads against the brake rotor. Once applied, the clamp is held mechanically, so the vehicle stays held without hydraulic pressure. Releasing the brake reverses the motor and backs the spindle off. The system watches motor current and position to judge when the brake is applied or released, and it stores fault codes when something falls outside its expected range.
The actuator moves the same piston the hydraulic service brakes use, so it is tied directly to pad wear. As friction material wears, the piston has to travel farther. This is why you cannot push the rear piston back with a clamp during a pad change. The actuator must first be retracted using a scan tool or the service procedure for your vehicle. Forcing the piston back can damage the spindle, the gearbox or the motor.
What changes the fitment answer
Several details can change which part is correct. Drivetrain, trim and optional equipment can affect rear brake components. Part numbers are sometimes superseded during production or later, so the number on your old unit may now point to a newer replacement. The electrical connector on the new actuator must match your harness exactly. Adapters or spliced wiring are not an acceptable shortcut on a brake system.
The condition of the caliper decides whether a motor alone is enough. If the caliper piston is seized, the piston seal is leaking brake fluid, or the internal spindle is damaged, a new motor will not fix the fault. In that case a complete caliper assembly with an actuator is the more sensible purchase. Remanufactured calipers and motors often carry a core charge, so keep the old unit until you know whether it must be returned.
What the owner can do
Start by noting exactly what happens. Common signs of a parking brake fault include a parking brake or brake system warning light, a message asking you to service the electric park brake, a brake that will not apply or will not fully release, a motor that whirs, clicks or runs longer than usual, and a single rear wheel that runs hot or smells burnt after driving. Write down when the fault appears and whether it affects one side or both.
Several checks are within reach of most owners. Check battery condition first, because low system voltage can trigger electric parking brake faults that look like actuator failure. Read stored codes with a scan tool that can access the brake and chassis modules; basic engine code readers often cannot. Inspect the connector and harness at each rear caliper for corrosion, broken locks or chafed wires. Measure pad thickness and rotor condition against the wear limits in your service information. Check the brake fluid level and look for wetness around the caliper. When you order, have your VIN, the old part number and the side ready. After installation, follow the service procedure for any required initialization or calibration and use the specified bolt torques.
If the parking brake will not hold, do not rely on it. Park on level ground with the transmission in Park and chock the wheels until it is repaired. If the brake will not release, do not keep driving. A dragging rear brake overheats the pads and rotor and can reduce braking performance, so have the vehicle towed or serviced where it sits.
Limitations and next step
This guide cannot confirm the correct part for your specific vehicle. The VIN-based parts catalog and the factory service information are the authority on fitment, procedures and specifications. Fault codes can point toward an actuator while the real cause is wiring, the control module, battery supply or the caliper itself. Diagnosis should follow the test steps for the specific code rather than replacing parts by guesswork.
Some steps, such as retracting the actuator for service and running initialization after replacement, need a scan tool with the right functions. If you do not have that capability, or the repair involves opening the hydraulic system, a professional brake technician is the safer route. Stop driving and have the brakes inspected right away if the pedal feels different, the vehicle pulls, or a brake warning stays on along with the parking brake fault.