2013 Kia Optima Wastegate Actuator Replacement
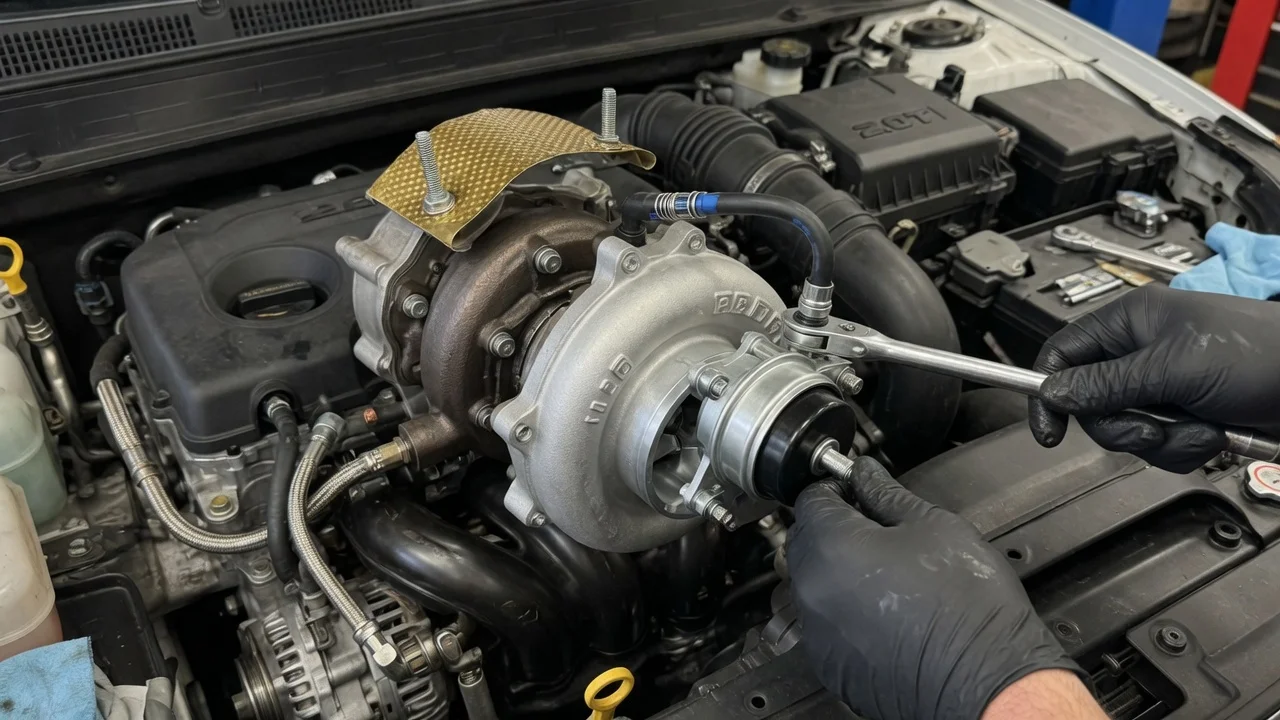
On a 2013 Kia Optima, only the turbocharged 2.0-liter engine has a wastegate actuator, so the first job is confirming that your car has this engine and that the actuator is really at fault. This guide covers diagnosis, preparation, removal, installation and post-repair checks for owners who are comfortable with under-hood work and want to avoid wasted parts or damaged turbo hardware.
Confirm the part and repair scope
Start with the vehicle configuration. The turbocharged 2.0-liter engine is typically found on the SX and SXL trims, while the 2.4-liter models and the Hybrid have no turbocharger and no wastegate actuator. Do not rely on trim badges alone. Confirm the engine from the VIN or the emissions label under the hood, and give the VIN to the parts counter when ordering. Parts catalogs sometimes list the actuator only as part of the complete turbocharger assembly, and that changes the scope of the job considerably.
Common complaints that lead owners to the actuator include underboost or overboost trouble codes, reduced power, limp mode and a rattle from the turbo area at idle or when lifting off the throttle. Many of these symptoms have other causes, including leaking intercooler hoses or charge pipes, cracked control hoses, a faulty boost control solenoid, a sensor fault, or a worn turbocharger. Read stored codes and freeze-frame data first, then inspect the hoses and charge piping. With the engine cold and off, use a hand pump on the actuator as the service procedure describes and check that the rod moves smoothly and holds its position. If the actuator moves freely but the wastegate flap binds or its pivot is loose, the problem lies in the turbocharger, not the actuator.
Prepare tools and safe access
Get the factory service information for your exact engine before you begin. It provides the removal steps, torque values and any rod adjustment or reset procedure, none of which should be guessed. A typical tool kit includes metric sockets with long extensions and swivels, wrenches, a pick or small screwdriver for the rod retaining clip, penetrating oil, a hand vacuum and pressure pump, a scan tool that shows live boost data, and sturdy jack stands or a lift if you need to work from below. Buy new clips, gaskets and any single-use fasteners that the service information specifies.
Work only on a fully cold engine, because the turbocharger and exhaust parts stay hot long after shutdown. Disconnect the battery as the manual directs and support the car properly before you go underneath. Access is tight, and you may need to remove the engine cover, intake ducting, charge piping, heat shields or an undertray. Check the service history as well, since a previously replaced turbo may use different hardware. If the actuator is sold only with the turbo, or if replacing it requires removing the turbocharger with its oil and coolant lines, the job is better suited to an experienced technician.
Remove without avoidable damage
With access cleared, photograph and label every hose on the actuator and the boost control solenoid before disconnecting anything. Swapped control lines are a common cause of boost problems after the repair. Disconnect the control hose from the actuator, then remove the retaining clip that holds the actuator rod to the wastegate arm. Before separating them, note or measure the rod position so you can compare it with the new part. Finally, remove the bracket fasteners that hold the actuator to the turbo housing or its mount.
The main risk is seized fasteners. Exhaust heat cycles can lock bolts into the bracket or turbine housing, and a snapped bolt can turn a simple swap into a drilling or turbo-removal job. Apply penetrating oil, give it time to work, and use hand tools with steady, square force rather than an impact gun. Do not bend or lever against the wastegate arm, because damaging its pivot affects boost control regardless of the new actuator. Cover open intake and charge-pipe connections so that clips, bolts and debris cannot fall into the system.
Install and restore the system
Compare the new actuator with the old one before fitting it: bracket shape, hose port position, rod length and rod end must match. Mount the actuator in the same orientation, with the hose port facing where the original did so the control line routes without kinks or contact with hot surfaces. Tighten the bracket fasteners to the values in the manufacturer specifications. If the replacement has a preset rod, do not alter it. If it has an adjustable rod, set it exactly as the supplied or factory instructions require, because incorrect preload can cause overboost or underboost.
Reconnect the rod to the wastegate arm with a new retaining clip and make sure the clip is fully seated. Refit the control hoses to their labeled ports and replace any hose that is hardened or cracked. Reinstall every heat shield, charge pipe, clamp and intake component you removed, since missing shields can let nearby parts overheat. Reconnect the battery, and if the service information calls for a reset or adaptation procedure with a scan tool, complete it before the road test.
Check the completed work
Before starting the engine, recheck the hose routing, clips, clamps and shields, and confirm that no tools or rags remain in the engine bay. Start the engine and listen for hissing from loose connections or rattling from the turbo area. Clear the stored codes, then use the scan tool to monitor actual boost against the requested value during a careful road test under normal operating conditions. Boost should rise smoothly and settle without surging or flutter, and no trouble codes should return.
Further diagnosis is needed if boost codes come back, if actual boost consistently misses its target, if the rattle remains, or if you see smoke or find oil in the charge piping. That last finding points to the turbocharger rather than the actuator. Recheck the solenoid and hoses before suspecting the new part. Record the repair, the part number and the date in the service history, and include a visual inspection of the actuator linkage and control hoses in your regular maintenance schedule.