2013 BMW 328i Wastegate Actuator Replacement on the N20 Engine
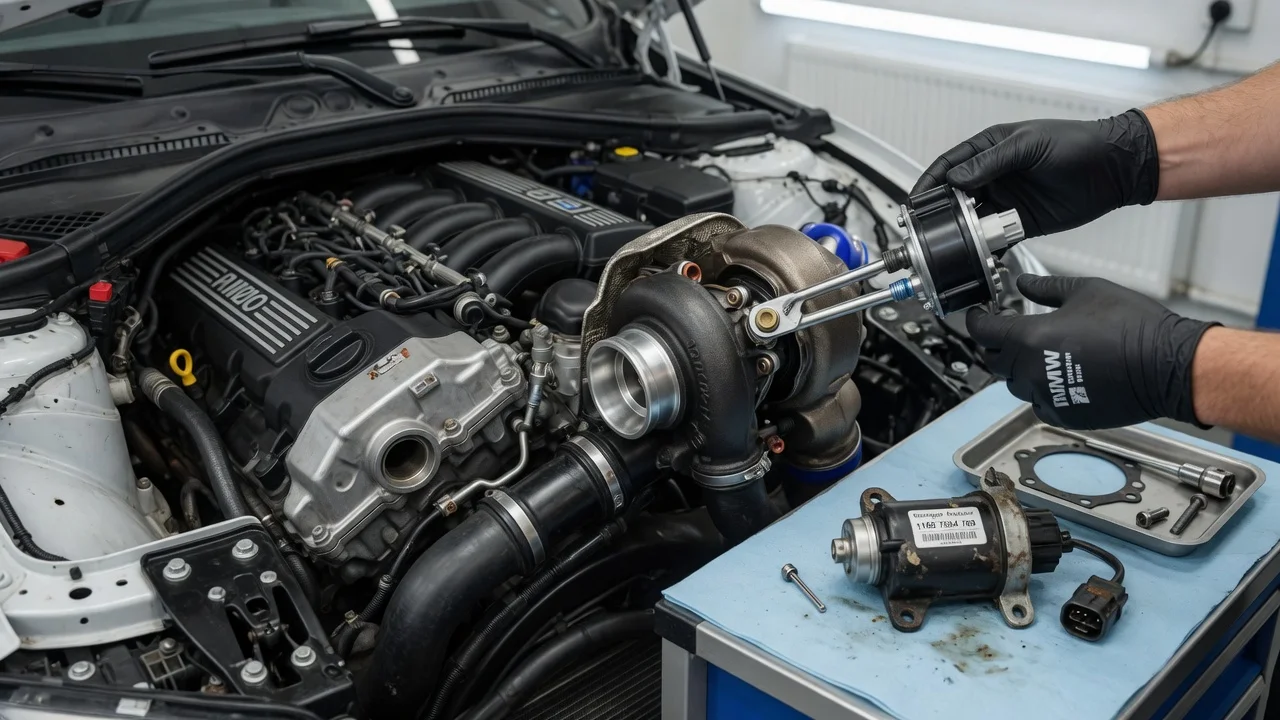
Boost-related fault codes, reduced power warnings and a rattling turbo often lead owners of a 2013 BMW 328i to the wastegate actuator. On the turbocharged N20 four-cylinder, the actuator positions the wastegate that limits boost pressure, so a fault here affects both performance and engine protection. This guide covers confirming the diagnosis, preparing for the job, removing and installing the actuator, and verifying the result. Exact procedures, torque values and settings must come from BMW service information for your specific car.
Confirm the part and repair scope
Start by confirming the vehicle configuration. For the 2013 model year, the 328i badge covered two very different cars: the F30 sedan with the 2.0-liter turbocharged N20 engine, and the carryover coupe and convertible with a naturally aspirated six-cylinder that has no turbocharger or wastegate at all. Decode the VIN or check the engine code to be sure you have an N20. The same engine appears in other BMW models, but part numbers can differ by production date and drivetrain, including xDrive versions, so order parts by VIN rather than by model name alone.
Next, make sure the actuator is actually the problem. On the N20, the wastegate is moved by a vacuum actuator on the turbocharger, and vacuum to it is regulated by an electrically controlled pressure converter. Underboost or overboost faults can come from cracked vacuum lines, a failed converter, weak vacuum supply, boost leaks or a sticking wastegate flap just as easily as from a torn actuator diaphragm. A well-known N20 complaint is a metallic rattle from the wastegate area, especially at cold start or idle; that noise usually comes from wear in the wastegate flap and linkage inside the turbocharger, which a new actuator will not fix. Test the actuator with a hand vacuum pump: the diaphragm should hold vacuum and move the rod smoothly. Review the service history for earlier turbo or vacuum system repairs.
Also check how the part is supplied. Depending on the source, the actuator may only be available as part of the turbocharger assembly, while some aftermarket and remanufactured actuators are sold separately. If the flap or linkage is worn, or a standalone actuator is not available for your car, the correct repair may be turbocharger replacement, which is a considerably larger job.
Prepare tools and safe access
Get BMW repair information for your exact car before you begin, including fastener torque values, actuator rod adjustment instructions and any adaptation procedures. Useful tools include a lift or sturdy jack stands on level ground, a metric socket and wrench set, a torque wrench, penetrating oil, a hand vacuum pump with gauge, trim and clip tools, and a scan tool that can read BMW engine codes and live data. Have new clips, seals or fasteners ready if the instructions list any single-use parts.
Work only on a fully cooled engine, because the turbocharger and exhaust stay hot long after shutdown. Disconnect the battery if the service information calls for it. The turbo sits on the exhaust side of the engine with tight clearances, heat shields and often corroded hardware, so access commonly involves removing underbody panels, heat shields and sometimes intake ducting. If you are not comfortable working around the turbocharger, setting actuator rod length or diagnosing boost faults with a scan tool, leave this job to an experienced technician; an incorrect setup can cause overboost, underboost or limp mode.
Remove without avoidable damage
Before disconnecting anything, photograph the vacuum line routing and the actuator position, and mark the rod adjuster or end position so you have a reference. Remove the covers and heat shields needed to reach the actuator, then disconnect the vacuum line from the actuator port. Plastic vacuum lines become brittle with heat, so ease them off rather than pulling sharply, and replace any line that cracks.
Release the clip that joins the actuator rod to the wastegate lever, then remove the actuator mounting fasteners. Soak them with penetrating oil and give it time to work, because a broken fastener in the turbocharger bracket or housing turns a simple swap into a much bigger repair. Do not pry against the turbo housing, bend the wastegate lever or force the rod. With the actuator off, move the wastegate lever by hand: it should travel freely without binding or excessive play. Binding or obvious looseness points to the turbocharger itself rather than the actuator.
Install and restore the system
Compare the new actuator with the old one; the mounting bracket, vacuum port orientation and rod end should match. Fit it in the same orientation, start the mounting fasteners by hand, then tighten them to the value in the service information. Connect the rod to the wastegate lever with a new retaining clip if one is supplied, and confirm the clip is fully seated.
Rod length and preload determine how the wastegate behaves, so follow the instructions for your actuator instead of guessing. Some replacement actuators come preset, while others need adjustment to a specified setting. Use your reference marks only as a starting point when no specification is provided. Reconnect the vacuum line to the correct port using your photos, inspect every line and connection along the route to the pressure converter, refit heat shields and panels, and reconnect the battery. Clear stored fault codes and perform any adaptation reset the service information calls for.
Check the completed work
Before starting the engine, apply vacuum to the actuator with a hand pump and watch the rod and lever move through their travel and return without sticking. Then start the engine and look for vacuum leaks, loose heat shields or contact between the rod and nearby parts. Scan for fault codes after the first start.
On a road test, use a scan tool to compare requested and actual boost pressure under moderate acceleration, staying within safe and legal operating conditions. Actual boost should follow the request closely, and no reduced power warning should appear. Rescan for codes after the drive.
Further diagnosis is needed if boost faults return, the engine overboosts or feels down on power, the rattle persists, or the actuator stops holding vacuum. Those signs point to the pressure converter, vacuum supply, boost leaks, rod adjustment or turbocharger wear. Record the repair and parts used in the service history. There is no fixed replacement interval for this part, so inspection of vacuum lines and wastegate movement during routine work on the maintenance schedule is the practical way to catch problems early.