Remove 2012 Jeep Grand Cherokee rotors
The short answer
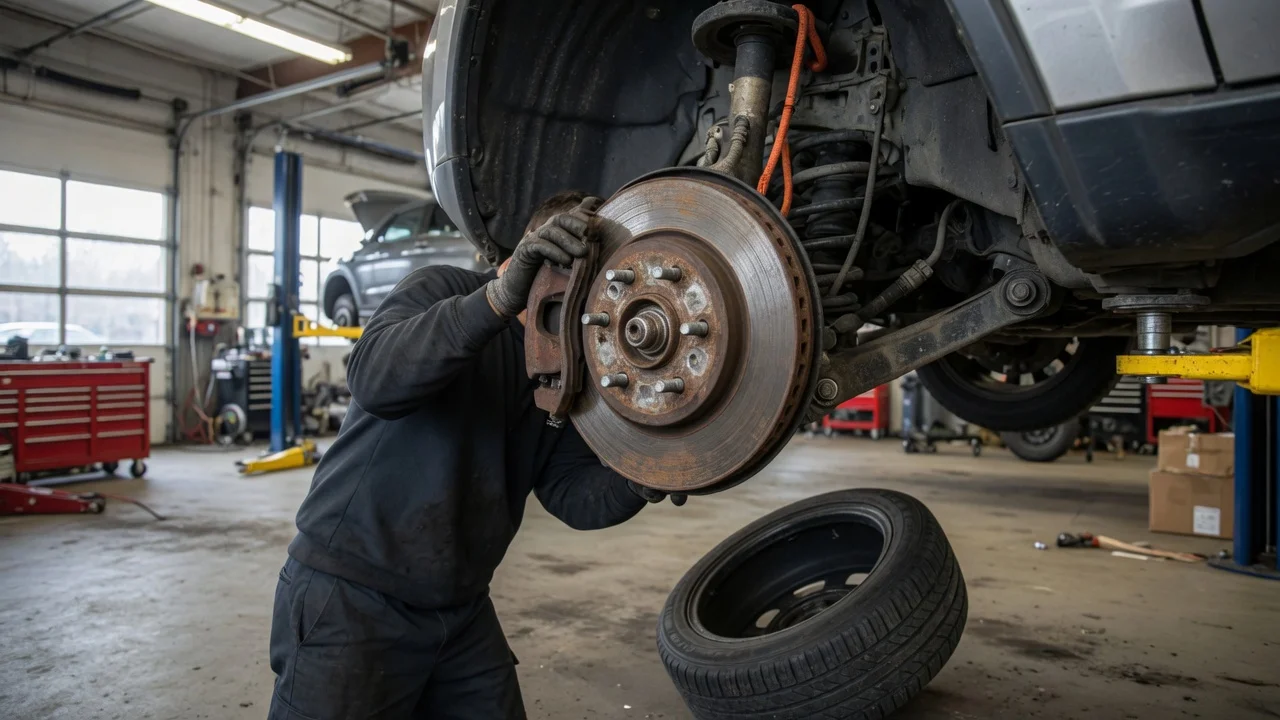
On a 2012 Jeep Grand Cherokee, a brake rotor comes off once the wheel, brake caliper and caliper mounting bracket are out of the way. The rotor is the metal disc the brake pads clamp against. Rotor removal is a routine job for someone with basic tools and a safe way to lift and support the vehicle. The work is not difficult in principle. The real issues are corrosion that bonds the rotor to the hub, safe lifting on models with air suspension, and the rear brakes on vehicles whose parking brake works inside the rotor.
Scope and variant qualifications
This guide applies to the 2012 model year of the Grand Cherokee generation that began in 2011, commonly called the WK2. Brake hardware is not the same across the lineup. The 2012 SRT8 uses a high-performance Brembo brake package that differs from the brakes on other trims. If you own an SRT8, confirm its procedure and parts in the service information for that model rather than relying on general steps. Rear rotor removal can also differ depending on how the parking brake is built. Many vehicles in this generation use a drum-in-hat design, where small parking brake shoes press against a drum surface machined inside the rear rotor. Check the configuration on your own vehicle before starting on the rear.
Before you start
Some 2012 Grand Cherokees have Quadra-Lift air suspension. The system can adjust ride height by itself, which can shift the vehicle or move the suspension while it is raised. Before lifting, use the owner's manual procedure that disables automatic leveling for jacking or tire changes. If you are unsure whether your vehicle has air suspension or how to disable it, settle that first. Do not lift the vehicle until you have.
Typical tools and supplies: • Floor jack and jack stands rated for the vehicle's weight, or a vehicle lift; • Wheel chocks; • Lug wrench or impact wrench with the correct socket; • Socket set and breaker bar for the caliper and caliper bracket bolts; • Wire or a bungee strap to hang the caliper; • Penetrating oil, a wire brush, and a dead-blow or rubber mallet for stuck rotors; • Brake parts cleaner; • Torque wrench for reassembly; • The factory service information or an equivalent repair manual for torque values and sequences
Front rotor removal steps
1) Park on level, solid ground, set the transmission in Park, and chock the wheels at the axle you are not working on. 2) Loosen the lug nuts slightly while the tire is still on the ground. 3) Disable air suspension leveling if equipped, then raise the vehicle at the jacking points specified in the owner's manual. Support it on jack stands. Never work under or beside a vehicle held only by a jack. 4) Remove the lug nuts and the wheel. 5) Remove the caliper mounting bolts and lift the caliper off the pads and rotor. Hang it from the suspension with wire or a strap. Do not let it hang from the brake hose, and do not open the hydraulic line. Opening it means the system must be bled. If you are not equipped to bleed the brakes, have a professional do that part. 6) Remove the brake pads if they stay in the caliper bracket. 7) Remove the bolts holding the caliper bracket to the steering knuckle, and take off the bracket. These bolts are usually tight and may be thread-locked. Use a breaker bar and steady pressure. 8) If any rotor retaining screw or clip is fitted to the hub face, remove it. 9) Pull the rotor straight off the wheel studs. If corrosion holds it to the hub, soak the joint between the rotor and hub with penetrating oil. Then tap the rotor's outer face, between the studs, with a mallet while rotating it. Do not hit the friction surface if you plan to reuse the rotor, and do not pry against the dust shield. 10) Clean rust and scale from the hub face with a wire brush so the new or refinished rotor sits flat.
Rear rotor considerations
Rear removal follows the same basic order: wheel, caliper, caliper bracket, then rotor. On a vehicle with a drum-in-hat parking brake, the parking brake shoes can catch on the drum surface inside the rotor, especially if that surface has worn a lip. Make sure the parking brake is fully released before you start. If the rotor still will not slide off, the shoes may need to be backed off with the adjuster, usually reached through an access hole. The exact adjuster location and direction were not available for this guide, so confirm them in the service information. Forcing a captured rotor can damage the shoes or their hardware. If your vehicle uses an electronic parking brake, the procedure may call for a service mode or a scan tool before you work on the rear brakes. Confirm this for your specific vehicle, and leave the job to a professional if you do not have the required tool.
Reassembly and completion check
Install the rotor on a clean hub, with any protective coating removed from new rotors as the rotor maker directs. Then refit the caliper bracket, pads, caliper and wheel. Tighten the caliper bracket bolts, caliper bolts and lug nuts to the manufacturer's specifications in the specified sequence. Specific torque values were not provided in the source material for this article, so take them from the factory service information for your trim. Do not guess them.
Before driving: • Pump the brake pedal until it is firm. The caliper pistons must reseat against the pads. • Check that the brake fluid level is within the marked range. • Re-enable air suspension leveling if you disabled it. • Confirm that the wheels spin without the rotor dragging, apart from light pad contact. • Make a low-speed test stop in a safe area before normal driving, and recheck lug nut torque after a short distance if the manual recommends it. • Follow the pad and rotor maker's bedding-in procedure if one is supplied.
Information gaps to resolve
The material supplied for this guide did not include several items. These are torque specifications, fastener sizes, rotor dimensions and minimum thickness, the rear parking brake adjuster procedure, and the electronic parking brake service steps that may apply. Each varies with trim and brake package. Look them up in the manufacturer's service information for your exact 2012 Grand Cherokee before you begin.