2011 Ford Escape Shift Interlock Solenoid Replacement
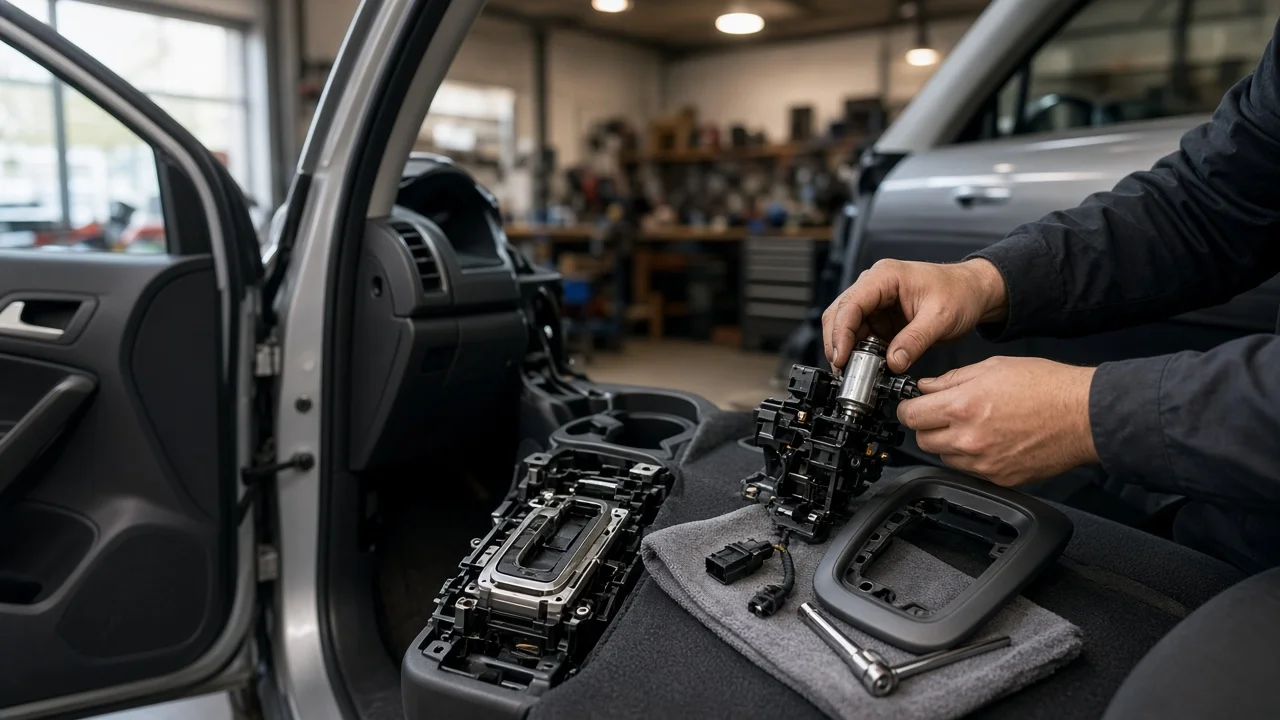
If the shifter on a 2011 Ford Escape stays in Park even with the brake pedal pressed, the shift interlock solenoid is one possible cause, but not the only one. This guide explains how to confirm whether the solenoid is actually at fault, what access the job requires, and how to remove, install and check the part without damaging the console trim or the shifter mechanism. Procedures vary by transmission and trim, so confirm the details against the service information for your vehicle.
Confirm the part and repair scope
Start by identifying the transmission type and configuration. Gasoline automatic models and the Hybrid use different drivetrains. If your vehicle has a manual transmission, it has no shift interlock solenoid to replace. Drive layout, trim level and build date can change the shifter assembly part number, so use the VIN when you check fitment. On this generation the interlock solenoid sits in the console-mounted shifter. Depending on the supplier, it may be sold on its own or only as part of a complete shifter assembly, and that determines how much work the repair involves.
A shifter stuck in Park is a symptom, not proof that the solenoid has failed. The interlock releases only when the system detects the brake pedal applied with the ignition on, so check the brake lights first. If they do not come on, the likelier causes are a faulty brake pedal position switch, a blown fuse or a wiring fault. With the key on and the cabin quiet, press the brake and listen near the shifter for a click. Scan for diagnostic codes related to the brake switch or shifter circuits, and review the service history for recent console, battery or electrical work. A click with no release can point to a mechanical bind or a weak solenoid. Working brake lights with no click suggest a power, ground or solenoid fault, which a meter test at the connector can narrow down.
Prepare tools and safe access
Park on level ground, set the parking brake firmly and chock the wheels, because you may need to move the shifter out of Park during the job. Typical tools include plastic trim tools, a socket set with extensions, small screwdrivers, a digital multimeter and a flashlight. Get the factory service procedure or a reputable repair manual for your exact model. Take console fastener locations, connector layouts and any shift cable adjustment steps from that information rather than guessing.
Disconnect the negative battery cable before unplugging any shifter electrical connectors, and follow the service information for any precautions that apply to nearby components. If the shifter is stuck in Park and you need to move it, use the shift lock override access point described in the owner's manual rather than forcing the lever. If you are not comfortable removing interior trim, testing circuits or adjusting a shift cable, consider having a shop do the work. A wrongly assembled shifter can let the vehicle roll while the indicator shows Park.
Remove without avoidable damage
Access usually begins with the trim around the shifter. Depending on configuration, you may need to remove the shift knob first. Then release the bezel or upper console panel from its clips and remove the fasteners that secure the console or shifter surround. Work slowly with trim tools, because cold or aged plastic tabs break easily. Photograph each stage and keep fasteners sorted by location so reassembly matches the original.
Once the shifter mechanism is visible, locate the interlock solenoid and its electrical connector. Release the connector lock before pulling the connector, and never pull on the wires. Note the solenoid's orientation, how its plunger or lock pin engages the shifter, and how it is held in place, whether by clips, screws or a bracket. If you are replacing the complete shifter assembly, mark or record the shift cable position and follow the service procedure for disconnecting the cable and removing the assembly. Do not move the range lever at the transmission while the cable is disconnected, and leave alone any adjustment components you are not replacing.
Install and restore the system
Compare the new part with the old one before you install it. The connector shape, pin count, mounting points and plunger design should all match. Fit the solenoid in the same orientation as the original so the lock pin lines up with the shifter detent. Secure it with its retainers without overtightening plastic mounts. Push the electrical connector in until the lock engages, and route the harness away from moving shifter parts and sharp edges.
If you install a complete shifter assembly, reconnect the shift cable and set its adjustment exactly as the service procedure specifies. The shifter position and the transmission's actual range must agree, especially in Park. Tighten fasteners to the torque values in the service information rather than estimating. Before reinstalling the console trim, reconnect the battery and do a brief function check, so you can fix any problem without removing the panels again. Disconnecting the battery may reset convenience settings such as the clock or radio presets.
Check the completed work
With the ignition on and the brake released, the shifter should stay locked in Park. Press the brake pedal and the lever should release smoothly, usually with an audible click from the solenoid. With the engine running and the brake applied, move through each position. Confirm that the instrument cluster display matches the selected range and that shift behavior is normal: Reverse moves the vehicle backward, Drive moves it forward, and Park holds it in place. Also check that the brake lights work and that the key can be removed only when the shifter is in Park.
Clear any stored diagnostic codes, then check again after a short test drive. Further diagnosis is needed if any of these occur: • The shifter releases without the brake applied. • It locks intermittently. • A fuse blows. • The solenoid gets hot. • The displayed gear differs from the actual range. • The vehicle can roll in Park. These signs can point to a wiring fault, incorrect cable adjustment, a brake switch problem or a transmission issue. Reassess the repair options before driving the vehicle regularly.