2010 Ford F-150 Transfer Case Shift Motor Replacement
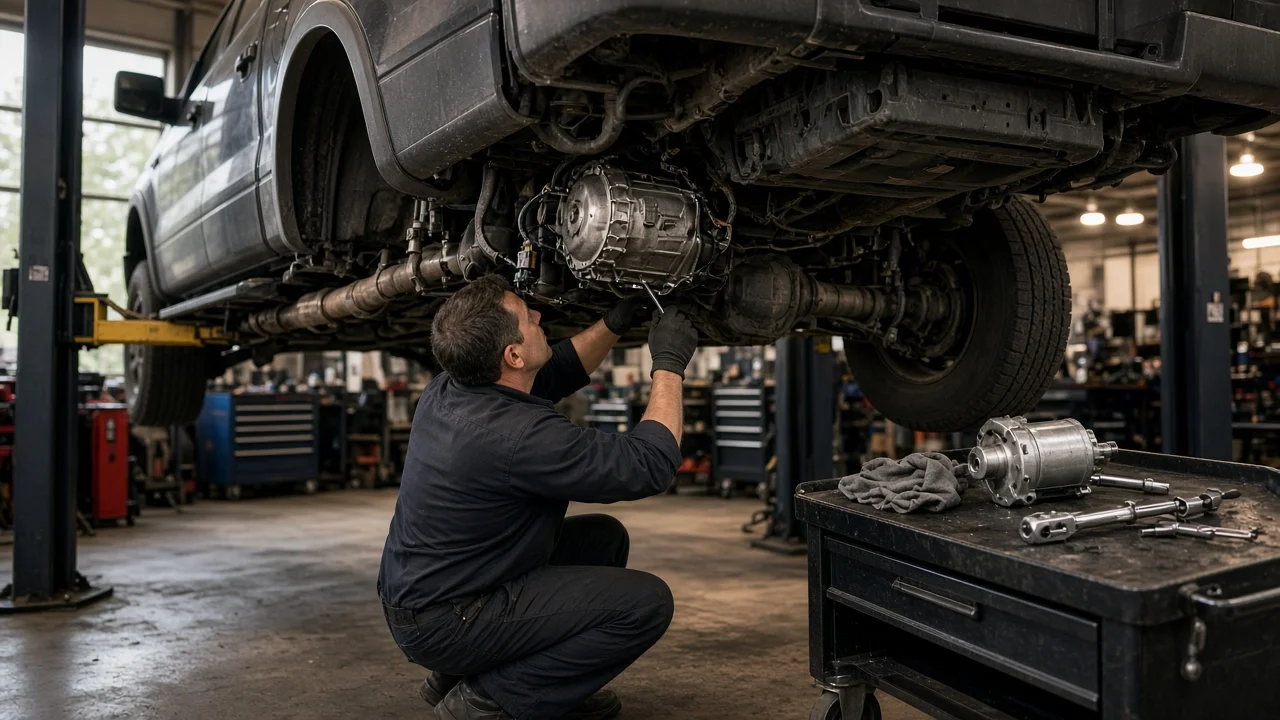
When the 4WD selector on a 2010 Ford F-150 stops changing ranges, the electric shift motor on the transfer case is a common suspect, but it is not the only possible cause. This guide explains how to confirm the motor is actually at fault, prepare the truck safely, remove and install the unit, and verify that four-wheel drive works afterward. Take exact torque values and procedures from Ford service information for your specific truck.
Confirm the part and repair scope
The shift motor applies only to 4x4 trucks with an electronic dash-mounted selector. A two-wheel-drive F-150 has no transfer case. Transfer case versions and motor part numbers can differ within the same model year depending on vehicle configuration, so match the replacement by VIN, the part number on the old motor, or the identification tag on the transfer case rather than by model year alone. A motor that bolts up but has a different connector or internal position encoder will not work correctly.
Before buying a motor, confirm the diagnosis. Typical symptoms of a failing shift motor include a 4x4 indicator that flashes or never comes on, no response when the selector is turned, or the truck staying in one range. The same symptoms can come from a blown fuse, a corroded connector at the transfer case, a damaged harness, a faulty selector switch, or a control module problem. On this generation of F-150, the front hubs use a vacuum-operated integrated wheel end system. If the dash shows 4x4 engaged but the front wheels do not drive, or you hear grinding from the front hubs, the vacuum system is a more likely culprit than the shift motor.
Read stored trouble codes with a scan tool that can access the 4x4 system, then check power and ground at the motor connector with a multimeter while the selector is operated. Codes that point to the motor circuit or encoder, with good power and ground present, support replacing the motor. Review the service history for previous 4x4 repairs as well.
Prepare tools and safe access
Plan on metric sockets with extensions, a torque wrench, jack stands rated for the truck, wheel chocks, a multimeter, a scan tool, and clean rags. Ford service information for your truck supplies the motor bolt torque and any procedure notes; do not guess those values. Some trucks have a transfer case skid plate that must come off first, which adds a few fasteners and some weight to handle overhead.
Park on a level, solid surface with the transmission in Park and the selector in 2H. Chock the wheels, switch the ignition off, and disconnect the negative battery cable before unplugging the motor. If you need more clearance, raise the truck and support it on jack stands, never on the jack alone. Let the exhaust cool, because the transfer case sits close to hot components.
The bolt-on swap itself is manageable for an owner with basic tools. Diagnosing intermittent electrical faults, module concerns, or vacuum leaks in the hub system is harder. If you are not comfortable working under a raised vehicle or testing circuits, a professional inspection is the better choice.
Remove without avoidable damage
Locate the shift motor on the transfer case and note how the harness is routed and clipped. Release the connector lock and unplug it without pulling on the wires. Inspect both halves for green corrosion, bent pins, or water intrusion. A corroded connector can cause the original fault, and it will make a new motor fail too if it is not repaired.
Before removal, mark the motor's orientation on the case with a paint pen. Remove the mounting bolts and pull the motor straight off the shift shaft. If it sticks, work it gently by hand; prying against the aluminum case can damage the sealing surface. Do not rotate the exposed transfer case shift shaft, because its position must match the replacement motor. Wipe the mating surface clean and check for any seal or O-ring that needs to be transferred or replaced.
Install and restore the system
Compare the old and new motors side by side, paying particular attention to the shape and angle of the drive socket that engages the shift shaft. With the transfer case left in 2H, the new motor's socket must line up with the shaft. If the replacement arrives in a different position, follow the instructions supplied with the part or the Ford procedure for setting it. Do not force it by tightening the bolts. The motor should slide on and sit flush against the case by hand.
Install the bolts finger-tight, then tighten them evenly to the manufacturer specifications. Reconnect the harness until the lock clicks, and re-secure it in its original clips, away from the exhaust and driveshaft. Refit the skid plate if equipped, lower the truck, and reconnect the battery. A battery disconnect can reset some settings, so check the clock and radio afterward. Clear stored trouble codes with the scan tool.
Check the completed work
Start the engine and select 4H while following the conditions in your owner's manual. The indicator should flash briefly and then stay on steadily. Return to 2H and confirm that the indicator goes out. Then test 4L using the manual's procedure, which requires the vehicle to be stopped with the transmission in Neutral and the brake applied. Listen for smooth shifting, without repeated clicking or clunking from the transfer case.
Confirm actual engagement with a short, slow drive on gravel or another loose surface; do not use extended 4x4 driving on dry pavement as a test. Afterward, rescan for codes. Further diagnosis is needed if the indicator keeps flashing, codes return, the motor runs without changing ranges, or the front wheels still fail to drive while 4x4 shows as engaged. Record the repair in the service history, and include the transfer case and front hub vacuum system in future inspections, especially under harsh operating conditions.