2010 Ford F-150 Shift Interlock Solenoid Replacement
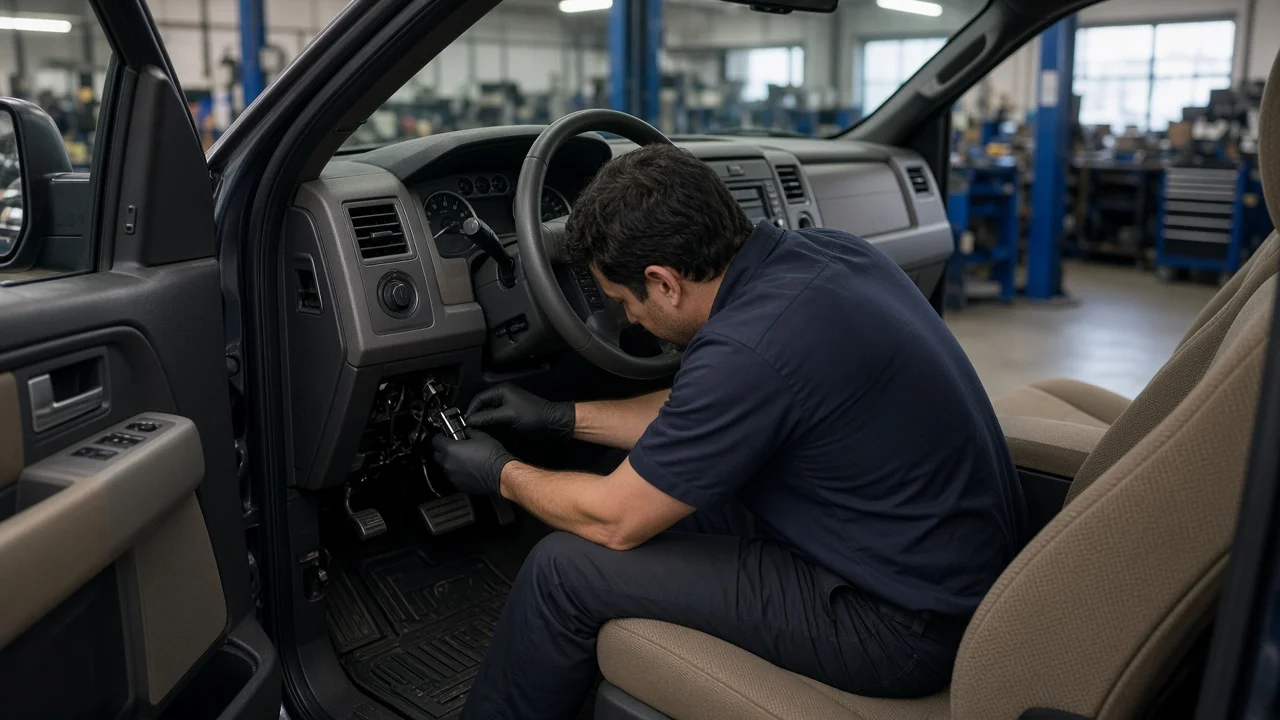
When a 2010 F-150 refuses to leave Park even with the brake pedal pressed, the brake shift interlock solenoid is a common suspect, but it is not the only possible cause. This guide shows how to confirm that the interlock is really at fault and how to match the part to your shifter configuration. It then covers replacing the solenoid with the airbag system made safe and checking that the interlock both releases and locks correctly afterward.
Confirm the part and repair scope
Start by identifying how your truck is built. Most 2010 F-150s use a column-mounted shifter, while trucks with a center console and bucket seats may have a floor shifter. The interlock solenoid sits in a different place on each design, and the part is not interchangeable between them. Transmission type also depends on the engine: some 4.6L trucks use a four-speed automatic, while other engines use a six-speed. The interlock is not inside the transmission and the job involves no fluid, so the fluid specification is irrelevant here. Do not confuse it with the internal shift solenoids, which affect shift behavior while driving and require a completely different repair. Confirm fitment with your VIN and the shifter type before ordering.
The interlock needs a brake-applied signal, so check the brake lights first. If they do not come on, suspect the brake pedal switch, a fuse or wiring before the solenoid. With the key on, press the brake and listen or feel for a click near the shifter. A missing click with working brake lights points toward the solenoid, its connector or its control circuit, but it does not confirm the solenoid itself has failed. A weak battery, a binding shift cable or worn shifter parts can cause similar complaints. Diagnostic codes for this circuit may be stored in body modules that a basic engine code reader cannot see, so a scan tool with body-module coverage is useful.
Review the truck's service history for earlier column, console or brake switch work. Then compare your repair options: some interlock actuators are sold separately, while some are available only as part of a larger shifter or column component. The manual override described in the owner's manual is a way to move the truck, not a repair.
Prepare tools and safe access
Gather plastic trim tools, a socket set with the drivers your fasteners require (often including Torx bits), a multimeter or test light, and the service information for your shifter configuration. Park on level ground, set the parking brake and chock the wheels. If the truck is stuck in Park and must be moved into a better work position, use the override procedure from the owner's manual, then return the shifter to Park.
Column-shift work happens close to the driver airbag, the clockspring and the airbag wiring. Disconnect the negative battery cable and wait the period specified in the service information before working near these parts. Do not probe the yellow airbag connectors, and keep the steering wheel centered so the clockspring is not wound out of position. If your procedure calls for removing the steering wheel or airbag module, or if you are not comfortable working around airbag components, this job is better left to a professional. A damaged clockspring or a mishandled airbag costs far more than the interlock part.
Remove without avoidable damage
On a column-shift truck, lower the tilt column, remove the fasteners on the underside of the column shrouds, and separate the upper and lower covers. Some trucks also need the lower dash or knee trim removed for clearance. Locate the interlock actuator near the shift mechanism and photograph the wiring routing and the solenoid's position before touching anything. Release the connector's locking tab instead of pulling on the wires, then remove the solenoid's fasteners. Avoid prying against the shift tube or disturbing the shift cable adjustment, and leave the gear indicator linkage where it is. Moving any of these can create a new problem that looks like the old one.
On a floor-shift truck, remove the console trim and shifter bezel as your service information directs. Some designs also require removing the shifter knob. The interlock mounts on the shifter base. Trim clips and bezels become brittle with age, so work slowly with plastic tools and expect to replace any clips that break. Before removing the old solenoid, note how its plunger engages the park lock, since the new one must sit the same way.
Install and restore the system
Compare the new solenoid with the old one, including the connector shape, mounting points and plunger design. Install it in the same orientation so the plunger blocks the shifter in Park and retracts when energized. Tighten the fasteners to the values in the service information rather than guessing, because small plastic or die-cast mounts strip easily. Seat the connector until it locks, and route the wiring away from the tilt mechanism, the shift linkage and any sharp edges.
Before refitting the trim, reconnect the battery and run a quick function test with the covers still off. That way you can correct any problem without taking the covers apart twice. A standalone interlock actuator generally needs no programming, but confirm this against the instructions for your specific part. Once it works, reinstall the covers, bezel and clips in reverse order, making sure nothing pinches the wiring. Battery disconnection can reset some convenience features, so check that the clock, radio and windows behave normally and reset anything the owner's manual describes.
Check the completed work
Test the interlock in each condition. With the key off, the shifter should stay locked in Park. With the key on and the brake released, it should still be locked. With the brake pressed, it should release smoothly. Repeat the test with the engine running. Then move through every gear and confirm the indicator matches the selected range, the engine starts only in Park or Neutral, and the key comes out only in Park. Check the brake lights again, and confirm no new warning lights appear on the instrument cluster.
If the shifter still will not release, measure power and ground at the solenoid connector with the brake applied, confirm the brake switch signal, and recheck for stored codes. A fault that comes and goes as the column tilts suggests chafed wiring. If the shifter moves but the transmission does not follow, inspect the shift cable and linkage instead. Harsh, delayed or erratic shifts while driving are unrelated to the interlock and need their own transmission diagnosis.