2010 Ford Edge ABS Tone Ring Replacement
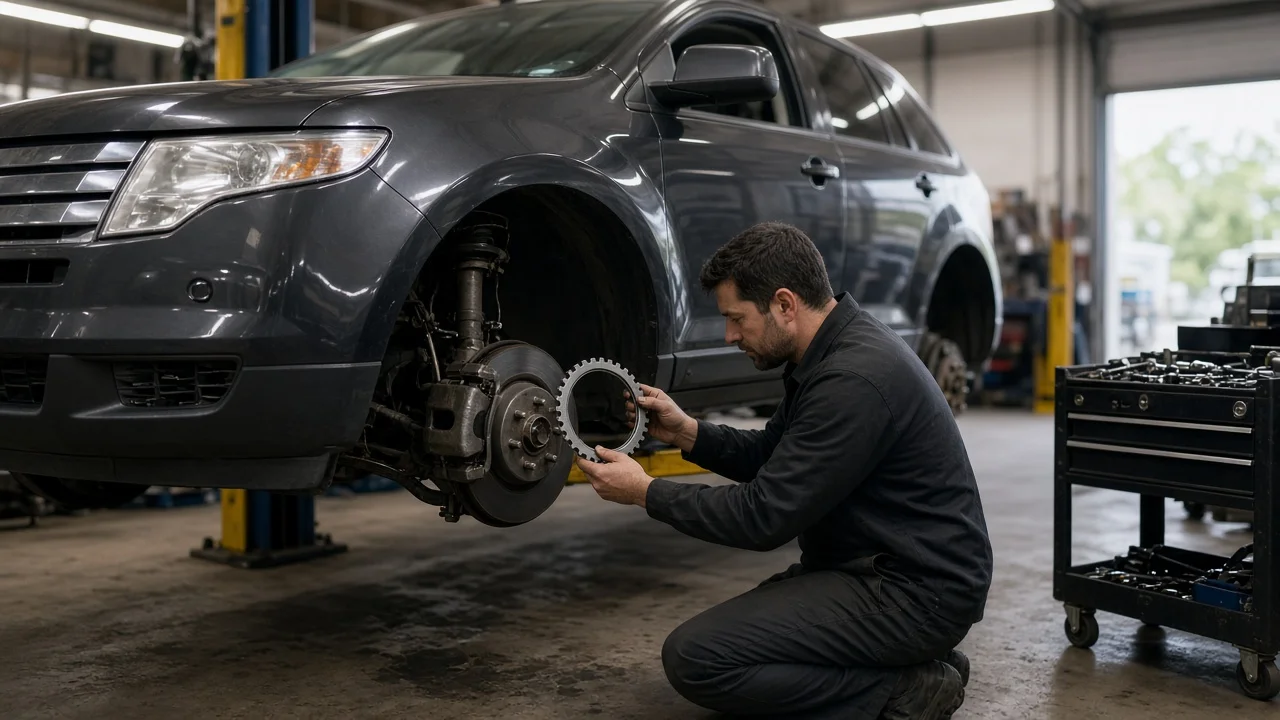
An ABS warning light, a traction control message or a pulsing brake pedal at low speed on a 2010 Ford Edge often points to a bad wheel speed signal. A cracked, rusted or damaged tone ring is one possible cause. Replacing it involves both brake and driveline components, so the job starts with confirming the diagnosis and choosing the correct part. The rest of the work is about avoiding new faults during removal and reassembly.
Confirm the part and repair scope
Do not replace a tone ring just because the ABS light is on. Use a scan tool that communicates with the ABS module and read the stored trouble codes first. Then watch live wheel speed data. A ring fault usually shows up as one wheel reading erratically, dropping out or disagreeing with the other three, often at a repeatable speed. Next, inspect the ring itself. Look for cracks, missing or bent teeth, rust scale lifting the ring off its seat, and metallic debris stuck to a magnetic encoder. The wheel speed sensor, its harness and its connector produce the same symptoms and fail more often, so check them before you commit to a ring replacement.
Vehicle fitment matters on this model. Confirm whether the Edge is front-wheel or all-wheel drive, and confirm which corner is affected. The reluctor design varies by axle position and drivetrain. Some rings are a separate pressed-on part on the outer CV joint or the hub. Others are a magnetic encoder built into the wheel bearing seal, and those are not sold separately. If the ring is integrated, the real repair is a hub bearing or halfshaft replacement, not a ring swap. Use a VIN-based parts lookup together with the factory service information for your exact vehicle before ordering parts.
Prepare tools and safe access
Work on level ground. Chock the wheels that stay down and support the vehicle on rated jack stands, never on the jack alone. Typical needs include: • a breaker bar and an axle nut socket; • sockets for the caliper and bracket bolts; • a torque wrench; • a wire brush and brake cleaner; • penetrating oil; • a suitable puller, plus a press or tone ring installation driver; • a scan tool for clearing codes and reading live data; Get the factory service procedure for your drivetrain. It gives the torque values, the fastener replacement requirements and the disassembly order, and none of these should be guessed.
This job is not a good first brake project. Pressing a ring squarely, separating a halfshaft or disturbing a wheel bearing all need experience and proper equipment. If you have no press or installer, or if the knuckle has to come off the vehicle, a professional shop is the safer choice. Since the wheel will be apart anyway, plan to measure the brake rotors and check the remaining friction material on the brake pads against the specified wear limits.
Remove without avoidable damage
Where the procedure involves the axle nut, break it loose while the wheel is still on the ground. Then raise the vehicle and remove the wheel. Unbolt the caliper and its bracket. Hang the caliper from the suspension with wire so it does not dangle by the flexible hose. Do not press the brake pedal while the caliper is off. There is no need to open the hydraulic system or lose brake fluid for this job. Remove the rotor next. Then take out or unplug the wheel speed sensor before you go further. Sensors often seize in the knuckle, so apply penetrating oil and twist them gently rather than prying, because a broken sensor adds cost and time.
How you reach and remove the ring depends on where it is mounted. A ring on the outer CV joint may require separating the halfshaft from the hub as the service information describes. Support the shaft so the inner joint is not overextended, and protect the CV and ball joint boots. A pressed-on ring is usually removed with a puller, or by carefully splitting it with a chisel. If you split it, keep the chisel away from the seat so the surface underneath is not scored. If the ring turns out to be a magnetic encoder in the bearing seal, stop. Prying on it destroys the bearing seal.
Install and restore the system
Clean the ring seat down to sound metal, removing all rust and scale. Rust buildup under the ring is a common reason these rings crack in the first place. Check the seat for pitting that could stop the new ring from sitting true, and do not add grease or sealant unless the instructions call for it. Compare the old and new rings to confirm the orientation, because some rings have a flange or chamfer that must face a particular direction. Press the new ring on squarely with a driver that bears on its body, not its teeth. Stop at the same position the original occupied. Never hammer on the teeth, since even slight distortion produces a noisy signal.
Reassemble in reverse order. Reinstall the halfshaft. Fit a new axle nut where the procedure specifies one. Tighten the nut, the caliper bracket bolts and the caliper bolts to the published values, and use threadlocker only where required. Clean the sensor bore and fit the sensor with any supplied seal. Route the harness through its original clips so it cannot contact the rotor, the tire or moving suspension parts. Pump the brake pedal until it is firm before moving the vehicle. A tone ring needs no calibration, but stored ABS codes may need to be cleared with a scan tool, and some only clear after a successful self-test drive.
Check the completed work
Before the road test, confirm the following: • The pedal is firm and consistent. • The wheel spins without rubbing or binding. • The sensor connector is fully latched. • The ABS and traction control warnings go out after the startup self-check. Then drive at low and moderate speeds with a scan tool showing live wheel speeds. All four readings should rise and fall together smoothly, with no dropouts at the repaired corner. A light stop on dry pavement should not trigger ABS activation.
Further diagnosis is needed if any of these appear: • the warning light returns; • the repaired wheel still reads erratically; • ABS engages at low speed on good traction; • a new clicking or grinding noise; • a vibration or detectable wheel bearing play; Check the sensor and wiring first, then check the ring for runout or incorrect seating, then check the bearing. If the pedal sinks, the vehicle pulls under braking or braking feels different in any way, stop driving and have the braking system inspected by a professional before further use.