2010 F-150 5.4 Brake Booster Vacuum Hose Diagram
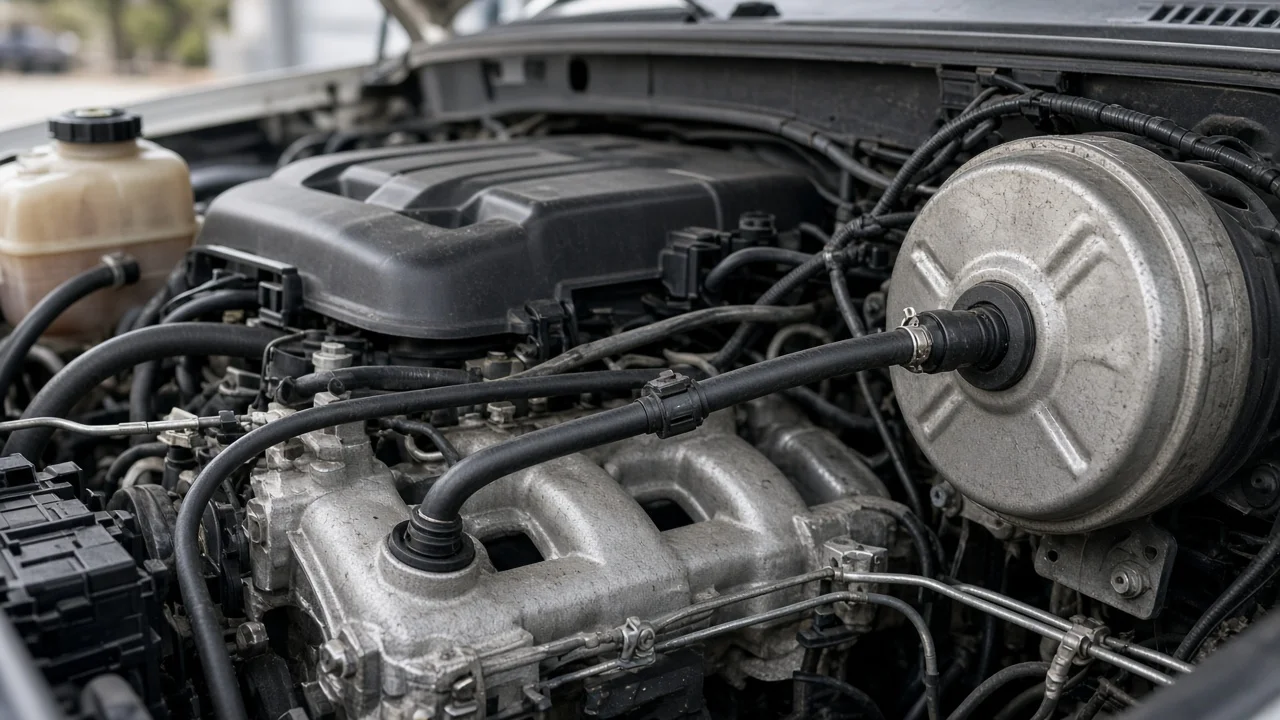
On a 2010 Ford F-150 with the 5.4-liter V8, the brake booster gets its vacuum from the engine through one molded hose assembly, not a network of lines. One end connects to the intake manifold. The other connects to the booster at the driver-side firewall, with a one-way check valve between them. This guide describes that routing in words, explains what each part does, and shows how to check it before you buy parts.
Where the booster vacuum hose runs
Think of the diagram as a single path. The vacuum booster is the large round canister on the driver side of the firewall, directly behind the master cylinder and brake fluid reservoir. Its vacuum comes from a dedicated port on the intake manifold of the 5.4-liter three-valve engine, toward the rear of the engine. The hose leaves that port, runs along the back of the engine toward the driver side, and ends at the check valve on the face of the booster shell. Clips along the way keep it from rubbing on hot or moving parts.
The factory part is a preformed assembly. It usually has quick-connect or push-on fittings at each end. The one-way check valve is either built into the line or pressed into a rubber grommet on the booster. The exact shape, clip points and valve location vary by assembly, so treat this written layout as a guide, not a replacement for the factory diagram.
How booster vacuum works
When the engine idles or cruises, pressure in the intake manifold is below atmospheric pressure. The hose carries that low pressure to the booster, which contains a large diaphragm. Pressing the pedal lets outside air into one side of the diaphragm while the other side stays under vacuum. The pressure difference pushes on the master cylinder pushrod. That added force is why a healthy F-150 stops with moderate pedal effort despite its weight.
The check valve lets air flow only from the booster toward the engine. Manifold vacuum drops under hard acceleration and after the engine shuts off. When that happens, the valve closes and traps the vacuum already in the booster. That reserve normally gives one or two assisted stops with the engine off. A crack, a loose fitting or a failed valve breaks this seal, so the booster loses its reserve and the pedal gets hard. The leak also lets unmetered air into the intake, which can cause a hiss, a rough idle or lean fuel trim codes.
Details that change the routing
Engine choice matters most. The 2010 model year was the last for the 5.4-liter in the F-150. The same year also offered 4.6-liter V8s, and the SVT Raptor offered a 6.2-liter V8. These engines have different intake manifolds, so do not assume a hose made for one fits another, even though the booster sits in a similar spot on the firewall. Cab style, bed length and trim generally do not change the hose.
Previous repairs also change what you will find. A previous owner may have spliced in a generic rubber hose instead of the molded assembly, added an inline check valve, or installed a replacement intake manifold with a different port fitting. Generic hose that is not rated for vacuum and engine-bay heat can soften and collapse, which restricts flow even without an obvious leak. If the hose under your hood does not match the routing above, trace it from end to end instead of relying on a picture.
Checks an owner can do
Start with a basic booster test. With the engine off, press the brake pedal several times to use up the stored vacuum. Then hold firm pressure on the pedal and start the engine. On a working system, the pedal drops slightly as vacuum builds. If it does not move, suspect the vacuum supply first. Next, run the engine for a minute, shut it off, wait a minute or two and press the pedal. It should feel assisted for at least the first press. If assist is gone right away, suspect a leaking check valve, hose or booster.
Next, inspect the hose with the engine cool. Look for cracks at bends, swollen or collapsed sections, broken clips, and fittings that move or are not fully seated at the manifold port or the booster grommet. Then start the engine and, at idle, listen along the hose for a hiss. Also listen near the pedal, because a hiss there while braking points to a leaking booster diaphragm rather than the hose. If you remove the check valve, test it with a hand vacuum pump. It should hold vacuum applied to the booster side and let air through when vacuum is applied to the engine side. When reinstalling it, point the marked flow direction toward the engine.
A hard pedal is a vacuum or booster problem, not a sign of worn brake pads or brake rotors. A low or spongy pedal points elsewhere, such as air in the brake fluid or a caliper problem, and needs a different diagnosis.
When to stop and get professional help
Without booster assist, the truck needs much more leg force to stop, and stopping distances can grow sharply, especially when towing or loaded. If assist is weak or missing, avoid driving until the cause is fixed, and have the truck towed if needed. Owners often replace the hose or check valve themselves. A booster replacement, or any concern with the master cylinder, brake fluid level or brake lines, belongs with a qualified technician.
This article covers general routing and checks. It does not give exact clip locations, torque values or part numbers, which vary by assembly and production date. Use the factory workshop manual for the procedure and a VIN-based parts catalog to get the correct hose. After any repair, repeat the pedal tests and drive slowly in a safe area to confirm firm, assisted braking before returning to normal use.