2008 Range Rover Sport Parking Brake Actuator: Fitment Guide
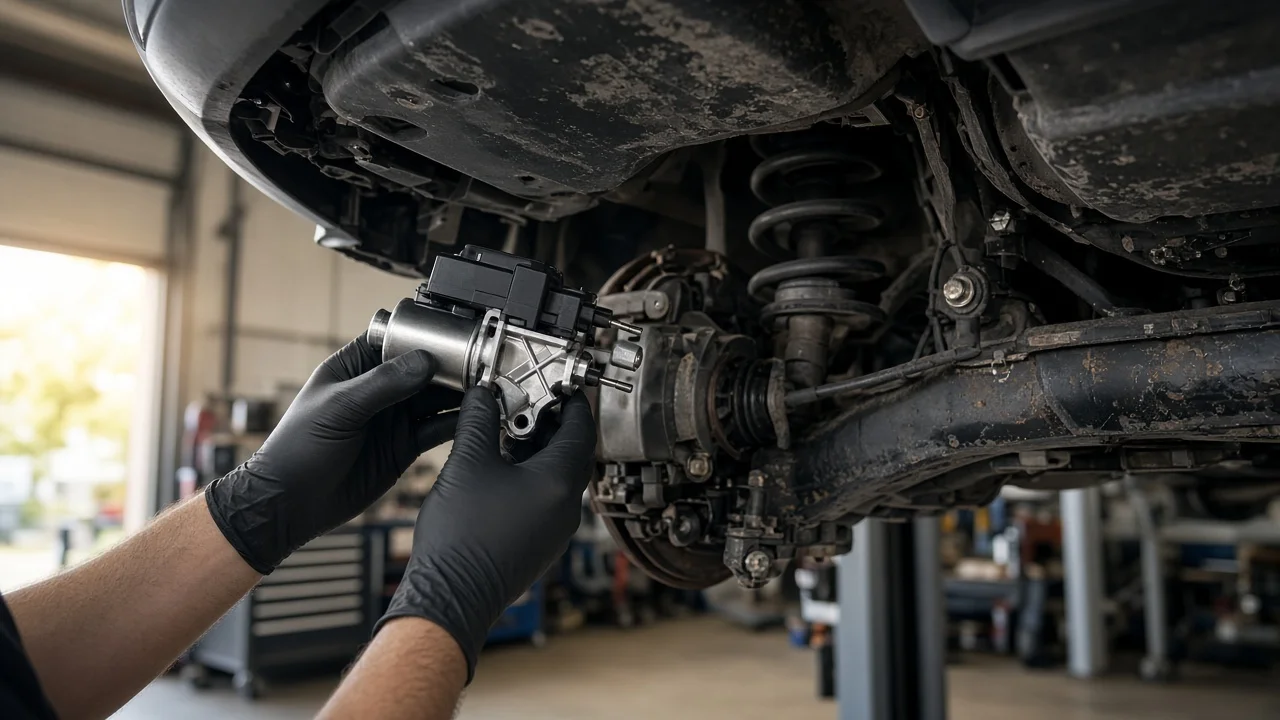
If your 2008 Range Rover Sport shows a parking brake fault message or the brake will not apply or release, the electronic actuator is a common suspect. Choosing a replacement takes more than matching the model year. The unit has to match your specific vehicle, it usually needs calibration with a diagnostic tool after installation, and the rear cables and parking brake shoes must be in good condition. This guide covers fitment, how the system works, and when to stop and get professional help.
Which actuator fits a 2008 Range Rover Sport
The 2008 Range Rover Sport belongs to the first-generation model, often called L320. It uses an electronic parking brake controlled by a single motorized actuator mounted under the vehicle. This one module applies both rear parking brakes through cables. When you shop for a replacement, the reliable way to confirm vehicle fitment is by VIN, either through a Land Rover parts catalog or a dealer parts counter. A listing that only says "fits 2008 Range Rover Sport" is a starting point, not proof.
Before ordering, read the label on your existing actuator and record its part number. Land Rover frequently supersedes part numbers, so the number on your old unit may now point to a newer replacement. That is normal and usually means the newer part is the approved substitute. If a seller lists the unit for other Land Rover models from the same era, treat that as a hint about shared design, then confirm it against your VIN and the old part number rather than relying on the cross-reference alone.
How the electronic parking brake works
When you operate the parking brake switch, the request goes to the actuator module. Inside it, an electric motor drives a gear mechanism that pulls on the parking brake cables. The cables run to each rear wheel, where they spread a pair of small shoes against a drum surface machined into the center section, or hat, of the rear brake rotors. The actuator monitors cable tension and stops when it reaches its target force, then reverses to release.
This system is separate from the hydraulic service brakes. The brake pads, caliper and brake fluid stop the vehicle while driving. The parking brake shoes inside the rotor hat only hold it stationary. The actuator communicates with other modules on the vehicle network, stores fault codes when something goes wrong, and triggers warnings in the instrument cluster message center. The vehicle also has a manual emergency release so the brake can be freed if the actuator fails while applied. The owner's handbook describes its location and use.
What changes the answer
Several factors affect whether a given actuator is the right part, and whether replacing it will fix the problem at all. New genuine, remanufactured and used units differ. A used unit pulled from another vehicle may carry stored calibration data or its own fault history, and its condition is unknown. Remanufactured units vary by rebuilder, so check what was replaced and what warranty applies. Also confirm whether the unit comes with cables, because some replacements are sold as the module only and you transfer or replace the cables separately.
The fault may not be in the actuator. A weak battery or low system voltage can trigger parking brake warnings on this vehicle. Seized or frayed cables, corroded connectors, damaged wiring, a faulty switch, or parking brake shoes worn beyond their wear limits can all produce symptoms that look like actuator failure. Rear brake work matters too. Replacing rear rotors usually requires putting the parking brake into a service or release mode first, and a new actuator fitted to badly worn shoes or a stretched cable may still report faults.
What the owner can do
Start by noting the exact warning message and when it appears: at startup, when applying, when releasing, or while driving. Check battery condition and charging voltage, because a marginal battery causes many electronic faults on this model. Then read the stored codes with a scan tool that can access chassis modules. A basic generic code reader usually only reads engine and emissions codes and will not show parking brake module faults.
With the vehicle safely supported and the wheels chocked, you can visually inspect the actuator, its connector and the cable routing for corrosion, physical damage or kinks. If the rear rotors are off for other work, examine the parking brake shoes and the drum surface inside the rotor hat. Compare what you see against the wear limits in the vehicle's service information rather than judging by eye. Never work under the vehicle relying on the parking brake to hold it.
If you replace the actuator yourself, follow the vehicle-specific service procedure. It typically involves setting the system to a service position, connecting the cables correctly, and running a calibration routine with a diagnostic tool that supports this module. Without that calibration the unit may not apply full holding force or may keep showing a fault. After installation, confirm that the brake applies and releases cleanly, the warning clears, and the vehicle holds securely before you trust it on a slope.
Limitations and next step
This guide cannot confirm a part number for your specific vehicle. Fitment depends on your VIN, build details and any supersessions, so verify with a parts catalog or dealer before buying. Procedures, cable adjustment and calibration steps vary with the actuator version and the diagnostic tool you use. Follow the factory service information instead of general descriptions.
Stop using the vehicle and arrange professional service if the parking brake stays applied while driving, a rear wheel drags or overheats, you smell hot brakes, or a service brake warning appears alongside the parking brake fault. Until the system is repaired, park on level ground in Park and chock the wheels rather than relying on the parking brake. A brake technician with dealer-level diagnostics can confirm whether the actuator, cables, shoes or wiring are at fault and complete calibration correctly.