2008 Ford F-150 Shift Interlock Solenoid Replacement
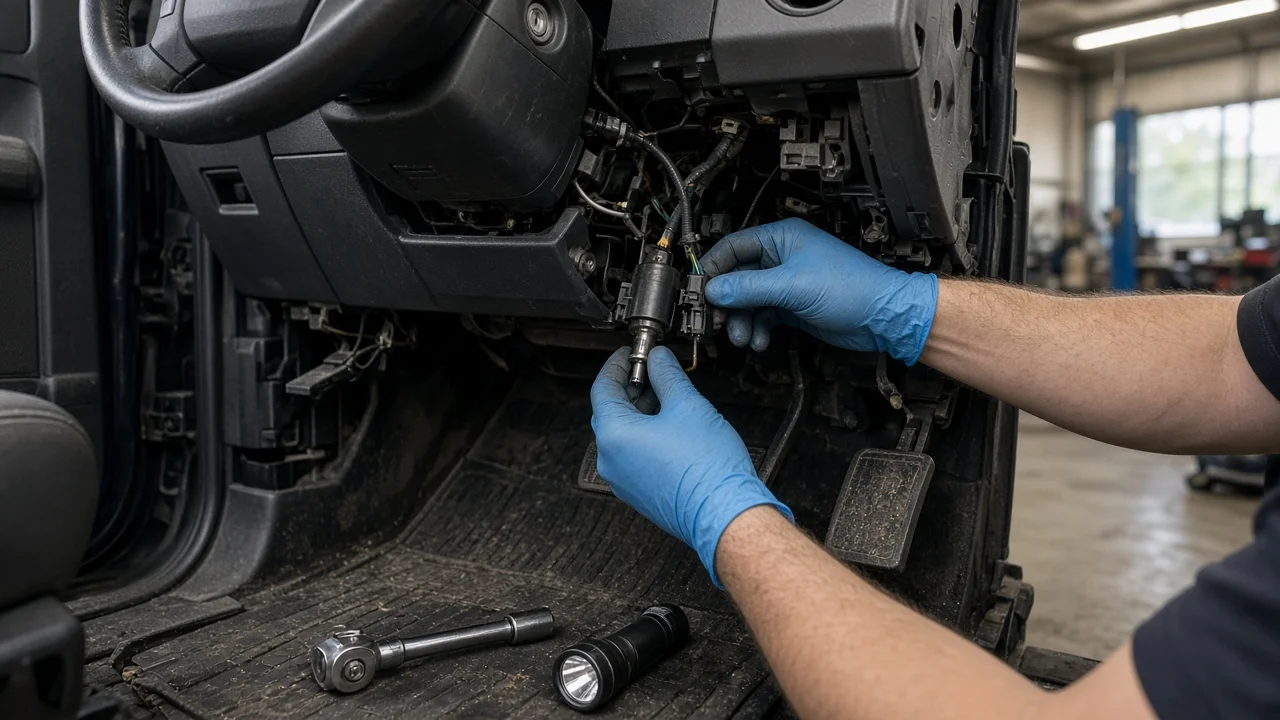
When the shifter on a 2008 Ford F-150 will not leave Park even with the brake pedal pressed, the brake shift interlock solenoid is a common suspect, but it is not the only possible cause. This guide explains how to confirm the diagnosis, match the part to your truck's configuration, and approach removal, installation and testing. Use it alongside the factory service information for your exact truck, which governs fastener specifications and procedures.
Confirm the part and repair scope
The 2008 model year is the last of the eleventh-generation F-150, and automatic versions use a four-speed electronically controlled transmission. For this repair, the transmission type matters less than the shifter type. Most trucks have a column-mounted shifter, while some trims with bucket seats and a floor console use a console shifter. The interlock actuator's location, design and part number differ between the two, so fitment depends on how your truck is equipped, not just the model year. Confirm the part by VIN with your parts supplier or dealer, and check whether the actuator is sold separately or only as part of a column or shifter assembly, because that changes the repair options and the amount of work involved.
Before buying anything, rule out the inputs the solenoid depends on. The interlock releases only when it receives a brake-applied signal, so a blown fuse, a faulty brake pedal position switch or damaged wiring can keep the shifter locked even with a healthy solenoid. Check whether the brake lights come on when the pedal is pressed. With the ignition on, press the brake and listen for a faint click from the column or console; no click with working brake lights points more toward the actuator or its circuit. Shift linkage binding, a worn column mechanism or a spilled drink in a console shifter can produce similar shift behavior. Interlock faults usually do not illuminate the check engine light, so absent diagnostic codes do not clear the system, while a scan tool that displays brake switch status can save time. Review the service history as well, since recent column, dash or console work can leave a connector loose or a harness pinched.
Prepare tools and safe access
Gather plastic trim tools, a socket set, Torx bits, a test light or multimeter, a flashlight and wheel chocks. Park on level ground, set the parking brake and chock the wheels, because testing may involve moving the shifter out of Park. If the truck is stuck in Park and must be moved, the owner's manual describes the brake shift interlock override procedure for your shifter type. No fluid is drained for this job, so transmission fluid specification does not come into play unless separate diagnosis reveals a transmission concern.
Column-shift trucks require working near the driver airbag, its wiring and the clockspring. Disconnect the negative battery cable and wait the period specified in Ford's service information before removing column trim, and never probe or unplug airbag connectors, which are normally yellow. Inexperienced owners should consider a professional repair if the job requires removing the column, disturbing the clockspring or working on airbag circuits. Mistakes there can disable the airbag or cause accidental deployment, and the risk outweighs the savings.
Remove without avoidable damage
On a column shifter, tilt the steering wheel to gain clearance, then remove the fasteners on the underside of the column shrouds and separate the upper and lower halves. Depending on the truck, you may also need to remove lower instrument panel trim for access. Locate the interlock actuator near the shift mechanism, photograph its position and how its plunger engages the lock, release the connector's locking tab and unplug it, then remove the mounting fasteners. Avoid prying against the clockspring or multifunction switch, and do not rotate the steering wheel while components around the clockspring are disturbed.
On a console shifter, remove the shifter bezel and the console panels needed to reach the shifter base, where the actuator is mounted. Plastic console trim becomes brittle with age, so release clips gradually rather than pulling on a single corner. On either layout, keep fasteners organized by location, and note harness routing and any retaining clips so everything goes back exactly as it came out.
Install and restore the system
Compare the new actuator with the old one before installing it; the connector, mounting points and plunger shape should match. Position it in the same orientation shown in your photos, making sure the plunger engages the lock mechanism and moves freely. Tighten fasteners to the values in the service information rather than estimating, since overtightening can crack plastic housings or distort the mounting bracket. Seat the electrical connector until the lock tab clicks, and route the harness where it cannot be pinched by the tilt mechanism, shrouds or console panels.
Reinstall trim in reverse order, then reconnect the battery as the service procedure directs. A simple interlock actuator generally needs no programming, but confirm this in the instructions for your part, especially if you replaced a complete shifter or column assembly. Disconnecting the battery can reset radio presets and the clock, and the powertrain module may need some driving to relearn adaptive values, so slightly different shift feel immediately afterward is not unusual.
Check the completed work
With the ignition on and the brake released, the shifter should stay locked in Park. Press the brake and it should release with an audible click. Move through every range and confirm the gear indicator matches the selected position, the engine starts only in Park or Neutral, the brake lights work, and the key can be removed only in Park on trucks where that interlock applies. Finish with a short road test, watching for normal engagement and shift behavior.
If the shifter still locks, measure power and ground at the actuator connector with the brake applied before assuming the new part is defective. An intermittent release often traces to a chafed harness or loose connector, while a gear indicator that does not line up with the transmission suggests shift cable adjustment rather than an interlock fault. Do not drive the truck if it can start in gear, can be shifted out of Park without pressing the brake, or shows any airbag warning after the work; each of those calls for further diagnosis before the vehicle returns to service.