2008 Chevy Impala Shift Interlock Solenoid Replacement
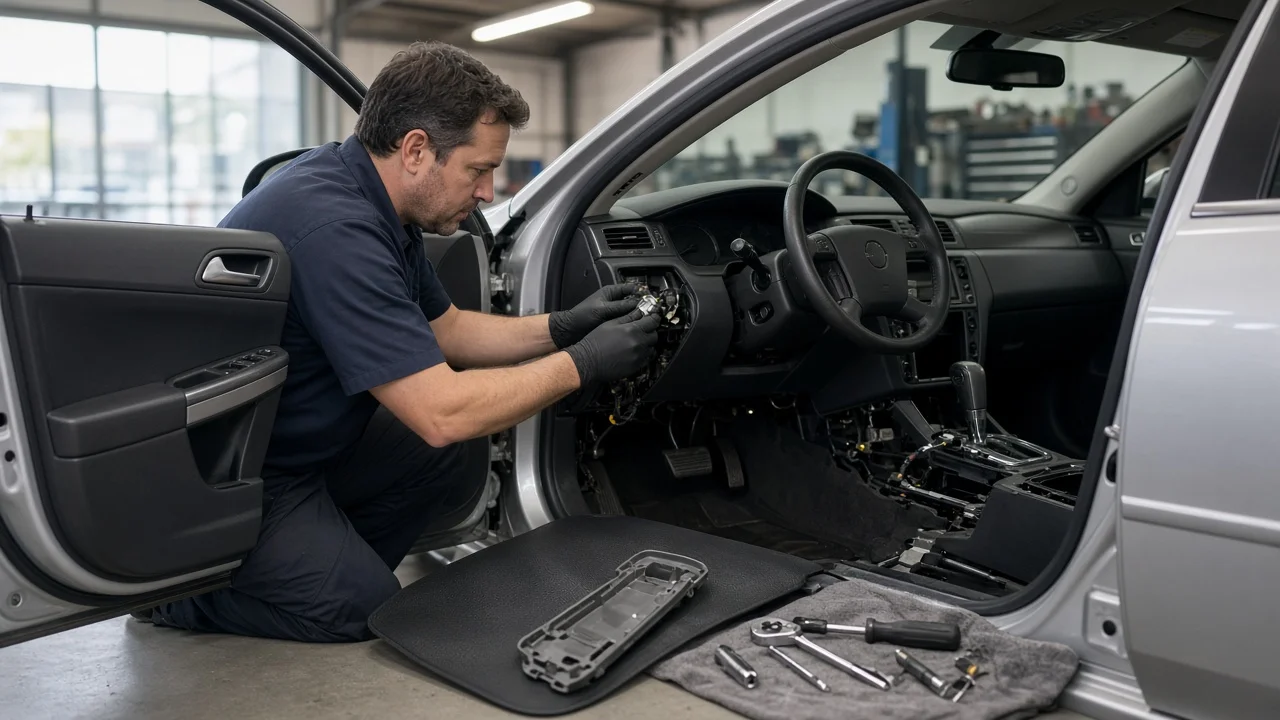
A 2008 Impala that won't shift out of Park with the brake pedal pressed often points to the brake transmission shift interlock (BTSI) solenoid, but the solenoid is not the only possible cause. This guide covers confirming the fault, preparing for the job, removing and installing the part, and checking the result. The interlock is part of the shifter or steering column, not the 4T65-E automatic transmission itself, so fluid specification and internal transmission work are not part of this repair.
Confirm the part and repair scope
Start by identifying which shifter your car has. The 2008 Impala was built with either a column-mounted shifter, usually paired with a front bench seat, or a console-mounted floor shifter with bucket seats. The interlock solenoid sits in a different place on each, the removal steps differ, and the parts are not interchangeable. Use the VIN or the option codes on the glovebox label when ordering, and confirm fitment for your exact configuration rather than relying on model year alone. On some floor-shift assemblies the solenoid may be serviced only as part of the complete shifter, so check what your parts source actually supplies.
Next, make sure the solenoid is really the problem. Check that the brake lights come on when you press the pedal; if they don't, a faulty or misadjusted brake light switch or a blown fuse can keep the interlock from releasing, and replacing the solenoid will not help. With the key on, press the brake and listen near the shifter or column for a faint click. A click with no release can suggest a mechanical bind, while silence with working brake lights points toward the solenoid, its wiring or its control circuit. A scan tool that reads body control module data and stored diagnostic codes can help separate a circuit fault from a mechanical one. Ignition switch and park lock problems on column models can also mimic interlock failure, so treat the symptom as a starting point, not a confirmed diagnosis.
Prepare tools and safe access
Get service information specific to your Impala's shifter type before starting. It provides the trim removal order, fastener sizes and torque values, and any cautions for nearby systems. Typical tools include plastic trim tools, a socket set, Torx bits, a small flat screwdriver for connector locks, a multimeter and, ideally, a scan tool. Park on level ground, set the parking brake and chock the wheels, because you may need to move the shifter with the manual shift lock release while working.
Column-shift cars deserve extra caution. Work around the steering column can involve the airbag system and the clockspring, and the airbag must be disabled following the service procedure, including disconnecting the battery and waiting the specified time before touching any related connector. If you are not comfortable with airbag precautions, column disassembly or electrical testing, this job is better handled by a shop. Console-shift cars are generally more approachable, but you still need to disconnect the battery and keep track of trim clips and fasteners.
Remove without avoidable damage
On a floor-shift Impala, the usual path is to remove the shifter trim and console panels in the order the service information lists, which exposes the shifter assembly. Locate the interlock solenoid and its electrical connector, release the connector lock rather than pulling on the wires, and remove the solenoid fasteners or the shifter assembly as your procedure requires. Take photos of the solenoid's position, the plunger's engagement with the shift mechanism and the harness routing before anything comes apart.
On a column-shift car, after the airbag system is safely disabled, remove the column covers to reach the interlock components near the shift and lock mechanism. Avoid rotating the steering wheel unnecessarily and do not disturb the clockspring. Brittle plastic trim and connector locks break easily on cars of this age, so work slowly and use proper trim tools. Compare the old solenoid with the new one before going further; differences in connector shape, mounting or plunger design usually mean the wrong part.
Install and restore the system
Install the new solenoid in the same orientation as the original, with the plunger engaging the shift mechanism exactly as shown in your photos. Tighten fasteners to the values in the service information instead of guessing, since overtightening can crack plastic housings or bind the plunger. Seat the electrical connector fully until the lock engages, and route the harness away from moving shifter or column parts so it cannot chafe or snag.
Before reinstalling all the trim, reconnect the battery and do a quick function check, then reassemble. On column-shift cars, restore the airbag system strictly per the service procedure, with no one sitting in the driver's seat when the battery is reconnected. A replacement solenoid normally does not require programming, but confirm this in the instructions for your part. If the battery was disconnected, expect to reset the clock and radio presets.
Check the completed work
With the key on and the engine off, the shifter should stay locked in Park when the brake is not pressed and release smoothly once the pedal is applied. Repeat several times, then start the engine and confirm normal shift behavior through every gear position with your foot firmly on the brake. On column models, verify the key can be removed only with the shifter in Park. Confirm the brake lights still work, the airbag warning lamp turns off after the bulb check, and no new codes are stored.
If the shifter still won't release, or the interlock fails to lock without the brake, the fault lies elsewhere. Likely next steps include testing the brake light switch and its adjustment, checking power and ground at the solenoid connector, inspecting wiring for damage and having the control circuit diagnosed with a capable scan tool. Record the repair and the part used in your service history, as this helps with any future diagnosis and with comparing repair options if the symptom returns.