2008 Chevy Impala Pressure Control Solenoid Replacement
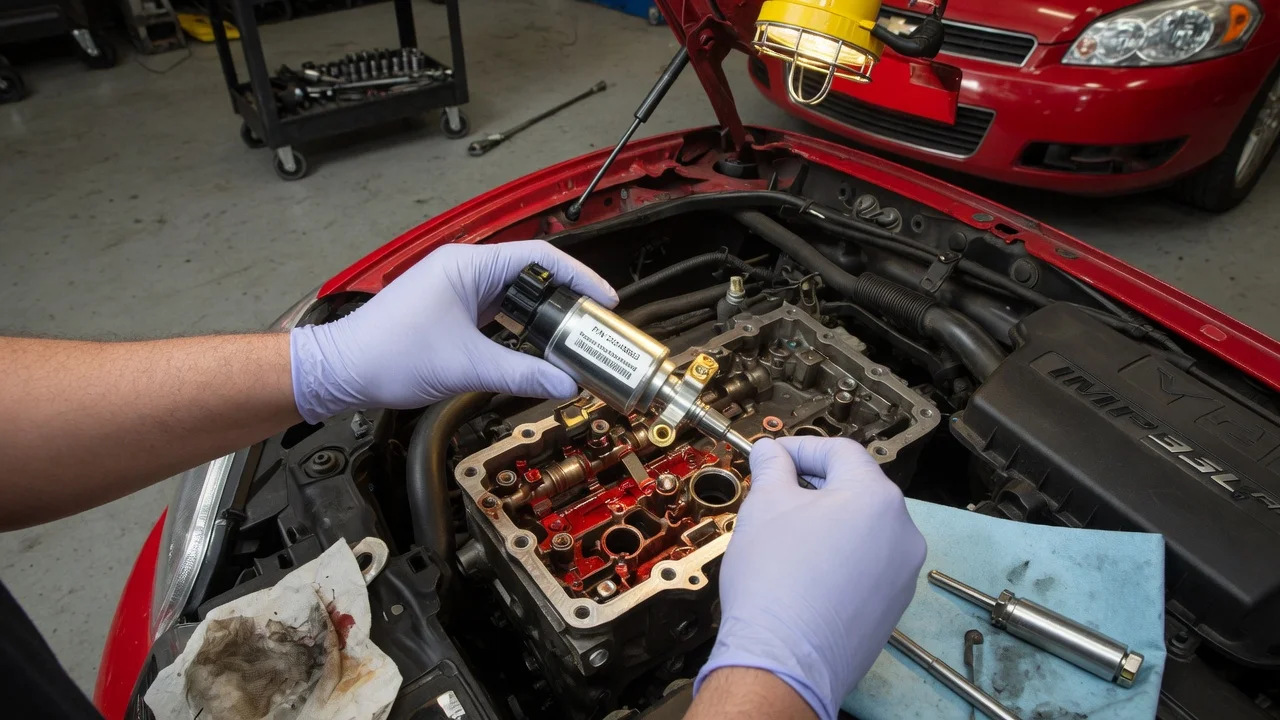
The pressure control solenoid regulates line pressure inside the automatic transaxle, so a fault can change shift feel, engagement and shift quality. Replacing it on a 2008 Impala is possible at home, but it sits inside the transmission, and access is tight on this front-wheel-drive car. This guide covers confirming the diagnosis and part, preparing for the job, removing and installing the solenoid, and checking the result. Always follow the factory service information for your exact vehicle.
Confirm the part and repair scope
Most 2008 Impalas use the 4T65-E four-speed automatic transaxle, with a heavy-duty version used behind the V8. Do not assume, though. Confirm the transmission type from the RPO codes on the service parts identification label or by decoding the VIN with a parts supplier or dealer. Pressure control solenoids, internal harnesses and valve body details can differ between versions and production changes. Order by VIN and compare the new part's connector and mounting with the original before you start, so fitment is not a surprise halfway through the job.
Before buying parts, confirm that the solenoid is actually the problem. Diagnostic codes in the P0960 to P0963 range point to the pressure control solenoid circuit or its performance. A circuit code can also come from the internal harness, the pass-through connector, the external wiring or the control module. Performance-type codes and symptoms such as harsh or delayed shifts, flare between gears, or slipping can be caused by low or degraded fluid, a worn valve body bore, internal leaks or worn clutches. A proper diagnosis uses a scan tool to read codes and commanded versus actual values, plus wiring and connector checks, a solenoid resistance test against the service information value, and a fluid condition check.
Review the service history too. If the fluid is dark, burnt or full of friction material, or if slipping has been ongoing, a solenoid alone may not fix it. In that case, compare repair options such as a valve body repair or professional rebuild before committing to the part.
Prepare tools and safe access
On the 4T65-E, the pressure control solenoid is mounted on the valve body behind the driver-side side cover of the transaxle. That cover faces the inner fender and frame, and clearance is limited. Depending on the vehicle and your tools, access may mean removing the driver-side wheel and splash shield. It can also mean supporting the engine and transaxle, and in many cases lowering or shifting part of the subframe. Get the factory procedure for your configuration before you start, because the access steps decide whether this is a reasonable driveway job.
Plan on a scan tool that can read transmission data and reset adaptive values. You will also need a quality metric socket set with extensions and swivels, a torque wrench, a drain pan, a gasket scraper safe for aluminum, and lint-free shop towels. Have the correct new side cover gaskets or seals ready, along with the fluid specification listed for your car. GM specified DEXRON-VI for this generation, but confirm it in your owner's manual or service information. Lift the car on a hoist or on rated jack stands on solid, level ground, and never work under it on a jack alone. Disconnect the negative battery cable before unplugging transmission electrical connectors.
If you have not supported a powertrain or lowered a subframe before, this job may be better left to a transmission shop. Mistakes here can damage mounts, lines or alignment, or let the engine drop.
Remove without avoidable damage
Once access is clear, place the drain pan under the side cover, because fluid will come out when the cover is loosened. Remove the cover bolts in the order and pattern the service information describes. The bolts on these covers are often different lengths, so lay them out in the same pattern as they came out or label their positions. Break the cover loose carefully. Prying on sealing surfaces can gouge the aluminum and cause leaks later.
With the cover off, note how the internal wiring harness is routed to the pressure control solenoid, and photograph it before touching anything. Release the connector gently, because brittle internal connectors and wires are easy to crack. Remove the solenoid retainer and ease the solenoid out of its bore without twisting it against the valve body. Do not loosen valve body bolts that the procedure does not call for. Disturbing them can upset internal sealing and clearances. Inspect the bore, the old O-rings and the area around the valve body for debris, missing seal pieces or heavy contamination. Those findings can change your repair plan.
Install and restore the system
Compare the new solenoid with the old one before installing it. Check the connector shape, the mounting tab and the number and size of O-rings. Lubricate the new O-rings lightly with clean transmission fluid, then insert the solenoid straight into its bore in the same orientation as the original. Install the retainer and tighten the fastener to the value in the service information. Do not guess the torque on small fasteners threaded into aluminum. Reconnect the harness so it is fully seated and routed exactly as photographed, with no wires that could be pinched by the cover.
Clean both sealing surfaces of the side cover and install the specified new gaskets or seals. Fit the bolts in their original positions and torque them in the specified sequence. Reinstall any subframe, mount, splash shield or wheel components exactly as the procedure describes, with fasteners torqued to specification, and reconnect the battery. Refill with the correct fluid. Then follow the factory fluid level check, which is normally done with the engine running and the transmission at a specified operating temperature, because the cold level reading is not reliable on this unit.
Finally, use the scan tool to clear the stored codes and reset the transmission adaptive values. The control module learns shift pressures over time. Old learned values can make a good repair feel wrong until they are reset and relearned.
Check the completed work
Start with a static check. With the engine idling and the parking brake set, move through each gear range and confirm that engagement is prompt and not harsh. Then recheck the fluid level at the specified temperature. Look around the side cover, any lines you disturbed and the reinstalled hardware for leaks. On the road, drive normally through light and moderate throttle upshifts and downshifts, using whatever relearn drive pattern the service information recommends. Shift behavior may continue to settle over the first drives as the adaptive values relearn.
Recheck with the scan tool after the test drive. Look for any returning codes, and if your tool supports it, compare commanded and actual pressure-related data. Further diagnosis is needed if a pressure control solenoid circuit code returns, if shifts stay harsh, delayed or slipping after a full relearn, if new codes appear, or if the fluid level drops. A returning circuit code usually points back to the wiring, connector or control module. Persistent shift problems with clean codes suggest internal hydraulic or mechanical faults, which call for professional transmission diagnosis rather than another parts swap.