2007 Dodge Nitro Rear Axle Bearing Replacement
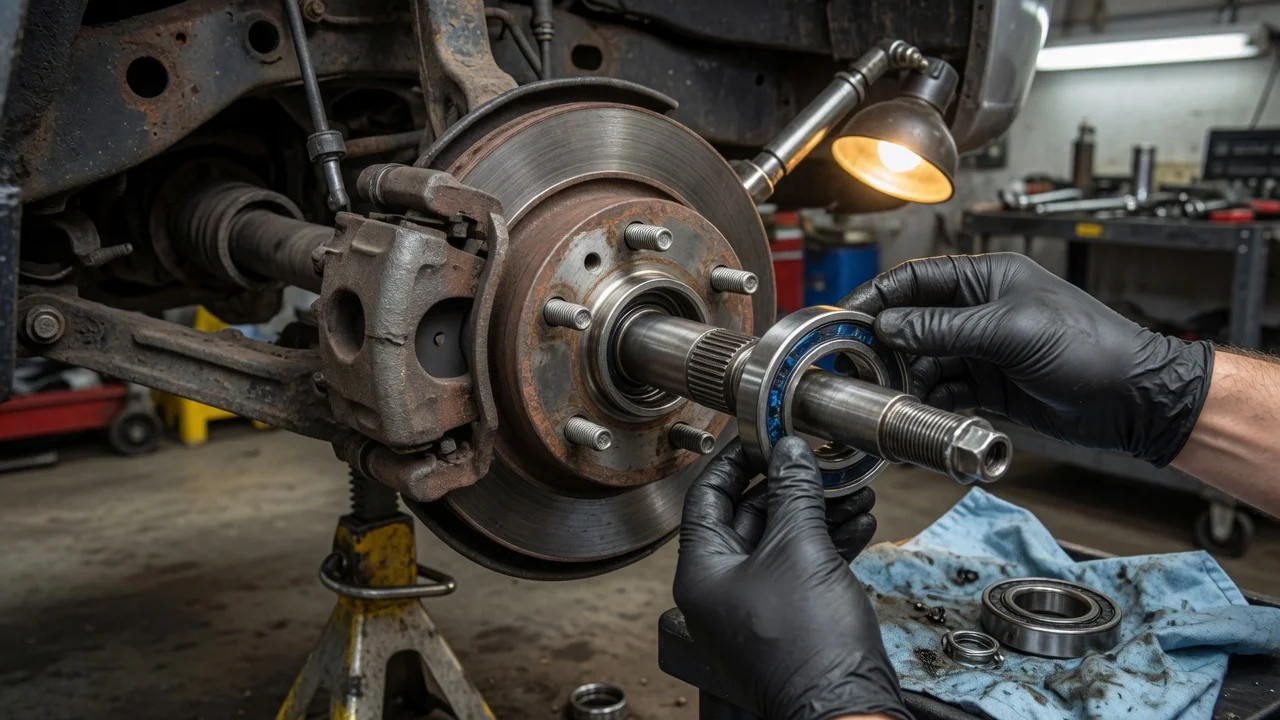
A growl or hum from the back of a 2007 Dodge Nitro that rises with road speed often points to a worn rear axle bearing. On this SUV the rear bearings sit inside the ends of the axle tubes of a solid rear axle. Replacing one means opening the differential and pulling the axle shaft, not unbolting a hub assembly. This guide covers confirming the diagnosis, preparing the vehicle, removing the old bearing, installing the new one and checking the finished repair.
Confirm the part and repair scope
Start by making sure the bearing is really the problem. A failing rear axle bearing usually makes a steady hum or growl that tracks vehicle speed rather than engine speed. It often changes when the load shifts during a gentle turn. Tire wear patterns, a worn pinion bearing, worn differential carrier bearings or a dragging brake can sound similar. With the rear raised and supported, spin each wheel by hand and feel for roughness. Check for fluid seeping past the axle seal onto the brake parts, which often accompanies bearing wear. Review the service history for recent tire, brake or differential work that might explain the noise instead.
Confirm the exact vehicle configuration before ordering parts. Read the axle identification tag, usually found on the differential cover, or have a parts supplier decode your VIN. Note whether the axle has a limited-slip differential. In this design the bearing rollers ride directly on the axle shaft, so the shaft journal must be inspected once it is out. If the journal is pitted or grooved, a new bearing alone will not last, and the shaft must be replaced too. Always replace the axle seal along with the bearing.
Prepare tools and safe access
Get the factory service information for your Nitro before you start. It provides the manufacturer specifications you must not guess: fastener torque values, differential fluid type and capacity, and any limited-slip friction modifier requirement. Typical tools include a floor jack, rated jack stands, wheel chocks, a drain pan, socket and wrench sets, a torque wrench, and a gasket scraper. You will also need an axle bearing puller with slide hammer, a bearing and seal driver set, and a new differential cover gasket or the sealant the manual calls for.
Work on a level, solid surface. Chock the front wheels and support the rear axle on stands, never on the jack alone. This job suits owners who have already done brake and differential work. It involves press-fit parts, small retaining clips inside the differential, and gear oil that must be refilled correctly. If you lack a puller and driver set or cannot get the service data, a shop is the safer choice.
Remove without avoidable damage
Remove the wheel, then the rear brake caliper and rotor. Hang the caliper from the suspension with wire so the brake hose is not stretched. Keep any parking brake parts and the wheel speed sensor wiring clear of the work area. Place a drain pan under the differential and remove the cover bolts. Break the cover seal carefully and let the gear oil drain fully. Look at the fluid and the magnet or bottom of the housing. Heavy metal debris points to wider wear that needs separate inspection.
Rotate the carrier until you can reach the pinion shaft lock bolt. Remove the bolt and slide the pinion shaft out, taking care not to let the spider gears fall out of place. Push the axle shaft inward toward the center to free the C-clip from the groove at its inner end. Remove the clip, then slide the shaft straight out of the tube. Support the shaft as it comes out so its splines and journal do not drag across the new seal surface or the bearing. Then pull the old seal and bearing from the tube with the slide hammer puller, without scoring the bore.
Install and restore the system
Clean the axle tube bore and inspect the shaft journal where the bearing rollers ride. Lightly lubricate the new bearing with the same gear oil you will use to refill the axle. Drive it in squarely with a driver that pushes on the outer race only, until it is fully seated. Install the new seal the same way, with the sealing lip facing inward toward the differential, and lubricate the lip. Check the parts packaging or service information for any specific orientation markings.
Slide the axle shaft back in slowly, lifting it slightly so the splines do not cut the new seal lip. Engage the shaft splines with the side gear, fit the C-clip in its groove and pull the shaft outward to lock it. Reinstall the pinion shaft and lock bolt, tightening the bolt to the service specification and using threadlocker or a new bolt if the manual requires it. Clean both sealing surfaces and fit the differential cover with a new gasket or sealant. Tighten the cover bolts evenly to specification.
Fill the axle through the fill plug with the specified gear oil until it reaches the level the manual describes. Add friction modifier if your axle is a limited-slip type and the service information calls for it. Reinstall the rotor and caliper, tighten the brake fasteners to specification and refit the wheel. Before moving the vehicle, pump the brake pedal until it is firm.
Check the completed work
Recheck the differential fill level and look for leaks at the cover, the fill plug and the new axle seal. Confirm that the parking brake holds and that the ABS and brake warning lights go out after startup. Road test at low speed first, then at the speeds where the noise was loudest. Include gentle turns in both directions. A successful repair should remove the speed-related hum, and the wheel should spin freely with no roughness.
Recheck for seal leaks and fluid level after a short period of normal driving. If noise remains, further inspection is needed: the opposite bearing, pinion or carrier bearings, gear wear or tires may be responsible. Fluid on the brake parts, a returning warning light or a new clunk after the repair also call for diagnosis before continued use. Keep a record of the work and parts used with your maintenance schedule, and note your operating conditions, such as towing or frequent water crossings. This will help when judging any future rear axle noise.