Choosing a Steering Linkage Upgrade for a 2005 Dodge Ram 2500
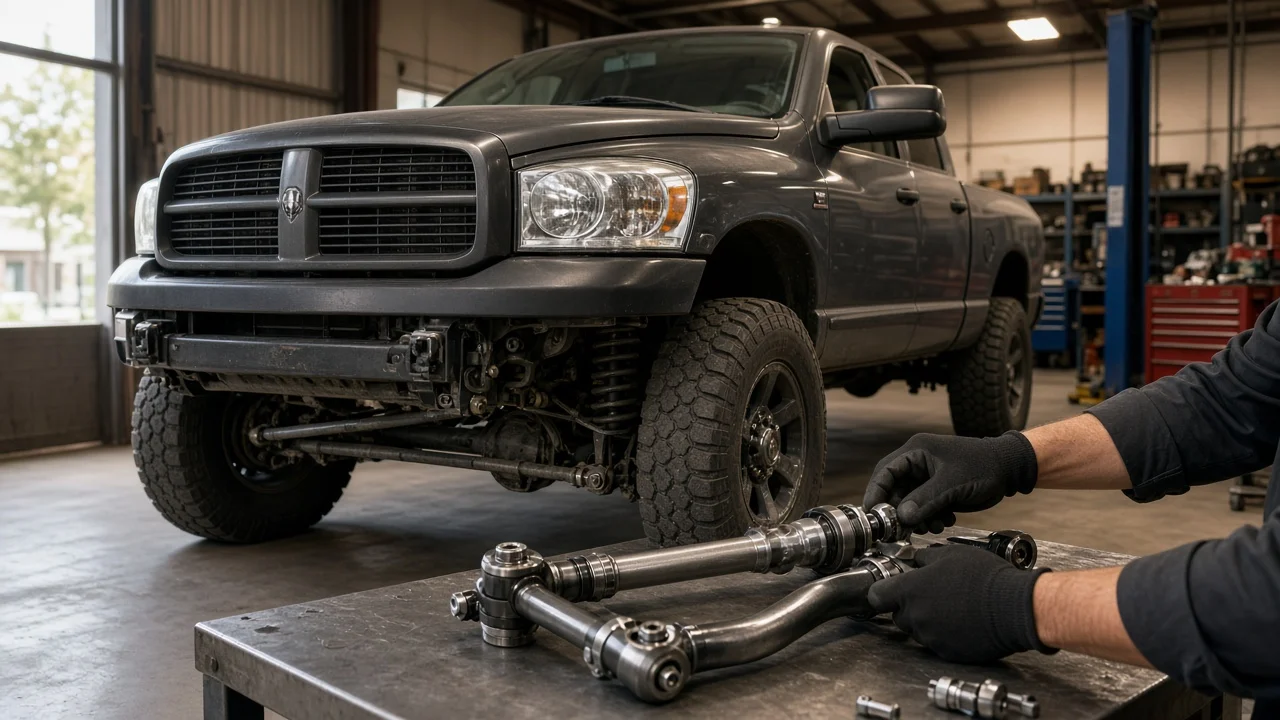
Owners usually buy a steering linkage upgrade for a 2005 Dodge Ram 2500 to cure vague steering, wandering on the highway or tie rod ends that keep wearing out. These problems are common on a heavy truck running large tires. The right kit depends on how the truck is used, its ride height and the condition of the surrounding parts, not on tube thickness alone. This guide explains what the upgrade should accomplish, how to confirm fitment, which features matter and what ownership involves.
Define the job the product must do
Start with how the truck is used. A stock-height daily driver that tows a trailer needs consistent on-center feel and joints that resist wear. A lifted truck on oversized tires, a plow truck or a rig that sees rocks and ruts puts far more bending and shock load on the tie rod and drag link. Write down your tire size, any lift or leveling kit, front-end accessories such as a winch bumper or plow mount, and whether you plan further changes. Those details narrow the choices quickly and keep you from paying for strength you will never use, or from buying a kit that will not survive your use.
Confirm that the linkage is actually the problem before spending money. With the truck safely supported and the front tires on the ground, have a helper rock the steering wheel side to side while you watch each joint for joint play. Also inspect the track bar ends and bushings, ball joints, wheel bearings and the steering gearbox mounting. On solid-axle Rams, a worn track bar or loose gearbox often causes the shimmy and wandering that owners blame on the tie rod. A new linkage will not fix those parts, and installing it on a worn front end can hide the real fault for a while.
Check compatibility
Kits are usually listed for the 2003 to 2008 heavy-duty Ram generation, but always confirm the exact model year, 2500 versus 3500 listing, drivetrain and any trim-specific notes. Many trucks of this era left the factory with a layout in which the tie rod joins the drag link rather than running knuckle to knuckle. Many upgrade kits convert to a knuckle-to-knuckle arrangement, often sold as a T-style design, with the drag link attached to the tie rod. Read the instructions before ordering. Some conversions require reaming a tapered hole, flipping a joint to mount from the top of the knuckle or reusing specific factory hardware, and each of these changes affects the tools and skills you need.
Ride height is the next interface to check. On a lifted truck the drag link should run roughly parallel to the track bar, or steering will change as the suspension moves. Some kits are designed for stock height, some for a stated lift range, and some expect a drop pitman arm or an adjustable track bar to restore the geometry. Also check the steering stabilizer mounting points, since many kits relocate the stabilizer clamp or require a different stabilizer. Finally, confirm tire and wheel clearance at full lock and full droop, especially with aftermarket wheels that change backspacing.
Features that affect the choice
The tube design determines how well the linkage resists bending. Larger-diameter or thicker-wall tubing and solid bar stock resist bending better than the factory parts, but specific wall thickness and material grade tell you more than labels such as heavy-duty or bulletproof. Look for a stated material and dimensions rather than adjectives. Adjustment sleeves matter too. A design with clamp-style or threaded sleeves that lock securely makes toe adjustment easier and holds the setting under load.
Joint choice is the biggest practical trade-off. Greasable tapered tie rod ends similar to factory style ride quietly, are easy to replace and suit street-driven trucks. Rebuildable or oversized joints can last longer under heavy tires, but replacement parts may come only from the kit maker, so check how available and expensive they are. Spherical rod-end setups are mostly intended for off-road use and may wear faster or transmit more noise on a daily driver. Read the warranty terms closely. A lifetime claim may cover only manufacturing defects, may exclude joints or may require proof of regular greasing.
Limitations and ownership costs
Plan for more than the kit price. Installation commonly needs a pitman arm or tie rod puller, a torque wrench, possibly a taper reamer, new cotter pins and a grease gun. Support the truck on rated stands at the vehicle support points listed in the service manual, chock the wheels and never work under a truck held only by a jack. Use the fastener specification from the kit instructions or the factory service manual for every castle nut and clamp bolt. Do not guess, and do not back a castle nut off to align a cotter pin hole. Many manufacturers also call for rechecking clamp and nut torque after a short break-in period.
A professional wheel alignment is required after installation, because changing the tie rod and drag link sets toe and steering wheel centering. Budget for it, and for related parts the inspection may turn up, such as a track bar, stabilizer or ball joints. Ongoing ownership means greasing joints at the interval the kit maker recommends and checking for joint play and boot damage at each oil change. Remember what the linkage cannot do. It will not correct a worn gearbox, out-of-balance tires, damaged wheel bearings or poor caster from a lift without the right correction parts.
Build a practical shortlist
Narrow the field with a simple comparison instead of relying on rankings. For each candidate, confirm that the listing covers your model year, drivetrain and ride height, and note whether it keeps the factory layout or converts to knuckle-to-knuckle. Record any machining it requires, such as reaming or drilling. Note the stated tube material and dimensions, the joint type and whether replacement joints are available, the adjustment sleeve design, and whether it works with your current steering stabilizer.
Then compare total cost of ownership. Add the kit price, any required track bar, pitman arm or stabilizer, tools you do not own, the alignment and the cost of replacement joints. Check the warranty exclusions and whether the instructions include clear torque values and installation steps. A kit that fits your actual use, includes complete documentation and has serviceable joints is usually a better choice than the heaviest-looking option. Whichever you choose, recheck it after installation and keep it greased so it continues to perform.