2005 Dodge Dakota Transfer Case Shift Motor Replacement
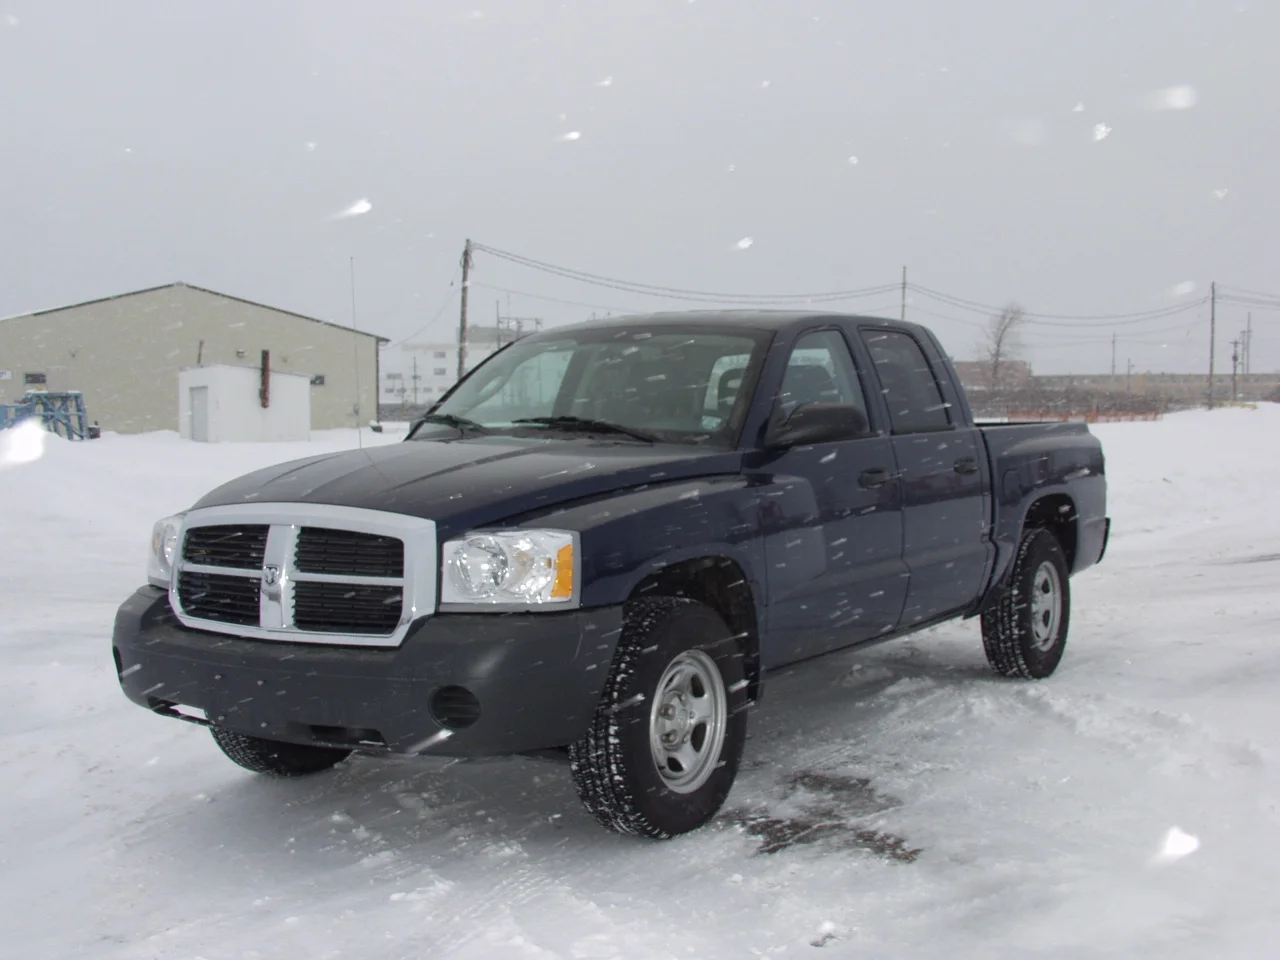
When the 4WD selector on a 2005 Dodge Dakota stops changing ranges, the transfer case shift motor is a common suspect, but it is not the only possible cause. This guide covers confirming the diagnosis, preparing the truck, removing the old motor, fitting the new one and checking the result. Torque values and exact procedures come from the factory service information for your truck, so keep it open while you work.
Confirm the part and repair scope
A shift motor is used only on Dakotas whose transfer case is shifted electronically through a dash-mounted selector. If your truck has a floor lever for 4WD, it has no shift motor and this repair does not apply. Four-wheel-drive Dakotas of this year were built with more than one transfer case depending on vehicle configuration, and the motors are not automatically interchangeable. Read the identification tag on the transfer case, then match the replacement part to that tag and your VIN rather than to the model year alone.
Symptoms such as a flashing 4WD indicator, no response from the selector, or a truck stuck in one range can also come from a blown fuse, a corroded connector, damaged wiring, a faulty selector switch, a control module problem or internal transfer case wear. Start with a scan tool that can read the transfer case control system and note any stored codes. Check power and ground at the motor connector, inspect the harness along the frame, and review the service history for earlier transfer case work or recent deep-water driving. On many of these units the motor assembly also carries the position sensor the module relies on, so a sensor fault can point to the same part. Replace the motor only when testing supports it.
Prepare tools and safe access
The motor is mounted on the transfer case and reached from under the truck. You will need a level, solid work surface, wheel chocks, a jack and rated jack stands or a lift, metric sockets with extensions, a torque wrench, a multimeter, a scan tool, a small trim tool for the connector lock and the vehicle-specific service manual. Some trucks have a skid plate that must come off first. Disconnect the negative battery cable before unplugging the motor. Corrosion is common on fasteners in this area, so apply penetrating oil early and avoid stripping threads in the aluminum case.
Before removal, note which mode the transfer case is in. Service procedures for electronically shifted cases often specify the mode the case and motor should be in so the new motor engages the shift shaft correctly; follow that instruction exactly. If you cannot support the truck safely, have no way to read codes, or diagnosis suggests internal damage, this job is better left to a shop.
Remove without avoidable damage
With the truck supported and the battery disconnected, remove the skid plate if fitted and clean the area around the motor so dirt cannot fall into the case. Release the connector lock and unplug the harness, then inspect the pins for green corrosion or pushed-back terminals, since a bad connector can mimic a failed motor. Remove the mounting bolts and slide the motor straight off the shift shaft. If corrosion holds it, tap gently with a soft mallet; do not pry against the housing with a screwdriver, which can crack or gouge the aluminum.
Once the motor is off, look at the shaft seal for fluid seepage and replace it per the manual if it leaks. Note the position of the shaft and do not turn it by hand unless the procedure tells you to. Keep the original bolts organized, and take the opportunity to check transfer case fluid level and condition, topping up only with the fluid listed in the manufacturer specifications.
Install and restore the system
Compare the new motor with the old one: connector shape, bolt pattern and the internal drive that fits over the shift shaft should match. Align that drive with the flats on the shaft and seat the motor flush by hand. If it will not align, use the method given in the service information to bring the motor and shaft into matching positions instead of forcing it. Install the bolts finger-tight, then tighten them evenly to the specified torque so the motor does not bind or stress the housing.
Reconnect the harness until the lock clicks, and route it through its original clips away from the exhaust and driveshaft. Use dielectric grease on the connector only if the service information allows it. Reinstall the skid plate, lower the truck, reconnect the battery and clear stored codes. Check the service manual for any initialization or relearn procedure after motor replacement; some control systems need a scan-tool routine, so do not assume the module will adapt on its own.
Check the completed work
Start the engine and select each available mode, observing the shift conditions in the owner's manual for speed, brake use and transmission position, especially for 4WD Low and Neutral. Each change should complete within a few seconds, with the indicator settling instead of flashing. Drive briefly on a loose or wet surface to confirm the front axle engages, listen for grinding or clunking, and rescan for codes after the test drive.
Further diagnosis is needed if the indicator keeps flashing, codes return, the motor runs but the range does not change, the case shifts in only one direction, or fluid appears at the seal. Those signs point toward wiring, the control module or internal parts such as the shift fork. Record the repair in the service history, and inspect the connector during routine maintenance, particularly if operating conditions include road salt, mud or water crossings.