Identifying a 2005 Chevy Impala Pressure Control Solenoid
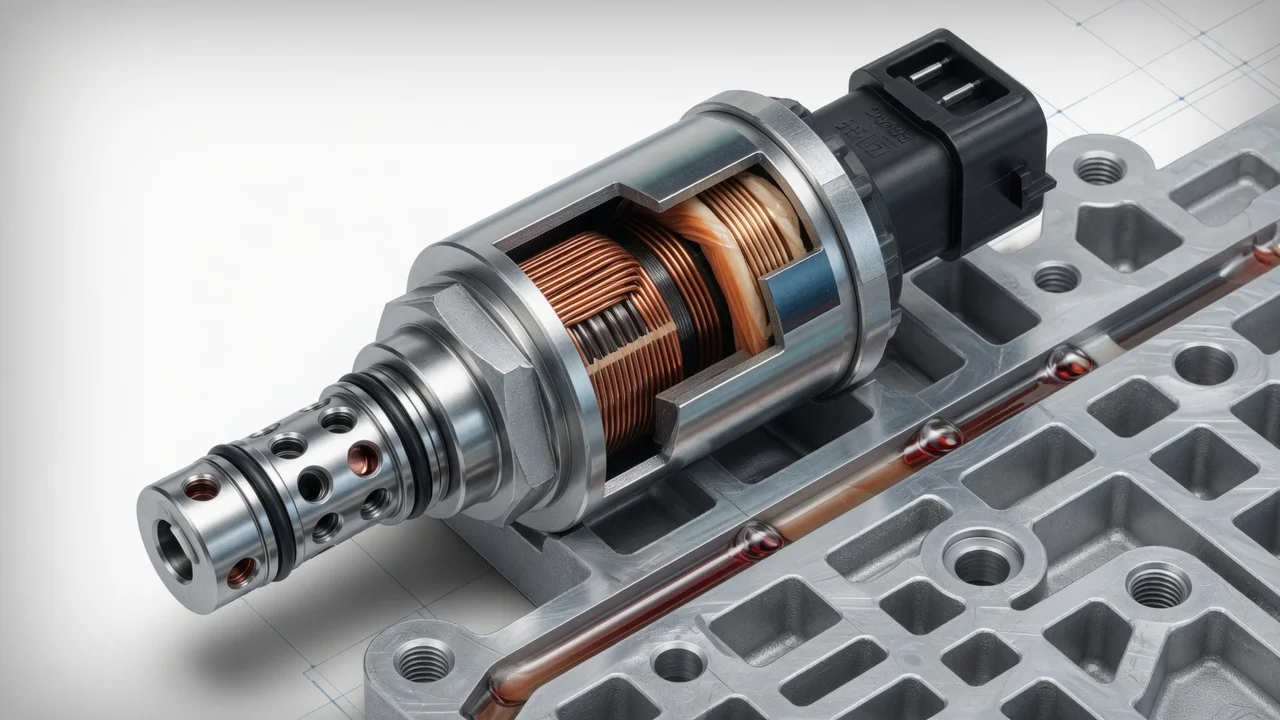
If a scan tool, a shop estimate or a parts listing has pointed you to the pressure control solenoid on a 2005 Chevy Impala, start by confirming which transmission you have and where the part is located. This guide explains what the solenoid does, how to identify the correct one, what can change the diagnosis, and what an owner can check before buying parts or booking a repair.
The short answer for the 2005 Impala
Every 2005 Impala uses a four-speed automatic transaxle from GM's 4T65-E family. Internal calibration and some hardware differ by engine, and the supercharged SS uses a heavier-duty version. The pressure control solenoid is also called the electronic pressure control solenoid or force motor. It is mounted on the valve body behind the transaxle side cover, not in the bottom pan, and it connects to the transmission's internal wiring harness along with the shift and torque converter clutch solenoids.
To confirm which transaxle your car has, check the service parts identification label, which lists the factory option codes and is often found in the trunk or glovebox. The transaxle also has its own identification tag on the case. When ordering, look the part up by VIN or by the transaxle code rather than by model year alone, especially if the car's history is unknown.
How the pressure control solenoid works
The powertrain control module controls line pressure by varying the electrical current sent to the solenoid. It bases that decision on throttle position, engine load, vehicle speed and fluid temperature. More current lowers line pressure. With no current, the transmission defaults to maximum line pressure. This is a deliberate fail-safe, because high pressure keeps the clutches applied firmly instead of letting them slip and burn.
Line pressure determines how firmly the clutches and bands apply during each shift. Pressure that is too low can cause flares, slipping or delayed engagement into Drive or Reverse. Pressure that is too high produces harsh, banging shifts. Because the default is high pressure, an electrical problem in the solenoid circuit often shows up as unusually firm shifts. The module also adapts shift timing over time, so shift behavior can change gradually before any warning light appears.
What changes the answer
Several factors affect both the correct part and the likely cause. These include the engine and transaxle variant, whether the original unit was ever replaced with a used or remanufactured one, and the service history, such as earlier solenoid replacement, valve body work or overdue fluid changes. The car originally specified Dexron III. GM later superseded that with Dexron VI for these transmissions. Confirm the current fluid specification in the owner's manual or with a dealer parts counter before topping up or changing fluid.
Symptoms that look like a failing pressure control solenoid overlap with many other faults. These include low or degraded fluid, worn clutches, wear in the valve body or pressure regulator bores, a faulty fluid pressure switch, damaged harness wiring or a leaking case connector, and occasionally a control module problem. Diagnostic codes narrow the search but do not name a failed part. P0748, for example, points to the solenoid's electrical circuit, which includes wiring and connectors as well as the solenoid itself. A mechanical pressure problem may set a different code or no code at all.
What the owner can do
Start with the fluid. Check the level and condition using the procedure in the owner's manual, including the required temperature and engine state. Note the color and smell, and look for debris on the dipstick. Next, read the stored codes with a scanner that can access transmission data, and record any freeze frame information. Write down when the shift behavior changes: cold or hot, light or heavy throttle, on upshifts, downshifts or engagement. A technician can use those notes directly.
Inspect what you can see safely. Look at the electrical connector where the harness enters the transaxle case for oil wicking into the plug, corrosion or a loose lock. A shop can go further. It can measure the solenoid circuit, compare commanded and actual current on a scan tool, and run a line pressure test with a gauge. Together these separate an electrical fault from a hydraulic or mechanical one.
Repair options depend on what testing finds. If the solenoid itself is confirmed faulty, replacing it means removing the side cover, fitting a new gasket and following the valve body bolt pattern and torque values exactly. If the fault is in the wiring, the fix may be the internal harness or the case connector. Valve body repair, a rebuild or a remanufactured unit is the right path when there is internal wear or contaminated fluid. Before buying, confirm fitment by VIN and check that the connector matches.
Limitations and when to get help
This overview cannot replace factory service information for your specific car. Exact access steps, which components must be moved to reach the side cover, resistance values, torque specifications and fluid fill procedures should come from the service manual matched to your VIN and transaxle code. A sound diagnosis also depends on the condition of the rest of the transmission, which cannot be judged from a symptom or a single code.
See a transmission specialist in any of these cases: the fluid is dark or contains metal or friction material, line pressure tests outside specification, codes return after the solenoid or wiring has been repaired, or the car slips under load. Continuing to drive with slipping can turn a valve body or solenoid repair into a full rebuild. Bring your code readings and shift notes to keep diagnostic time and cost down.