How to Replace the Brake Booster Vacuum Hose on a 2004 Ford F-150
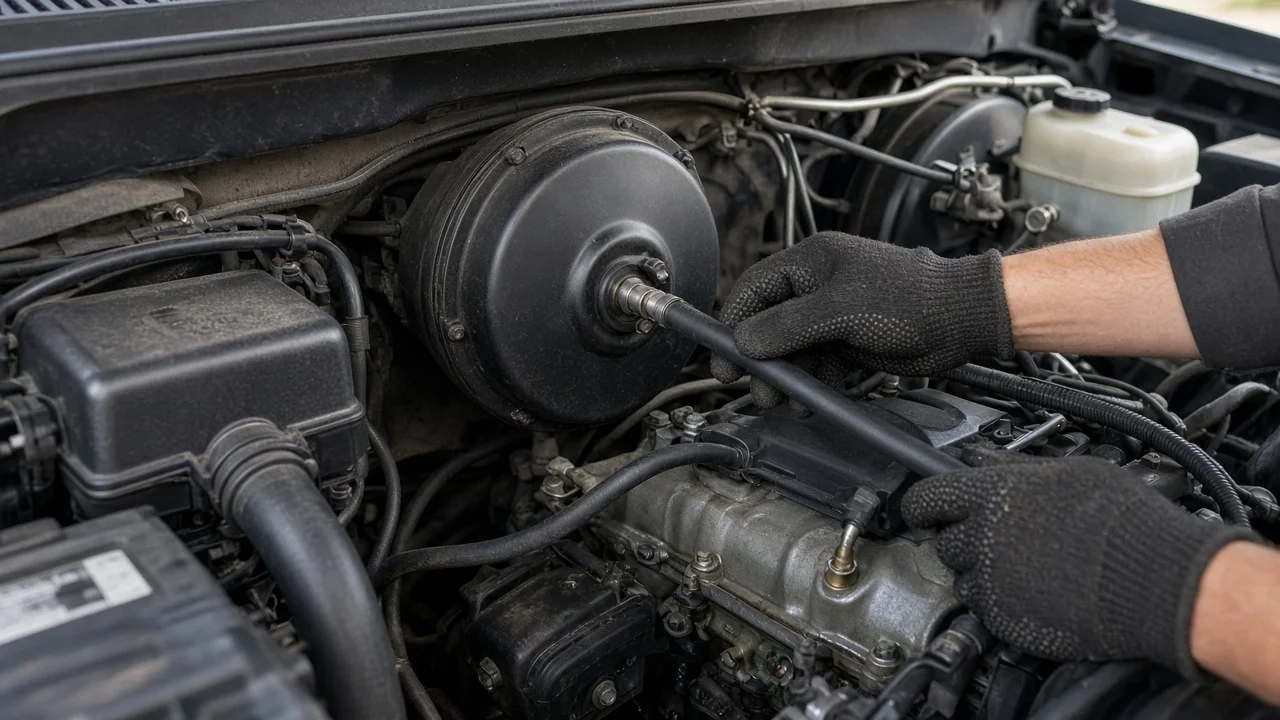
A cracked or loose brake booster vacuum hose on a 2004 Ford F-150 can rob the brake pedal of power assist and make the truck much harder to stop. The hose is a small, inexpensive part, but it belongs to the braking system, so the job deserves the same care as any brake repair. This guide explains how to confirm the hose is the real fault, replace it without damaging nearby fittings, and verify that power assist is restored before the truck goes back into service.
Confirm the part and repair scope
Vehicle fitment matters more than usual for this model year. In 2004 Ford sold two different F-150 designs: the redesigned truck and the carryover model badged F-150 Heritage. Engine choices included the 4.2L V6, the 4.6L V8 and the 5.4L V8, and hose routing, fitting styles and the location of the check valve can differ between body styles and engines. Depending on the configuration, the one-way check valve may be part of the hose assembly or a separate piece seated in the booster grommet. Look up the replacement using the VIN rather than a generic year and model search, and compare the new part with the one on your truck before you start.
Next, make sure the hose actually explains the symptoms. A failed booster vacuum line typically causes a hard pedal that needs extra effort, a hissing sound near the booster or at idle, a rough or unstable idle, and sometimes lean fuel trim trouble codes. Inspect the hose with the engine off for cracks, collapsed sections, oil-soaked softness, split ends and broken plastic fittings. Check the valve as well: it should pass air in one direction only, toward the engine. If the hose and valve are sound, the booster itself or low engine vacuum may be the cause. A new hose will not fix a soft or sinking pedal, pulling, grinding or vibration; those point toward low brake fluid, a sticking caliper, or brake pads and brake rotors at or beyond their wear limits. If the pedal goes toward the floor or the brake warning light is on, stop driving the truck and have it diagnosed professionally.
Prepare tools and safe access
Most owners need only basic hand tools: a socket set and screwdrivers, pliers suited to the clamp type, a plastic trim tool or hose pick, a flashlight and clean rags. Depending on engine and layout, you may need to remove the air intake duct or an engine cover to reach the manifold end of the hose. Use the vehicle-specific service information for your truck to confirm the routing and the type of connectors before removing anything. Park on level ground, set the parking brake, shut the engine off, remove the key and let the engine cool fully, because the manifold and nearby exhaust components get hot enough to burn. The truck does not need to be raised. Take photos of the hose routing and the check valve orientation from several angles; they are the easiest reference during reassembly.
This repair is usually within reach of an owner comfortable with routine under-hood work, because it does not involve opening the hydraulic brake system or touching brake fluid. It becomes a job for a professional if the vacuum port on the intake manifold is cracked, the booster grommet is torn or missing, or your diagnosis points to the booster or master cylinder. If you find yourself loosening brake lines or master cylinder fasteners, stop: that is outside the scope of a hose replacement.
Remove without avoidable damage
Before disconnecting anything, note which way the check valve faces; most valves carry an arrow or marking that shows flow direction. Remove any ducts or covers blocking access, then release the clamps at each end. Some Ford vacuum connections use plastic quick-connect fittings that unlock by pressing or sliding a release collar; do not simply pull on the line, because plastic that has spent roughly two decades under the hood is brittle and breaks easily. Rotate a stuck rubber end gently to break the bond before pulling it straight off. If it refuses to move, carefully slit the old hose lengthwise with a sharp blade rather than prying against a plastic port, taking care not to score the barb underneath.
If the check valve sits in a rubber grommet on the booster shell, ease it out with a straight pull and a slight twist. Do not pry it with a screwdriver, because that grommet seals the booster and damage to it creates a new vacuum leak. Once the hose is off, cover the open manifold port so dirt or broken pieces cannot fall into the intake. Inspect the grommet, the manifold port and any neighboring vacuum lines; they have aged alongside the hose and may be cracked as well.
Install and restore the system
Orientation of the check valve is the most important detail. The valve must allow air to flow from the booster toward the engine and block flow in the opposite direction; a valve installed backward leaves the booster with no assist at all. Follow the marking on the new part and confirm it matches your photos. Route the new hose exactly like the original, clear of exhaust heat, sharp edges and moving parts such as the throttle linkage, with no kinks or tight bends that could collapse under vacuum. Push the ends fully onto the barbs, or seat quick-connect fittings until they click and pass a firm tug test, then position the clamps over the barbed area.
When refitting a check valve into the booster grommet, seat it straight and fully. If it resists, use only a lubricant your service information allows, because petroleum-based products can swell rubber brake components. There is no adjustment, bleeding or electronic setup required after this repair. Reinstall the air intake duct and any covers, reconnect any sensor connectors you unplugged, and make sure no tools or rags remain in the engine bay. If lean codes were stored, clear them only after the following checks confirm the leak is gone.
Check the completed work
Start with a basic booster test. With the engine off, pump the brake pedal several times until it feels firm, then hold moderate pressure and start the engine; the pedal should drop slightly as vacuum builds and assist returns. Let the engine idle and listen around the hose, the check valve and the booster for hissing. Then run the engine for a minute or two and shut it off; after a short wait, the first one or two pedal applications should still feel assisted, which shows the check valve and hose are holding vacuum. The idle should also be steadier than before if the old hose was leaking.
Finish with a low-speed test in a safe, empty area before returning to normal driving. Further diagnosis is needed if the pedal remains hard, a hiss is heard near the booster or under the dash at the pedal, the pedal slowly sinks while held with the engine running, the idle drops or the engine stumbles when the brakes are applied, lean codes return, or the brake warning light comes on. These signs suggest a booster diaphragm leak, a master cylinder problem or another vacuum leak, and the truck should be inspected professionally before regular use. If you noticed worn friction material on the brake pads or damaged rotors while diagnosing, treat that as a separate repair rather than assuming the new hose has resolved every braking concern.