2004 F-150 5.4 Brake Booster Vacuum Hose Diagram
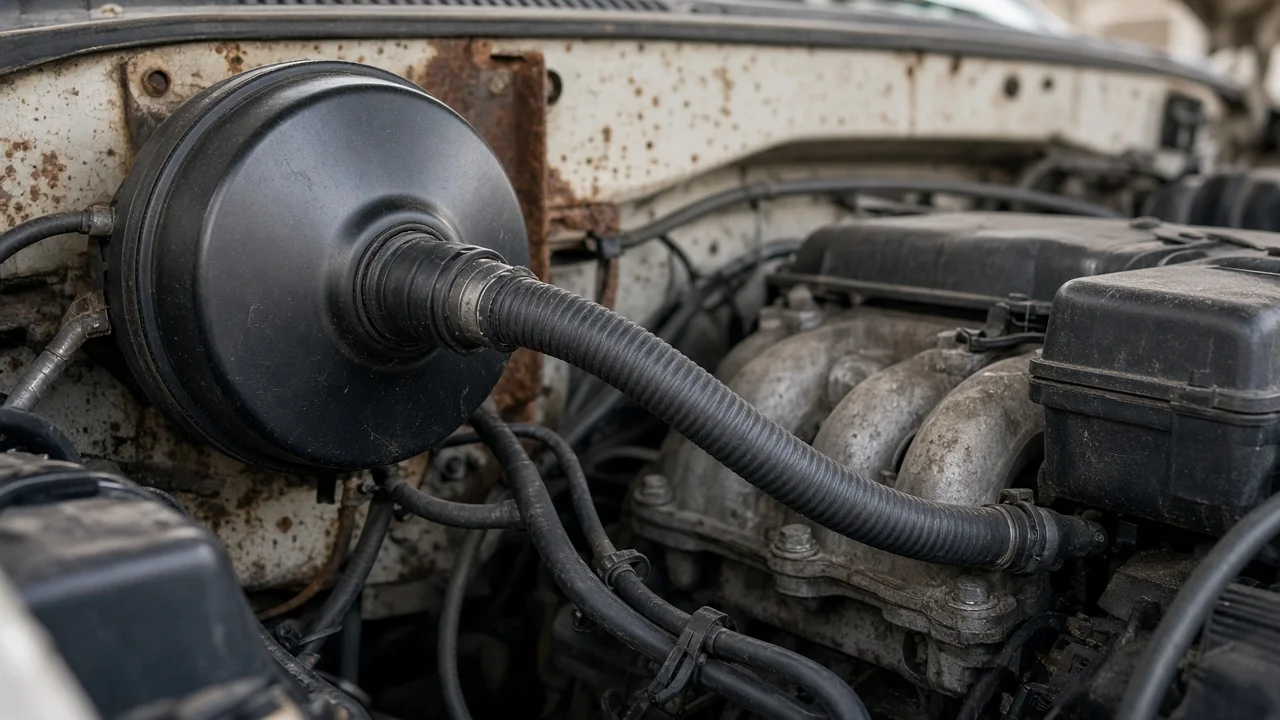
Owners usually look for a 2004 F-150 5.4 brake booster vacuum hose diagram for one of two reasons. Either a hose has cracked or popped off, or the brake pedal has turned hard and a vacuum leak seems likely. The routing on this truck is short and simple, but the exact connection points depend on which 2004 truck you own. Below is how the line is laid out, how to check it, and when the job belongs with a brake shop.
Short answer: where the hose runs
On a 2004 F-150 with the 5.4L V8 and a vacuum brake booster, the booster hose connects two points. One end goes to a vacuum port on the intake manifold. The other end goes to a one-way check valve pressed into a rubber grommet on the front of the brake booster. The booster is the large round canister on the driver's side firewall, and the master cylinder is bolted to its front. The hose usually takes a fairly direct path along the rear of the engine between those two points and is held by clips or routing guides. Some assemblies build the check valve into the hose or use molded ends instead of a separate valve. For that reason, match any replacement part to your truck's exact configuration rather than using a generic length of hose.
A written description cannot replace the factory diagram for your build. The Ford workshop manual for your model year and engine, or a parts catalog view keyed to your VIN, shows the exact port, hose shape and clip locations. Check those before you cut hose or order parts.
How the vacuum booster works
While the engine runs, the intake manifold is under vacuum. The hose draws air out of the booster, which a rubber diaphragm divides into two chambers. At rest, both chambers hold vacuum. When you press the pedal, a valve inside the booster lets outside air into the rear chamber. The pressure difference pushes the diaphragm forward and adds force to the master cylinder pushrod. That extra force is what makes the pedal feel light.
The check valve lets air flow only from the booster toward the engine. It holds a reserve of vacuum in the booster if the engine stalls, shuts off or briefly loses vacuum under heavy throttle, so you still get a few assisted stops. When the hose leaks, the booster gets less vacuum and you have to push harder for the same braking. A leak also lets unmetered air into the engine, which can upset the idle. Keep in mind that the booster only multiplies your foot force. It does not change how the brake pads, rotors, calipers or brake fluid do their work.
What changes the answer
The 2004 model year is the main complication. Ford sold the redesigned F-150 alongside the older-body F-150 Heritage, and the two trucks have different engine bays, intake manifolds and brake hardware. Before relying on any diagram, confirm which version you have from the body style, the VIN or the vehicle certification label. A routing that fits one truck will not necessarily fit the other.
Several other details affect vehicle fitment: cab and drive configuration, production date within the model year, and earlier repairs. Previous owners or shops sometimes install generic hose, reroute the line or swap the check valve, so what you find under the hood may not match the factory drawing. Also confirm that your truck actually uses a vacuum booster. Some heavier Ford trucks use a hydraulic assist unit powered by the power steering system, and that design has no booster vacuum hose at all.
What the owner can do
Start with a visual check while the engine is off and cool. Trace the hose from the booster check valve to the manifold port. Look for cracks, soft or collapsed sections, and a hose pushed partly off its fitting. Also check for a loose or split grommet at the booster and a broken plastic port on the manifold. Flex the hose gently, because age cracks often open only when the hose is bent.
Next, test the booster. With the engine off, pump the brake pedal several times to use up the stored vacuum. Then hold firm pressure on the pedal and start the engine. The pedal should sink slightly as the assist comes in. Next, let the engine run for a minute, shut it off and wait a short while. The first one or two pedal applications should still feel assisted. Any of the following points to a leak in the hose, check valve, grommet or the booster itself: a hissing sound near the pedal or under the hood, a pedal that does not drop on startup, or assist that fades quickly after shutdown. To test the check valve, remove it and confirm that air passes through in only one direction. Do not suck on the fittings, because they can carry fuel vapor. To check whether the booster itself holds vacuum, connect a hand vacuum pump to its port.
If the hose or valve is at fault, replace it with a part made for your truck and route it exactly like the original, away from exhaust heat and moving parts. Recheck pedal feel before driving. New brake pads or rotors will not cure a hard pedal. Worn friction material is a separate problem, though, and pads or rotors near their wear limits should be replaced anyway.
Limitations and next step
This guide gives no vacuum readings, torque figures or other specifications. Those come from the service manual for your engine. If the hose and check valve test good but the pedal stays hard, the booster diaphragm or internal valve may be leaking. Replacing the booster means unbolting the master cylinder and working at the pedal linkage, which is a job for a qualified technician.
Stop driving and have the truck inspected or towed if any of these happen: the pedal becomes very hard, the pedal sinks toward the floor, the brake warning light stays on, or stopping distance grows noticeably. A sinking pedal usually points to a hydraulic problem rather than a vacuum fault, such as low brake fluid, a leak or a failing master cylinder. Brake problems are a safety risk, so when the cause is unclear, have a professional diagnose the truck.