2003 Buick Century Pressure Control Solenoid Replacement
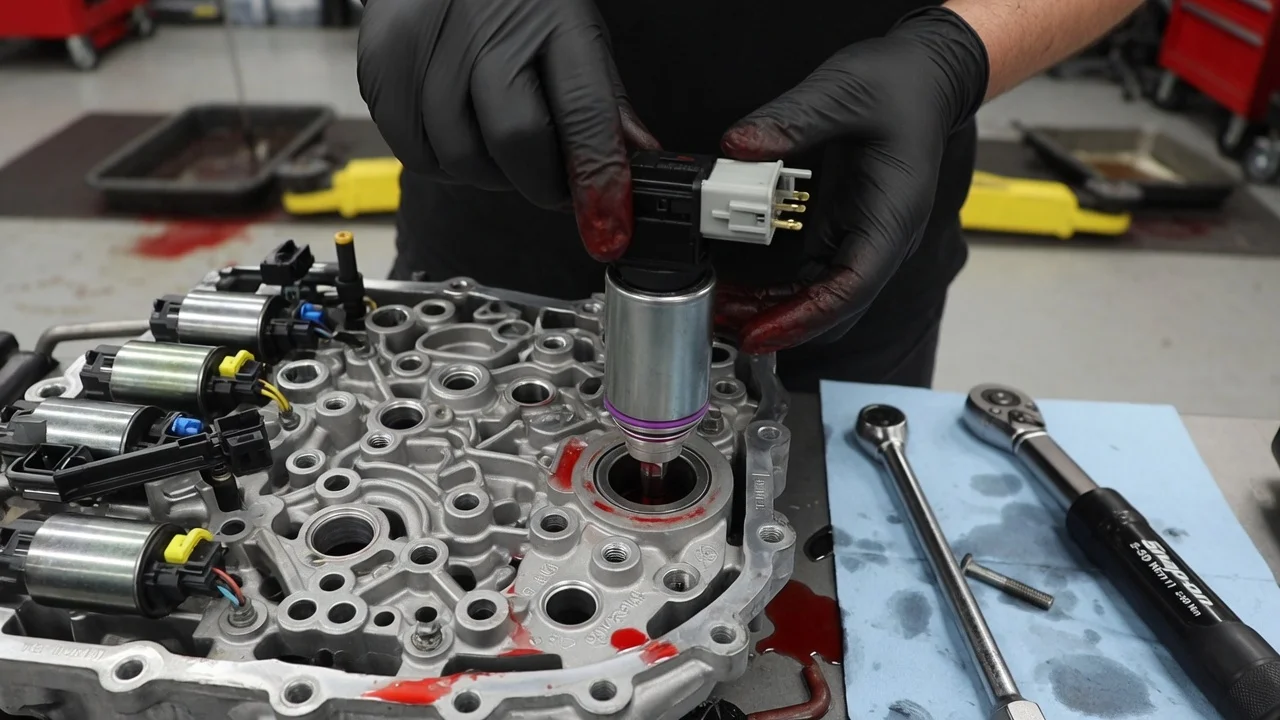
A pressure control solenoid regulates line pressure inside an electronically controlled automatic transmission, so a failed one can make shifts harsh, slow or erratic. On a 2003 Buick Century, the same symptoms can also come from low or worn fluid, wiring faults, internal wear or control module issues. This guide covers how to confirm the diagnosis, what replacement involves, how to avoid damaging the valve body and harness, and how to verify the repair before calling the job finished.
Confirm the part and repair scope
The 2003 Century is commonly equipped with GM's 4T65-E four-speed front-wheel-drive automatic, but confirm the transmission type before ordering parts. Check the RPO codes on the service parts identification label, often found in the glove box or trunk area, and the identification tag on the transmission case. The exact build matters for fitment, because solenoid design, connectors and valve body details can vary by production run. Give the parts supplier the full VIN rather than relying on model and year alone.
Diagnostic codes are the starting point, not the conclusion. A code such as P0748 points to the pressure control solenoid circuit, which includes the wiring harness, the case connector and the powertrain control module as well as the solenoid itself. Shift behavior such as harsh engagement, firm shifts or slipping can also result from low fluid, burnt fluid, a sticking valve, worn clutches or accumulator problems. Check solenoid resistance and circuit integrity against the values in factory service information, inspect fluid level and condition, and review the service history for prior repairs, fluid changes or overheating. A line pressure test with a gauge, while commanding the solenoid through a capable scan tool, can help separate an electrical fault from a hydraulic one. If the transmission slips badly or the fluid contains heavy debris, a solenoid alone is unlikely to fix it, and a rebuild or replacement unit may be the more realistic repair option.
Prepare tools and safe access
This is not a quick bolt-on job. On this platform the pressure control solenoid is mounted on the valve body behind the transmission side cover, which faces the driver's side of the car and sits close to the frame rail. Depending on the vehicle and the service procedure, gaining room can involve removing the left front wheel and splash shield, moving components that block access, supporting the engine and loosening or lowering part of the engine cradle. That work involves safety-critical mounts and fasteners, so owners without experience supporting a powertrain and handling valve bodies should consider having a transmission shop do it.
Before starting, obtain the factory service procedure for the exact vehicle, including torque values and any tightening sequence for the side cover and valve body fasteners. Typical needs include a lift or quality jack stands, an engine support fixture, metric sockets and extensions, a torque wrench that reads accurately at low values, a drain pan, a new side cover gasket or seals, the replacement solenoid with its seal, and the correct fluid. The original fluid specification was Dexron III, which GM has since superseded with Dexron VI, so confirm what the owner's manual or current service information calls for. Disconnect the negative battery cable before unplugging electrical connectors, and let the transmission cool before draining.
Remove without avoidable damage
Drain the fluid as far as practical and keep a sample for inspection; dark color, a burnt smell or metallic debris says a lot about the overall condition of the unit. Remove the components blocking the side cover following the service procedure, then loosen the side cover bolts gradually. Expect more fluid to come out. Bolts may differ in length, so note their positions, and never pry against the aluminum sealing surfaces, which gouge easily.
With the cover off, the solenoids and internal wiring harness are visible on the valve body. Photograph the harness routing and connector positions before disturbing anything. Release each connector by its lock rather than pulling on the wires, and remove only the retainer or fasteners that hold the pressure control solenoid, as described in the service information. Removing extra valve body bolts can let the valve body or spacer plate shift and allow check balls to fall out of place, turning a solenoid replacement into a far more involved repair. Keep the work area clean, because small debris entering hydraulic passages can create new shift problems.
Compare the old and new parts side by side before going further. Check the connector style, body shape, any screen or filter and the seal. If they differ, stop and resolve the fitment question rather than forcing the new part into place.
Install and restore the system
Lubricate the new seal with clean transmission fluid and install the solenoid in the same orientation as the original, fully seated without rolling or twisting the seal. Start its fasteners by hand, then tighten to the specified torque; these bolts thread into aluminum and strip easily if overtightened. Reconnect the electrical connector until the lock engages, and route the harness exactly as before so it cannot be pinched by the side cover or rub against anything.
Clean the side cover and case sealing surfaces without scratching them, fit a new gasket or seals as required, and tighten the cover bolts to specification in the recommended sequence. Reinstall any cradle, mount or engine support components to their specified torque, then refit the remaining parts. Refill with the correct fluid and check the level using the method in the service information, since the procedure depends on fluid temperature. Clear stored codes, and if a capable scan tool is available, reset the transmission adaptive values so the control module relearns shift pressure with the new solenoid.
Check the completed work
Before driving, look for leaks around the side cover and drain points with the engine running, and recheck the fluid level once the transmission reaches the temperature range the service procedure specifies. Confirm that no codes return and, where the scan tool supports it, that pressure control solenoid commanded and actual current track each other. Then road test in light traffic, paying attention to engagement into drive and reverse, the timing and firmness of each upshift, downshifts under moderate throttle and torque converter clutch apply at steady cruising speed.
Shifts may feel slightly different for a few drive cycles while adaptive learning settles, but they should become consistent. Further diagnosis is needed if the same code returns, which points toward wiring, the case connector or the control module; if shifts stay harsh, delayed or slipping; or if the fluid quickly darkens or shows debris. A persistent symptom after a correct solenoid replacement usually means the original problem was hydraulic or mechanical, and a line pressure test or teardown inspection by a transmission specialist is the next step. Record the repair, the part number and the fluid used in the vehicle's service history for future reference.