2003–2005 Buick LeSabre Pressure Control Solenoid Replacement
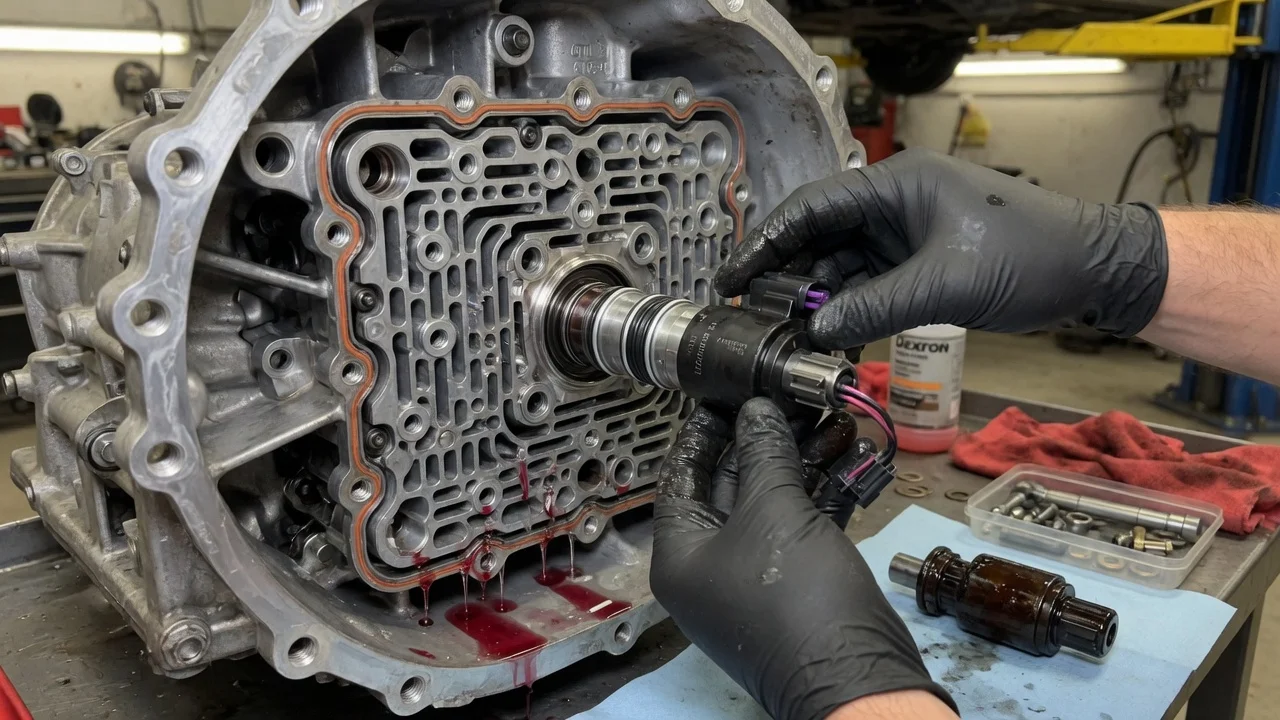
On the 2003, 2004 and 2005 Buick LeSabre, the pressure control solenoid sits inside the 4T65-E four-speed automatic transaxle. It regulates line pressure on command from the powertrain control module. A failing solenoid can cause harsh, soft or erratic shifts. Low fluid, internal wiring faults, valve body wear and clutch damage can cause the same symptoms. This guide covers confirming the diagnosis, gaining access, replacing the solenoid and checking the finished repair.
Confirm the part and repair scope
Start by confirming the transmission type. LeSabres from this generation use the 4T65-E. The unit was built in more than one variant, so check the RPO code on the service parts identification label and any transaxle identification tag. Order the pressure control solenoid by that information, not by model year alone. Before installing, compare the replacement with the original: connector shape, body length and inlet screen should match. A part that looks close but differs internally can leave you with wrong line pressure.
Next, read the diagnostic codes with a scan tool that can see transmission data, not just generic engine codes. A stored P0748, pressure control solenoid electrical, points toward the solenoid circuit. That circuit includes the external harness, the case pass-through connector, the internal harness and the control module, as well as the solenoid itself. Test the circuit resistance and connector condition as the service manual directs before blaming the part. A code is a starting point, not proof of a failed solenoid.
Shift behavior and service history also shape the repair scope. Check fluid level and condition first. Then note whether the problem is firm engagement, delayed shifts, flare between gears or outright slipping, and whether it changes as the transmission warms up. Find out whether the fluid was ever serviced, whether the transmission has been rebuilt, and whether a solenoid has already been replaced. Dark, burnt-smelling fluid or heavy debris suggests wear that a new solenoid will not fix.
Prepare tools and safe access
Get the factory service information for your exact vehicle before you start. It gives the access steps, fastener torque values and tightening sequence, which are not repeated here. You will need a lift, or quality jack stands on firm level ground. You may also need equipment to support the engine and transaxle if the procedure calls for loosening mounts or cradle hardware. Other essentials are a scan tool capable of transmission functions, a drain pan, new side cover gaskets or seals, the replacement solenoid, and fresh fluid that meets the specification on the dipstick or in the owner's manual.
On this transaxle the solenoid is reached through the side cover, and working room near the driver-side frame and cradle area is limited. Depending on the procedure, you may have to remove the wheel and inner splash shield and then support or shift the powertrain to get the cover off. If you are not comfortable working under a raised car with the engine supported, a transmission shop is the safer choice. The same applies if you have never handled internal transmission parts. A mistake with powertrain support can cause serious injury or damage mounts, hoses and wiring.
Remove without avoidable damage
Disconnect the negative battery cable. Raise and secure the vehicle, and set a drain pan in place, since fluid will come out when the side cover is removed. Remove the components the service manual lists as obstructing the cover. Then remove the cover fasteners and record where each one goes, because bolt lengths and types can differ by location. Break the cover free without prying on sealing surfaces, then clean the surrounding area so dirt cannot fall into the open transmission.
With the cover off, find the pressure control solenoid on the valve body and unplug its connector by the connector body, not the wires. Release the retainer as described in the procedure. Then pull the solenoid straight out of its bore, without twisting it at an angle, so you do not scratch the bore. Do not loosen valve body bolts unless the instructions require it. Disturbing the valve body adds check ball and spacer plate concerns that go well beyond a solenoid swap.
While you have access, inspect the internal harness for chafing, brittle insulation and loose terminals. Check the cover and fluid for metal particles or friction material, and look at the old solenoid's screen and O-ring for debris or damage. What you find here helps you decide whether the solenoid was the cause or a casualty of wider wear.
Install and restore the system
Lubricate the new solenoid's O-ring with clean transmission fluid of the correct specification. Insert the solenoid squarely into its bore and seat it fully in the orientation the original occupied, then install the retainer. Plug in the connector until it locks, and confirm the internal harness is routed and clipped away from moving parts and sharp edges. A pinched wire or half-seated connector can bring back the same code you just tried to fix.
Clean the side cover and case sealing surfaces, and fit new gaskets or seals as the procedure specifies. Install the cover fasteners in their recorded positions, then tighten them to the published torque in the specified sequence. Overtightening can distort the cover and cause leaks. Reinstall everything removed for access, restore any powertrain support or mount hardware to specification, and reconnect the battery.
Refill with fluid that meets the stated specification. Then check the level exactly as the dipstick and service procedure describe, including the required fluid temperature, because overfilling and underfilling both affect shift quality. Clear stored codes. If your scan tool supports it, reset the transmission adaptive values, then complete the relearn drive cycle the service information describes so the control module can recalibrate shift timing to the new part.
Check the completed work
Before driving, inspect the side cover and the other disturbed connections for leaks with the engine running. Recheck the fluid level once the transmission is warm. On the road, watch scan tool data for commanded versus actual pressure control solenoid current where available. Confirm that upshifts, downshifts and garage engagements into drive and reverse are smooth and consistent. Expect some change in shift feel during the first several drives while adaptive values settle.
Further diagnosis is needed if P0748 returns, which points to wiring, the pass-through connector or the control module. The same applies if harsh or flaring shifts continue after the relearn, which can indicate valve body bore wear, accumulator problems or clutch damage. Slipping, burnt fluid or new debris also call for a deeper inspection. At that point, the realistic repair options are valve body service, internal repair or a remanufactured transaxle, chosen on test results rather than guesswork.