2000 Chevy Silverado Parking Brake Shoe Replacement Guide
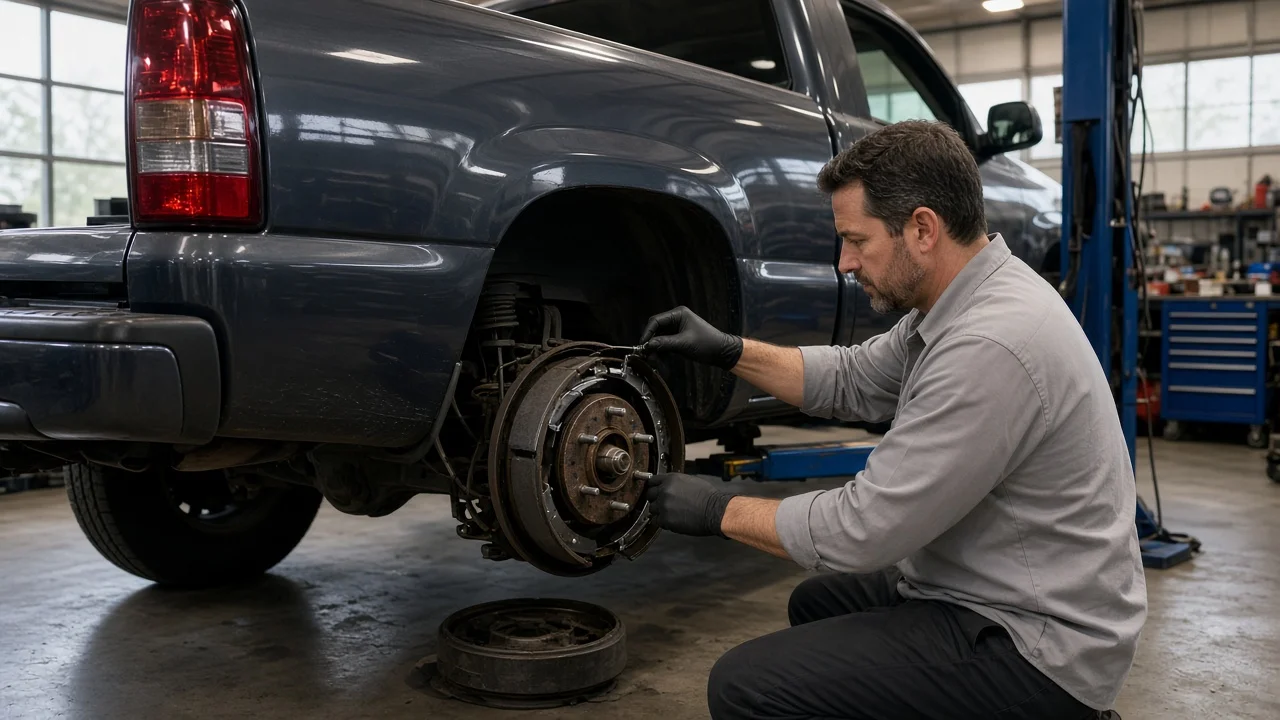
Replacing the parking brake shoes on a 2000 Chevy Silverado is a rear-axle job that rewards patience more than strength. The shoes are small, but they sit inside the rear brake assembly with springs, an adjuster and the cable linkage. A mistake can leave the truck rolling when parked or dragging while driving. This guide covers confirming the right parts, removal, installation, adjustment and final checks, written from a brake technician's perspective for owners who want to do the work correctly.
Confirm the part and repair scope
The 2000 model year covered several Silverado versions, and the rear brake layout is not identical across all of them. Many trucks with rear disc brakes use a drum-in-hat design. On these, a small set of parking brake shoes sits inside the hat section of the rear brake rotors, separate from the brake pads that the caliper squeezes. Trucks with rear drum service brakes use the same large shoes for both normal braking and parking, which is a different job. Confirm your setup by VIN, axle type and a visual inspection before ordering. Vehicle fitment for drum-in-hat shoes depends on the axle and the rotor hat diameter. Some heavy-duty models with full-floating rear axles require removing the axle shaft and hub to reach the shoes. That involves wheel bearing service and is a different level of work.
Make sure worn shoes are actually the problem. A parking brake that will not hold can also come from a stretched or seized cable, a corroded actuator lever or a missing adjuster. It can also come from friction material soaked with gear oil from a leaking axle seal. If the linings are contaminated, fix the leak first, or the new shoes will fail the same way. Measure lining thickness and the inside diameter of the rotor hat, and compare both against the wear limits in the service information. If the hat is beyond its maximum diameter, the rotor needs replacement, not just new shoes.
Prepare tools and safe access
Before starting, get the factory service procedure or a reputable repair manual for your exact truck. You will need the following tools: a floor jack rated for the truck, sturdy jack stands, wheel chocks and a lug wrench or socket set. You will also need a brake spring tool or pliers, a brake adjusting tool, wire or a hook to support the caliper, brake cleaner, a torque wrench and high-temperature brake lubricant. A drum-and-shoe gauge makes adjustment far easier. Buy shoes as a full axle set, and consider a new hardware kit, since springs weaken with heat and age.
Work on level, solid ground, chock the front wheels and never rely on the jack alone. While the parking brake is apart, the transmission is the only thing holding the truck, so chocks matter. Brake dust can contain harmful material. Clean it with brake cleaner rather than compressed air, and wear gloves and eye protection. This is a reasonable job to hand to a professional if you have never taken apart a drum brake spring assembly, or if your truck needs axle shaft and hub removal. A parking brake that cannot hold the truck is a safety fault, so do not depend on it until it is repaired.
Remove without avoidable damage
With the wheel off and the parking brake released, remove the caliper and its mounting bracket as the service procedure describes. Hang the caliper from the frame or suspension with wire so its weight never pulls on the flexible brake hose. This job does not require opening the hydraulic system, so the brake fluid stays sealed. Do not press the brake pedal while the caliper is off, or the piston can push out of its bore.
Rear rotors on these trucks are often rusted to the hub. The parking brake shoes can also hold a rotor in place if a wear lip has formed inside the hat. Backing off the adjuster through its access point, where one is provided, usually frees the rotor. Avoid hammering on the rotor's friction surface or prying against the backing plate. Once the rotor is off, photograph the shoe assembly from several angles before touching anything.
Remove the return springs, hold-down springs and adjuster, then unhook the shoes from the actuator lever and cable. Keep left and right side parts separate. Adjusters are often threaded differently from side to side, and mixing them up can make the shoes back off instead of adjusting. Inspect the backing plate, the actuator and the cable end for corrosion, binding or broken parts. Pull the cable by hand to confirm it moves freely.
Install and restore the system
Clean the backing plate, then apply a light coat of high-temperature brake lubricant to the raised pads where the shoes rest. Keep the lubricant well away from the friction material. Clean and lubricate the adjuster threads, then retract the adjuster fully. Fit the new shoes in the orientation shown in your photos and the service information. Lining position, actuator lever engagement and adjuster direction all matter. Reinstall the hold-down and return springs and confirm each one is seated, with every shoe resting on its anchor.
Adjust the shoes before reinstalling the rotor. If you have a shoe gauge, measure the inside of the rotor hat and set the shoes slightly smaller than that diameter, as the service procedure directs. Without a gauge, adjust until the rotor drags lightly when turned, then back off until it spins freely. Reinstall the rotor, caliper bracket and caliper. Tighten each fastener to the torque value specified for your truck rather than guessing. Then check the parking brake cable. If the cable has a self-adjuster or was disturbed during the job, restore tension using the procedure for your truck. The service information may also call for a burnishing procedure to seat new parking brake friction material. If it does, follow it as written, only in a safe location away from traffic.
Check the completed work
Before lowering the truck, release the parking brake and spin each rear wheel by hand. It should turn without heavy drag, though slight brake pad contact is normal. Apply and release the parking brake several times. The wheels should lock when it is applied and turn freely again when it is released. Pump the brake pedal until it feels firm before moving the truck.
Once the truck is on the ground, test the parking brake on a safe, gentle incline. Keep your foot ready on the service brake and have someone nearby. The truck should hold, and the brake warning lamp should go off when you release the parking brake. The pedal should not travel noticeably farther than it did before. After a short drive, carefully check near each rear wheel for warmth. If one side is much hotter than the other, the shoes on that side are dragging. More diagnosis is needed if the truck still rolls, the brake releases on its own, you hear grinding or scraping, or the warning light stays on. If any braking fault appears, stop using the truck and have it inspected by a qualified technician.