2000 Dodge Neon TCC Solenoid Replacement
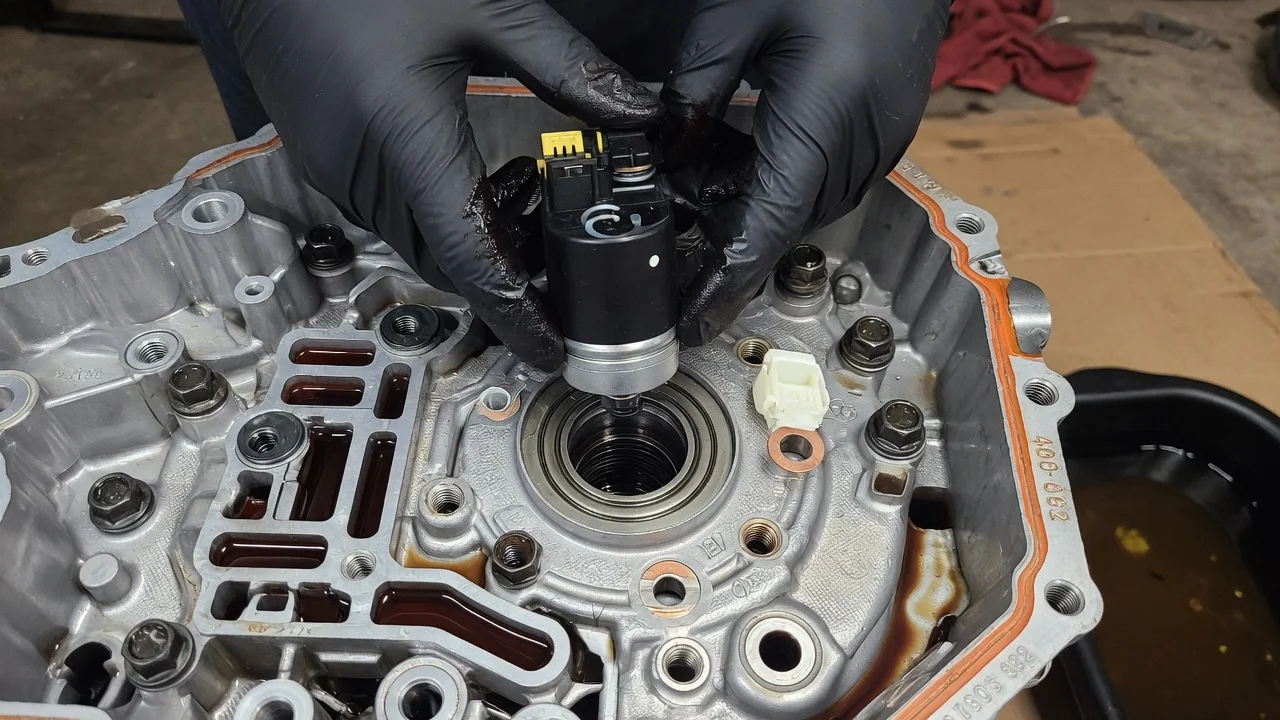
A torque converter clutch that will not lock, shudders or stays applied can make a 2000 Dodge Neon feel sluggish on the highway, run warmer and use more fuel. Replacing the TCC solenoid is one possible fix. It should come only after the transmission, the fault and the condition of the rest of the system have been confirmed. This guide covers scope, preparation, removal, installation and verification, for owners who want to understand the job or do it carefully themselves.
Confirm the part and repair scope
Start by confirming the transmission type. The 2000 Neon was offered with a five-speed manual transaxle or a three-speed automatic, commonly identified as the 31TH. Only the automatic has a torque converter clutch, so a manual car has no TCC solenoid to replace. Check the transaxle identification on the case or the vehicle's build information, and use it to select the part. Solenoid design, connector shape and mounting can differ between production runs and suppliers. Match the replacement to the exact transaxle rather than to the model year alone, and compare the old and new parts side by side before installation to confirm fitment.
Next, make sure the solenoid is really the problem. Diagnostic codes in the P0740 range point to the converter clutch circuit or its performance. A code describes what the computer detected, though, not which part failed. The same symptoms can come from several other causes: low or degraded fluid, a wiring or connector fault, a worn converter clutch inside the torque converter, worn valve body bores, an engine misfire that feels like shudder, or faulty sensor inputs the PCM uses to decide when to lock up. Read and record all stored codes, check fluid level and condition, and inspect the harness and connectors. Where service information allows, test solenoid resistance and circuit operation. Review the service history as well. A transmission that has never had a fluid change, or that has burnt fluid full of debris, may need more than a solenoid.
If testing points to an internal mechanical fault or heavy contamination, compare repair options before buying parts. A solenoid alone will not cure a worn converter clutch lining or a damaged valve body. A transmission shop may also recommend a different repair once the pan is off and any debris is visible.
Prepare tools and safe access
Before starting, get the factory service procedure or a reputable repair manual for this specific transaxle. It gives the solenoid location, fastener torque values, pan sealing method, fluid capacity and the correct fluid level check. Do not rely on generic figures, because wrong torque on valve body screws or pan bolts commonly causes leaks and distorted parts. Confirm the fluid specification too. Chrysler automatics of this era call for ATF+4, which superseded ATF+3, and the wrong fluid can change shift behavior and how the converter clutch engages.
Typical needs include a quality jack and jack stands rated for the vehicle, wheel chocks, a drain pan large enough for the fluid, metric sockets and a torque wrench, and a scan tool that reads transmission codes. You will also need a multimeter, lint-free shop towels, a new pan gasket or the specified sealant, a new filter if the procedure calls for one, and fresh fluid. Work on level ground and chock the wheels. Support the car on stands, never on the jack alone, and let the transmission cool first, because hot fluid can cause burns. Disconnect the negative battery cable before unplugging electrical connectors.
Owners with no experience inside an automatic transmission should consider leaving this job to a professional. The valve body contains small check balls, springs and precisely fitted valves. Contamination or a misplaced part can turn a solenoid swap into a rebuild.
Remove without avoidable damage
On this automatic, the converter clutch solenoid sits inside the transaxle, on or near the valve body, so access normally begins with draining the fluid and removing the oil pan. The service manual will say whether the solenoid can be reached with the valve body installed or whether the valve body must come out. Procedures differ between versions, and guessing can lead to dropped parts. Before removing anything, photograph the wiring routing, connector positions and any brackets. Note which bolts came from which holes, since valve body fasteners may differ in length.
Inspect the pan contents as soon as the pan is off. A light film of fine material is often normal. Heavy friction debris, metal pieces or a strong burnt smell indicate wear that a new solenoid will not fix. Remove the filter if required. Release the solenoid's electrical connector carefully, without pulling on the wires, and remove only the fasteners the procedure identifies. If the valve body must be lowered, keep it level and supported so the check balls and springs stay in place. Clean the pan and magnet, and keep the work area free of dust and lint, which can block small passages.
Install and restore the system
Compare the new solenoid with the original for connector style, mounting points, O-rings or seals, and passage alignment. Lightly lubricate new seals with clean transmission fluid. Do not use grease or sealant unless the instructions specify it. Install the solenoid in the same orientation as the old one and seat it fully by hand. Tighten the fasteners in the specified sequence to the specified torque. Push the electrical connector on until it locks, route the harness away from moving parts and the filter, and confirm nothing is pinched.
Install the new filter and seal if used. Refit the pan using the correct gasket or sealant method, and torque the bolts evenly. Refill with the specified fluid, reconnect the battery and start the engine. Check the level using the procedure for this transaxle, which typically involves cycling through the gear positions and checking at the stated temperature. Overfilling can cause foaming and erratic shifts, and underfilling can cause slipping, so take time to get the level right. Clear stored codes with the scan tool only after the repair is complete.
Check the completed work
Before driving, look for leaks at the pan, the drain point and any lines that were disturbed. Then road test on a route that allows steady light-throttle cruising in the highest gear. Use a scan tool or tachometer to watch for a noticeable drop in engine speed when the converter clutch applies, and for a smooth release when braking or accelerating harder. The transmission should upshift and downshift normally, with no flare, harsh engagement or shudder during lockup.
Recheck the fluid level once the transmission is fully warm, and look again for leaks after the drive. Scan for codes after several drive cycles, since some monitors need time to run. Further diagnosis is needed if a converter clutch code returns, or if shudder, slipping or abnormal shift behavior continues after a correct repair. Likely areas include the wiring, the PCM inputs, the valve body and the converter itself. At that point, a transmission specialist with pressure testing equipment can find the cause before more parts are replaced.