2000 Dodge Durango Transfer Case Linkage Bushing Identification
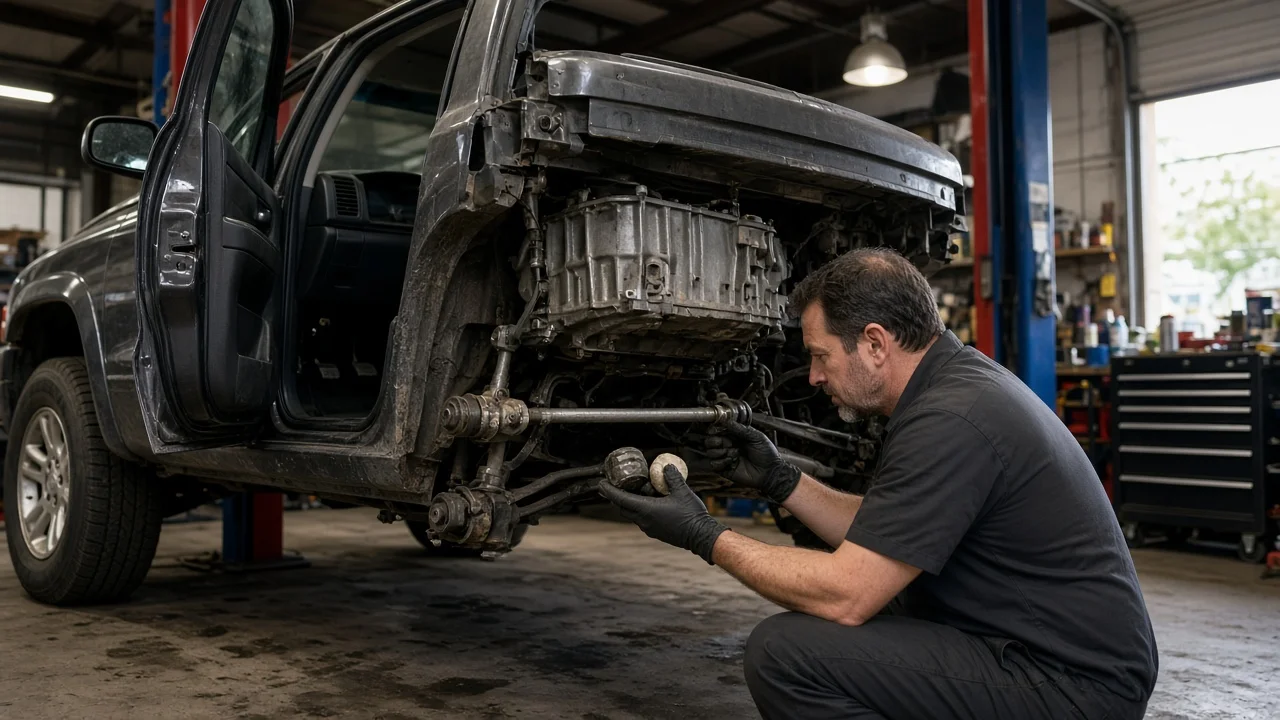
If the four-wheel-drive lever on a 2000 Dodge Durango feels sloppy, moves without changing modes or will not hold a position, the transfer case linkage bushing is a common suspect. This small plastic or nylon part connects the shift rod to the lever on the transfer case. Once it cracks or falls out, shifting loses precision. Here is how to identify the bushing, confirm it is the problem and decide whether to replace it yourself.
The short answer
On a four-wheel-drive 2000 Durango, the transfer case is shifted by a floor-mounted lever inside the cab. A metal rod runs from the base of that lever down to a range lever on the transfer case. Where the rod passes through the eye of a lever, a small round bushing, often called a grommet, holds it snugly and absorbs vibration. The bushing at the transfer case end is the one most often found worn, split or missing, because it sits under the vehicle and is exposed to heat, water, road salt and constant movement. It is typically a press-in part with a center bore that the rod's end pin snaps into. Two-wheel-drive Durangos have no transfer case, so they have no such linkage.
Identification comes down to three steps. Confirm that your Durango has 4WD with a floor shifter, locate the rod connection points, and compare the old bushing, or the hole it leaves, with the replacement. Universal and vehicle-specific bushing kits exist, but fit depends on the hole and pin sizes on your exact vehicle, not on the model year alone.
How the shift linkage works
When you move the lever, the rod pushes or pulls the transfer case range lever. That lever rotates a shift mechanism inside the case to select modes such as two-wheel drive, four-wheel drive high, neutral and four-wheel drive low. The available positions depend on the transfer case fitted. For a shift to be complete, the internal mechanism has to reach a detent, and the linkage has to transmit the full travel of the cabin lever.
The bushing is the weak link in that chain. As it wears, the hole becomes oval and the rod develops free play, so part of the lever's travel is lost before anything moves at the case. The result can be a mode that only half engages, a lever that does not line up with its markings, or grinding and popping out of gear. If the bushing breaks completely, the rod can drop free and the lever will move with no effect at all.
What changes the answer
Vehicle configuration matters first. The 2000 Durango was offered with more than one four-wheel-drive system. Depending on engine and options, it may have a part-time transfer case or a full-time unit that adds an all-wheel-drive style position. The units commonly cited for this generation are the NV231 part-time and NV242 full-time cases. Lever geometry and shift positions differ between them. Before ordering parts, confirm which one you have from the identification tag on the transfer case, the shifter markings or the vehicle's build information.
Service history also changes what you will find. A previous owner or shop may have replaced the original bushing with an aftermarket version or a different style of clip. They may also have made a makeshift repair with a bolt and washers. Linkage adjustment may have been altered to compensate for wear. Operating conditions play a role too. Vehicles driven on salted roads, through deep water or off road are more exposed to bushing deterioration and corrosion at the rod ends.
Not every vague shift is caused by the bushing. Similar complaints can come from a misadjusted rod, a worn shifter base, internal transfer case wear, low or incorrect fluid, or front drivetrain problems. A new bushing only removes play at the connection itself.
Inspecting the bushing safely
Park on level ground, set the parking brake and chock the wheels. If you need more room than the ground clearance allows, raise the vehicle with a proper jack and support it on rated jack stands, never on the jack alone. Let the exhaust cool before reaching near the transfer case.
Locate the transfer case behind the transmission and find the range lever on its side with the shift rod attached. Have a helper move the cabin lever slowly through its positions while you watch the connection. Look for a gap between the rod and the lever eye, a rod that wobbles or rattles before the lever moves, cracked or missing bushing material, and a rod end that has slipped partly out. Check the connection at the shifter end as well, because it can wear the same way. Note what you find so you can compare it with the vehicle's service history and any earlier repairs.
Replacing and adjusting the linkage
If the bushing is worn or gone, replacement is usually a modest job. Remove the rod end from the lever, pick out the old bushing remnants and clean the hole. To choose a replacement that fits, bring the old part or caliper measurements of the hole and the rod pin. Press the new bushing into the lever eye, often with pliers or a small clamp. Then snap the rod end into it until it seats fully. Some kits include a retaining clip, so install it if one is supplied.
After replacement, check that the cabin lever lines up with each position and that the transfer case lever reaches every detent. If alignment is off, use the adjustment point on the rod, typically a clamp or lock bolt. The factory procedure specifies which position to set before tightening it, so follow the service information for your vehicle rather than guessing. Test each mode while stationary first. Then test at low speed where safe, using the shifting conditions in the owner's manual, because some positions require the vehicle to be stopped or the transmission in neutral.
Limitations and next step
This guide describes the typical arrangement. It cannot confirm the bushing style, part fit or adjustment specifications for your particular Durango. Use the manufacturer specifications and the factory service manual for torque values and adjustment steps. Treat any claimed maintenance schedule for this part with caution. The bushing is a wear item checked by inspection, not a part with a universal replacement interval.
Get professional help in any of these cases: a new bushing does not cure the problem, the transfer case grinds, clunks or leaks fluid, it will not stay in a selected mode, or you are not comfortable working under the vehicle. A technician can verify adjustment, inspect the shifter and assess internal wear. As a next step, confirm your drivetrain, inspect both ends of the linkage, and replace the bushing once you have confirmed it is the source of the play.