1997 Toyota 4Runner Rear Axle Bearing Replacement
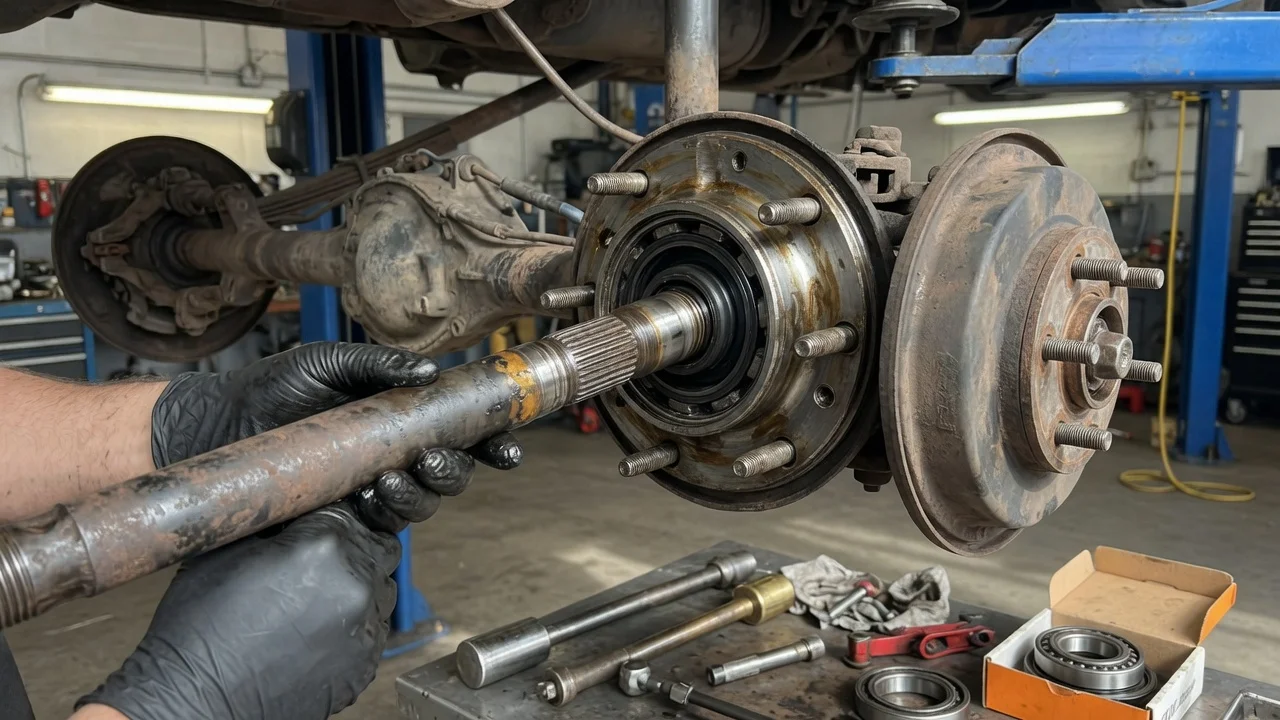
A worn rear wheel bearing on a 1997 Toyota 4Runner usually shows up as a growl or hum that changes with road speed. You may also find play at the wheel or gear oil on the brake parts. Replacing the bearing means pulling the rear axle shaft from the solid axle housing and pressing a new bearing and retaining collar onto the shaft. This guide covers confirming the diagnosis, preparation, removal, installation and final checks. It leaves exact specifications to the factory service information for your truck.
Confirm the part and repair scope
The 1997 model year is part of the third-generation 4Runner. It was offered with 2WD or 4WD, four-cylinder or V6 engines, and several trim and option packages. Rear axle components, ABS equipment and the optional rear differential locker can differ between these versions. Order bearings, seals and retainers by VIN, or confirm the part numbers against the original equipment listing for your vehicle configuration. Bearing kits often include the retaining collar and a seal, so check what is in the box and whether the axle housing oil seal is included.
Before buying parts, confirm the bearing is the actual problem. A failing bearing typically makes a rumble that rises with road speed and may change as the load shifts in turns. Cupped tires, a worn differential pinion bearing or loose brake hardware can sound similar. With the rear raised and supported, spin each wheel by hand and feel for roughness, then check for in-and-out or rocking play at the tire. Gear oil on the brake shoes or backing plate points to a leaking axle seal, which is normally replaced along with the bearing. Oil-soaked shoes must be replaced, not cleaned. Review the service history as well, because the opposite side may be just as old and worth inspecting.
Prepare tools and safe access
Get the factory repair manual or equivalent service information for your exact truck before you start. It gives the torque values, brake bleeding procedure, and gear oil type and fill level, which this guide deliberately does not quote. Work on level ground, chock the front wheels and loosen the lug nuts. Then lift at the axle and support the housing on rated jack stands. Never work under a vehicle held only by a jack.
Basic hand tools cover most of the job. You will also need a torque wrench, a flare-nut wrench for the brake line, a slide hammer with an axle flange adapter, fresh brake fluid, a drain pan and new gear oil. The critical step is the press work. Removing the old bearing and installing the new bearing and its retaining collar requires a hydraulic press with suitable bearing separators or plates. The collar is an interference fit and is usually cut or ground off, which can damage the shaft if done carelessly. Many owners remove the shaft themselves and have a machine shop do the pressing, which is a sensible way to split the work. The job also involves brake hydraulics, so if you are not comfortable bleeding brakes, leave it to a professional.
Remove without avoidable damage
Remove the wheel and the brake drum. A seized drum may need the shoe adjuster backed off through the access hole in the backing plate. Inspect the shoes and wheel cylinder while they are exposed. If your truck has ABS with a sensor at the rear wheel, unplug it and remove it carefully before pulling the shaft so it is not damaged. On some designs the backing plate and brake assembly come out with the shaft. In that case, disconnect the brake line at the wheel cylinder with a flare-nut wrench and cap it. Then release the parking brake cable from the backing plate as the service manual describes.
Working through the access holes in the axle flange, remove the nuts that hold the bearing retainer to the housing. Pull the shaft straight out with the slide hammer. Keep it level so the splines do not tear the inner seal or nick the housing bore. Expect some gear oil to drain out. Note the position and order of any gasket, shim or O-ring at the housing end, then pry out the old housing oil seal without scoring the bore. At the bench or machine shop, remove the retaining collar and old bearing without gouging the seal and bearing surfaces on the shaft. Inspect the shaft for a damaged bearing seat, worn seal surface or twisted splines. If an ABS sensor rotor is fitted, check its condition too.
Install and restore the system
Clean the housing bore and the shaft. Drive the new housing oil seal in square with a seal driver, to the depth given in the manual. Assemble the shaft parts in the order they came off. Fit the retainer plate and any supplied seal or spacer first, then the bearing in the orientation shown in the service information. Finally, press the new retaining collar tight against the bearing. The old collar cannot be reused, and do not heat the new one unless the manufacturer specifications allow it.
Fit new gaskets or O-rings as specified. Slide the shaft into the housing, supporting its weight until the splines engage the differential side gear and the shaft seats without forcing the seal lip. Install the retainer nuts and tighten them to the factory torque. Reconnect the parking brake cable, the brake line and the ABS sensor if any of them were removed. Reinstall the drum and adjust the shoes. If the brake line was opened, bleed the brakes using the manufacturer procedure. Check the differential level at the fill plug and top up with the specified gear oil. Then mount the wheel and torque the lug nuts.
Check the completed work
Before lowering the truck, spin the wheel. It should turn smoothly, with no grinding and no end play you can feel at the tire. Pump the brake pedal until it is firm and confirm the parking brake holds. Inspect the brake line fitting and the end of the housing for leaks. Lower the vehicle and test drive at low speed in a safe area to confirm straight, even braking. Then drive at road speed to confirm the bearing noise is gone.
After the test drive, check the axle end, backing plate and drum again for gear oil or brake fluid, and recheck the differential level. Recheck lug nut torque after a short distance. If noise remains, the source may be the other rear bearing, the differential, the tires or another driveline part, and it needs further inspection rather than more parts. A new leak at the axle end usually means a damaged seal or a missing gasket or O-ring. A soft pedal means air is still in the brake system. Record the date and mileage in the service history. There is no universal replacement interval in the maintenance schedule, and operating conditions such as towing, off-road use and water crossings affect bearing life.