1993 Ford F-150 Door Glass Replacement: What the Job Involves
The Short Answer
Replacing the side door glass on a 1993 Ford F-150 is a common repair that a careful owner with basic hand tools can often do at home. You remove the interior door panel, detach the glass from the window regulator (the mechanism that raises and lowers it), lift the old glass or its fragments out, then fit the new pane and test it before reassembly. Many auto glass shops, including mobile services, also handle side windows on trucks of this age.
The details depend on your exact truck. A 1993 F-150 sits within Ford's 1992–1996 F-Series body style. Whether it has manual crank or power windows, a regular cab or extended cab, and which side the glass is on all affect which part you need and how you remove the trim. The guidance below covers the general process. It does not include part numbers, fastener sizes, or torque values, because none were available for this article. Confirm those in a factory service manual or with a parts supplier who can look up your truck by its VIN.
Confirm the Correct Glass First
Before buying, identify the replacement glass using your model year, cab configuration, and door side (driver or passenger). Side windows on vehicles of this era are typically tempered glass, which is heat-treated so it breaks into small granular pieces rather than sharp shards. Replacement panes are sold by original-equipment and aftermarket suppliers. This article has no data comparing their fit, tint match, or quality, so judge listings by whether they specifically list your configuration and by the seller's return policy.
General Replacement Sequence
The following outline reflects the typical order of work for a framed truck door. It is not a factory procedure for this specific model. Fastener locations and the method used to attach the glass to the regulator should be checked against a service manual for your truck.
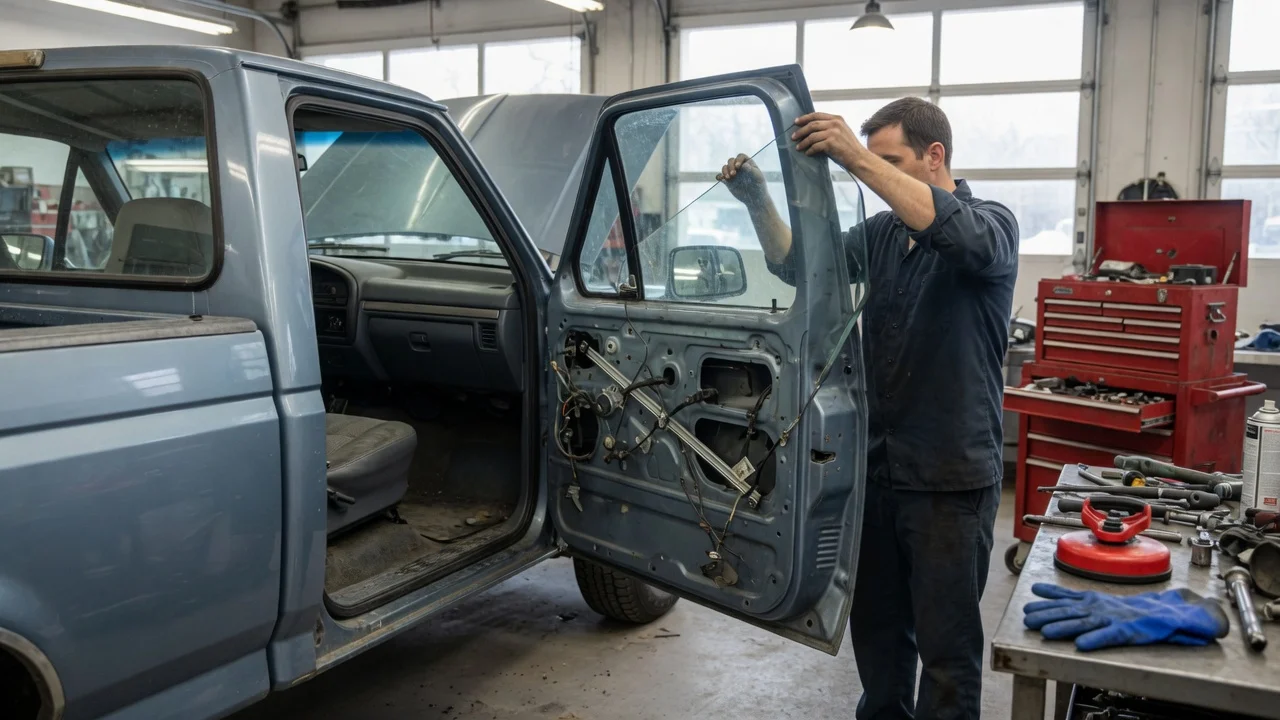
Disconnect the battery if the truck has power windows or door-mounted electrical components. Remove the interior trim. This usually means the window crank handle on manual-window trucks (often held by a retaining clip), the armrest or pull-cup screws, the door handle bezel, and any switch panel on power-window trucks. Release the door panel's retaining clips and lift the panel off. Peel back the plastic vapor barrier carefully so it can be resealed later. Remove any broken glass from inside the door, the lower door cavity, and the window channels. A vacuum helps, and leftover fragments can jam the regulator. Position the regulator so the glass attachment points are reachable through the door's access holes. Detach the old glass or its mounting channel from the regulator, then lift it out of the door. Fit the new glass into the run channels, secure it to the regulator, and cycle the window up and down several times to check for binding or misalignment. Once the window operates smoothly, reseal the vapor barrier, reinstall the door panel and trim, and reconnect the battery.
Safety Precautions
Wear eye protection and cut-resistant gloves, especially if the original window shattered. Tempered fragments are small but still sharp, and they collect in the bottom of the door, inside the weatherstripping, and in the window channels. If the regulator is spring-loaded, keep your hands clear of it while it is unbolted or under tension.
Do It Yourself or Use a Glass Shop?
A home repair makes sense if you are comfortable removing interior trim and the regulator works properly. A professional auto glass installer is worth considering if the regulator is damaged, the glass broke in a way that bent the channels, or you would rather not clean shattered glass out of the door. Prices for parts and labor vary by region and supplier. No cost figures were available for this article, so get quotes from local shops and compare them against the price of the glass alone.
Information Gaps to Resolve Before Starting
Exact replacement part numbers for your cab style and door side; How the glass attaches to the regulator on your specific truck; Fastener sizes and any specified torque values; Whether your regulator needs replacing along with the glass; Local pricing for the part and for professional installation