How to Convert a 14-Bolt Axle to Disc Brakes
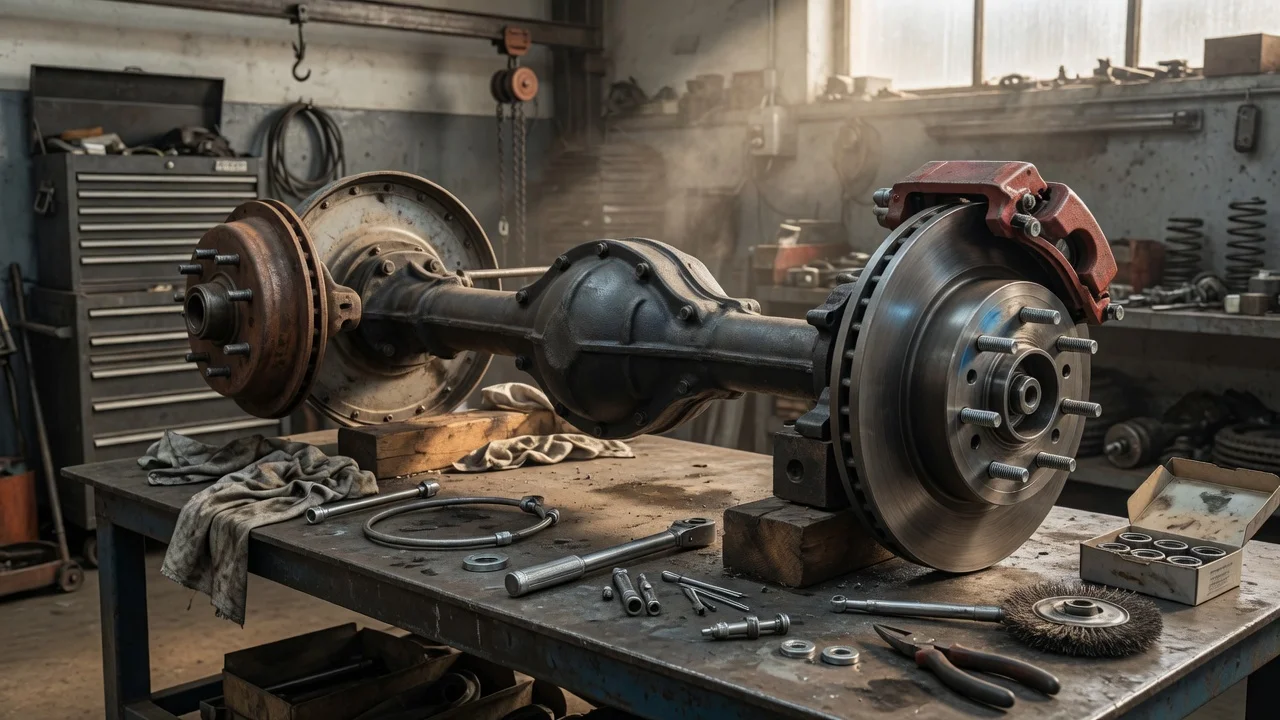
The short answer
Yes, a GM 14-bolt rear axle can be converted from drum to disc brakes, and the job is commonly done with a bolt-on kit. A typical kit replaces each drum backing plate with a caliper bracket, adds a rotor at each hub, and supplies calipers, pads and brake hoses. The work is mechanical rather than fabrication-heavy, but it is not complete once the parts are bolted on. The brake system also needs attention to rear brake pressure balance, residual pressure valves, the parking brake and wheel clearance.
Your axle variant changes which parts you need. Most conversion kits are made for the full-float 14-bolt, where the hub rides on its own bearings and the axle shaft bolts to the outside of the hub. The semi-float 14-bolt uses C-clip-retained shafts and a different hub and brake layout, so a full-float kit will not fit it. Single-rear-wheel and dual-rear-wheel full-float axles also use different hubs. Confirm your exact axle, and the vehicle's model year and application, before you buy anything.
Identify your axle before choosing parts
The name 14-bolt refers to the number of bolts holding the differential cover on. That count alone does not tell you everything a kit supplier needs to know. Check the following before you choose a kit.
Full-float or semi-float: a full-float axle has a raised hub with the axle shaft flange bolted to its outer face. A semi-float axle has no protruding hub, and the wheel mounts to a flange on the axle shaft itself. Single or dual rear wheels: dually hubs differ from single-wheel hubs, and kits are usually specific to one or the other. Donor vehicle and model year: the axle may have come from a different truck or van than the one it is now under. Match parts to the axle, not just to the vehicle it sits in. Wheel size and offset: rear calipers sit inside the wheel. Smaller-diameter wheels, or wheels with a tight inner profile, may not clear them. Existing brake hardware: note the master cylinder, the proportioning or combination valve, any rear-wheel ABS sensor, and how the parking brake currently works.
Kit makers publish their own fitment requirements, and those requirements differ between kits. Where a seller's listing conflicts with what you measure on the axle, rely on your measurements and ask the seller to confirm fitment before you order.
What a conversion usually involves
Kits fall into two broad designs. In one, the rotor slides over the existing hub and is clamped in place. In the other, the original hubs are replaced with hubs designed to carry a rotor. Both designs mount the caliper bracket where the drum backing plate used to bolt to the axle tube flange. Some builders assemble a conversion from factory GM heavy-duty truck rear disc parts instead of buying a kit. That approach needs careful parts matching, and it is outside what this guide can confirm part by part.
Several parts of the brake system outside the axle often need changes as well:
Proportioning or combination valve: this valve sets how much pressure reaches the rear brakes compared with the front. Drum and disc brakes respond differently to pressure, so the original valve may give the wrong front-to-rear balance after the conversion. Many builders fit an adjustable proportioning valve for this reason. Residual pressure valve: drum systems often hold a small residual line pressure so the wheel cylinders stay ready. That pressure can make disc pads drag. The valve should be removed or replaced to suit discs, as the kit or brake-valve maker specifies. Master cylinder: rear calipers usually need more fluid volume than wheel cylinders. Check that the master cylinder suits a four-wheel disc system. Parking brake: removing the drums removes the original parking brake. The usual solutions are a drum-in-hat rotor with a small internal parking drum, calipers with an integral parking mechanism, or a separate driveline parking brake. Do not drive the vehicle without a working parking brake. Brake lines: new hoses are normally included. Hard lines may need re-routing or new fittings to reach the calipers.
Before you start
A complete kit matched to your axle type, wheel configuration and hub design, with the kit instructions. The factory service manual for the axle and vehicle, so you have hub bearing adjustment and lug nut procedures. New hub seals, and bearings if the existing ones show any wear or damage. The correct brake fluid for your system, plus wheel bearing grease or gear oil as the service manual specifies. A torque wrench covering the ranges listed in the kit and service instructions, a hub nut socket suited to full-float axles, and flare-nut wrenches. A level, solid surface, a jack rated for the vehicle, and jack stands placed at lifting points approved in the service manual. Some way to bleed the brakes: a helper, a pressure bleeder or a vacuum bleeder.
This guide does not list torque values, bearing preload or endplay settings, or fluid specifications, because none were supplied for this article and they vary by axle, kit and model year. Take every one of these values from the kit instructions and the applicable service manual. Do not guess any of them.
Step-by-step outline for a full-float 14-bolt
The sequence below is general. Where your kit's instructions differ, follow the kit instructions.
1) Chock the front wheels, loosen the rear lug nuts, raise the rear of the vehicle and support it on jack stands at approved points. Remove the rear wheels. 2) Remove the axle shaft flange bolts and pull the axle shaft out of the hub. Have a drain pan ready, because gear oil may run out. 3) Remove the hub retaining hardware, including the locking ring or tab washer and the adjusting nut, using the full-float hub socket. Slide the hub and drum assembly off the spindle. 4) Disconnect the brake line at the wheel cylinder and the parking brake cable. Unbolt and remove the backing plate along with the drum brake hardware. 5) Clean the axle tube flange and spindle. Inspect the spindle threads, the bearing surfaces and the hub races. Replace any bearings or races that are pitted, discolored or rough. 6) Install the caliper bracket on the axle tube flange in the orientation the kit specifies. Torque its fasteners to the kit specification. 7) Prepare the hub and rotor. Depending on the kit, either fit the rotor over the existing hub or install the replacement hub. Pack or lubricate the bearings and install a new hub seal. 8) Reinstall the hub on the spindle. Adjust the bearings exactly as the service manual describes, then fit the locking hardware. 9) Reinstall the axle shaft with a new gasket or sealant as specified, and torque the flange bolts. 10) Mount the caliper and pads. Route the new brake hose so it does not twist, rub or stretch through full suspension travel. 11) Make the hydraulic changes: proportioning valve, residual pressure valve and master cylinder if needed. Then install the parking brake system you have chosen. 12) Top up the axle with gear oil to the specified level, if any was lost. 13) Bleed the whole brake system, starting at the wheel the service manual specifies, until no air comes out at any bleeder. 14) Refit the wheels. Check that the caliper clears the wheel by spinning each wheel by hand, then torque the lug nuts to specification. Lower the vehicle.
How to check the job is complete
The brake pedal is firm and high, and it does not sink when you hold steady pressure on it. Each rear wheel turns freely by hand with the brakes released. A light pad drag is normal; heavy drag or heat after a short drive is not. No fluid leaks show at any fitting, hose or bleeder, and the axle hubs do not leak oil. The parking brake holds the vehicle on a slope. Nothing contacts the caliper, hose or rotor when the suspension compresses, extends or steers. In low-speed test stops on an empty road, the vehicle stops straight. The rear wheels should not lock before the front. If they do, adjust the proportioning valve and test again. Pads and rotors are bedded in according to the pad maker's procedure. After a short drive, recheck the lug nut torque and look again for leaks.
When to get qualified help
Brakes are safety-critical. Stop and have a qualified brake or axle technician take over or check the work in any of these situations:
You cannot positively identify the axle or confirm that the kit fits it. The spindle, hub or axle tube flange is damaged, or the bracket does not sit flat without force. You do not have the service manual's hub bearing adjustment procedure, or you are unsure the adjustment is correct. The pedal stays soft after a thorough bleed. The vehicle pulls, the rear brakes lock early, or brake balance does not settle with valve adjustment. The vehicle has an ABS or electronic brake system you are not familiar with, or a warning light comes on. The parking brake does not hold reliably. Your local vehicle inspection or registration rules require brake modifications to be certified or inspected.
Gaps to resolve before buying
This guide does not cover kit prices, specific part numbers, rotor and caliper sizes, minimum wheel diameters, or measured braking performance, because no verified data was supplied for them. Check these details with the kit manufacturer for your exact axle variant and wheel setup. Also confirm the hydraulic and parking brake components each kit includes, since what comes in the box varies widely between kits.